

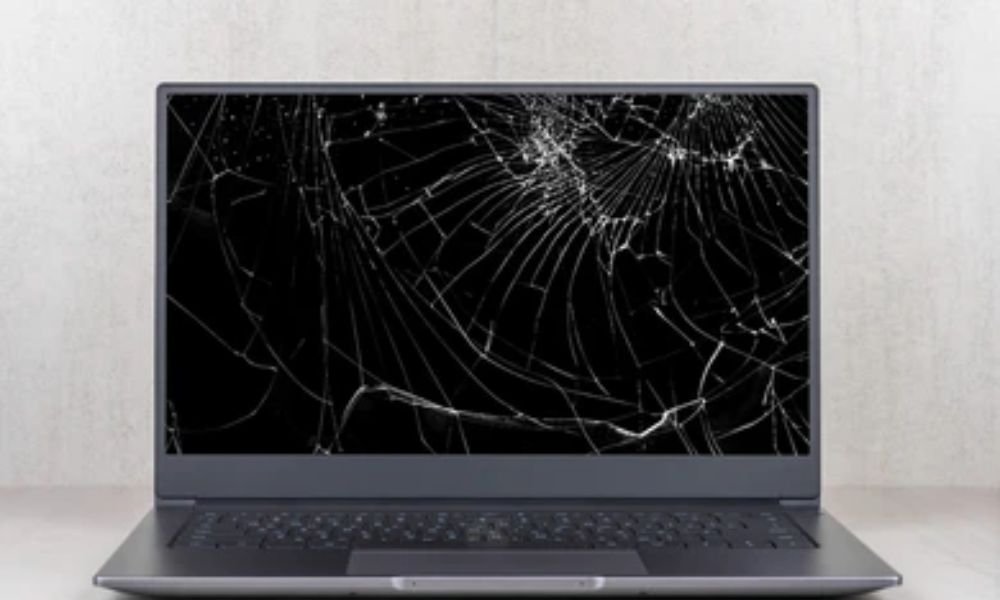
your laptop screen cracked, black, or otherwise damaged? You might be wondering if your precious device is now beyond repair. Fortunately, replacing a broken laptop screen is a task most people can handle, even those who aren't tech-savvy. In this article, we'll guide you through the necessary steps to replace your laptop screen.
Before we begin
Before you begin the screen replacement process, it is crucial to take a few precautions and make sure you have everything you need on hand:
1. Identify your laptop model : Knowing the exact model of your device is essential for ordering the correct replacement part. You will usually find this information on a label affixed to the bottom of the laptop or in the documentation that came with the device.
2. Ordering the replacement part : Once you have identified your laptop model, you can order a new screen from an online computer retailer or a specialized store. Be sure to choose a replacement part that is compatible with your model and of good quality.
3. Gather the necessary tools : To safely disassemble and reassemble your laptop, you will need a precision screwdriver, plastic opening tools (spiders), a suction cup (optional) and a microfiber cloth.
4. Prepare a suitable workspace : Choose a well-lit, clean, and flat area to perform the repair. Ensure the surface is free of dust and objects that could scratch the screen.
For beginners, we recommend that you call on a professional for laptop repair.
Screen replacement
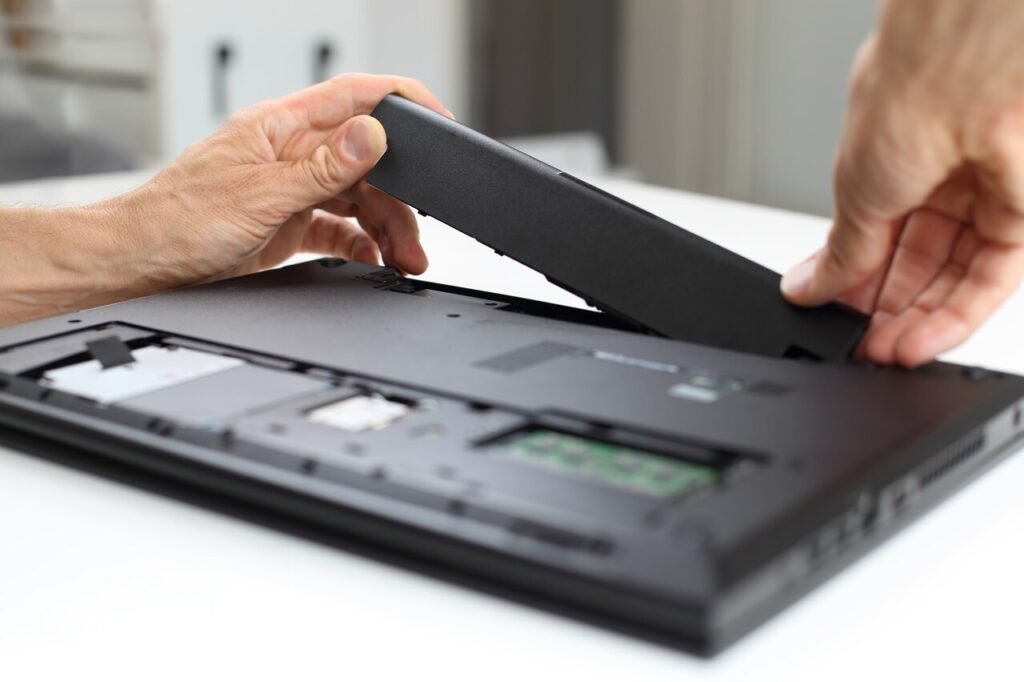
1. Unplug the laptop and remove the battery
Before performing any internal work, ensure your laptop is completely powered off and unplugged from the power outlet. Also remove the battery, if accessible. This essential precaution helps prevent any risk of a short circuit.
2. Remove the back of the screen
The disassembly procedure may vary slightly from model to model. Refer to your laptop's user manual or search for a video tutorial specific to your model for precise instructions. Generally, you should start by removing the plastic covers around the screen, then unscrew the screws that hold the back cover in place.
3. Disconnect the cables from the screen
Once the back cover is removed, locate the cables that connect the screen to the motherboard. Disconnect them gently by pulling on the connectors, without forcing them. Note the position of each cable to help you remember them during reassembly.
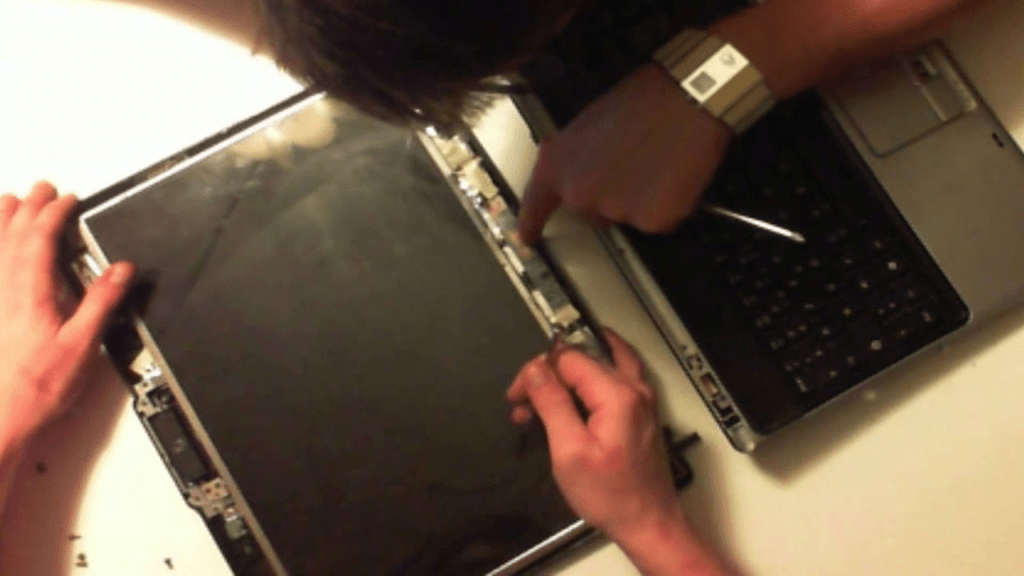
4. Remove the broken screen
Carefully remove the broken screen from its housing. It may be held in place by clips or adhesive tape. Be patient and use plastic tools to avoid damaging the screen or other components.
5. Install the new screen
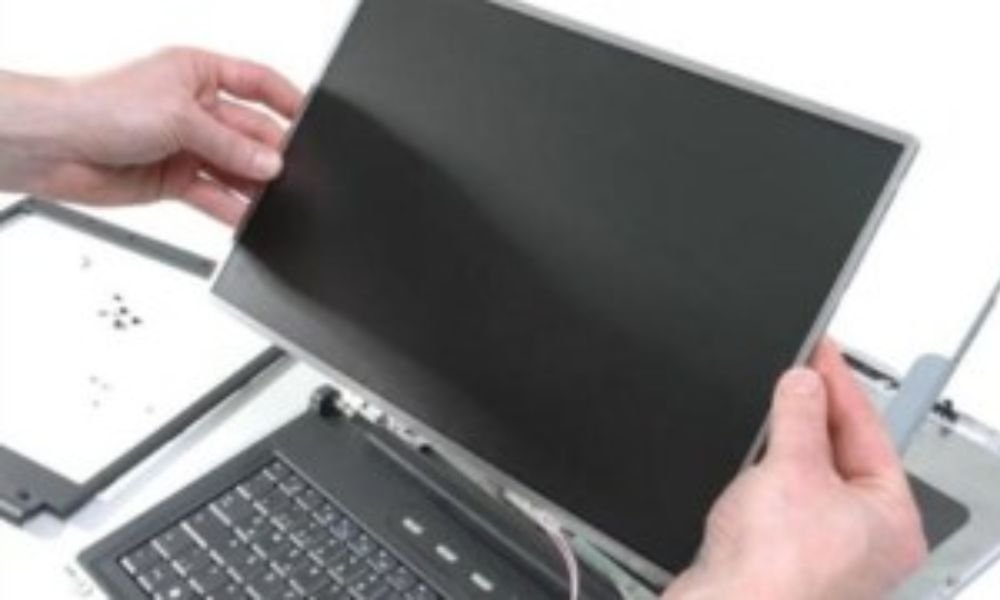
Handle the new screen carefully and avoid touching the display surface. Gently position it in its housing and reconnect the previously disconnected cables. Ensure that the connectors are fully inserted and secured.
6. Reattach the back of the screen
Replace the back cover, making sure to tighten all the screws. Reattach the plastic covers and check that the screen is properly secured.
7. Reconnect the battery and test the laptop
Reinsert the battery and plug the laptop back into the mains. Turn on the device and check if the screen is working correctly. If everything is in order, you have successfully replaced your broken screen!
See also: How to fix horizontal lines on a PC screen
Additional tips
- Work in a clean and clear environment : Dust and debris can easily get under the screen and damage the panel.
- Be gentle and patient : Never force anything and take your time to perform each step accurately.
- Identify the screws and small components : It is helpful to place the screws and small components in separate containers so they can be easily found during reassembly.
- Don't hesitate to take photos : Documenting the different stages of disassembly and reassembly can be useful if you have any doubts.
- Consult video tutorials : Numerous video tutorials are available online and can guide you step-by-step through the screen replacement process, especially for more complex models.
- If in doubt, call a professional : If you do not feel comfortable carrying out the repair yourself, do not hesitate to call a qualified computer technician.


