

Did you know that Windows 11 is packed with tools for capturing your laptop screen? Whether you want to share a funny picture with your friends, save an important tutorial, or log a computer bug, this article guides you step by step through the different options available.
1. Keyboard shortcuts: speed of execution
1.1. Full screenshot:
Simply press the Print Screen (or PrtScn) key on your keyboard. Your screenshot will then be copied to the clipboard. You can then paste it into an image editing program, such as Paint or Photoshop, to save or modify it.

Tip: For a faster screenshot, use the Windows + Print Screen. The screenshot is automatically saved in the "Screenshots" folder of your image library.
1.2. Capturing a defined area:
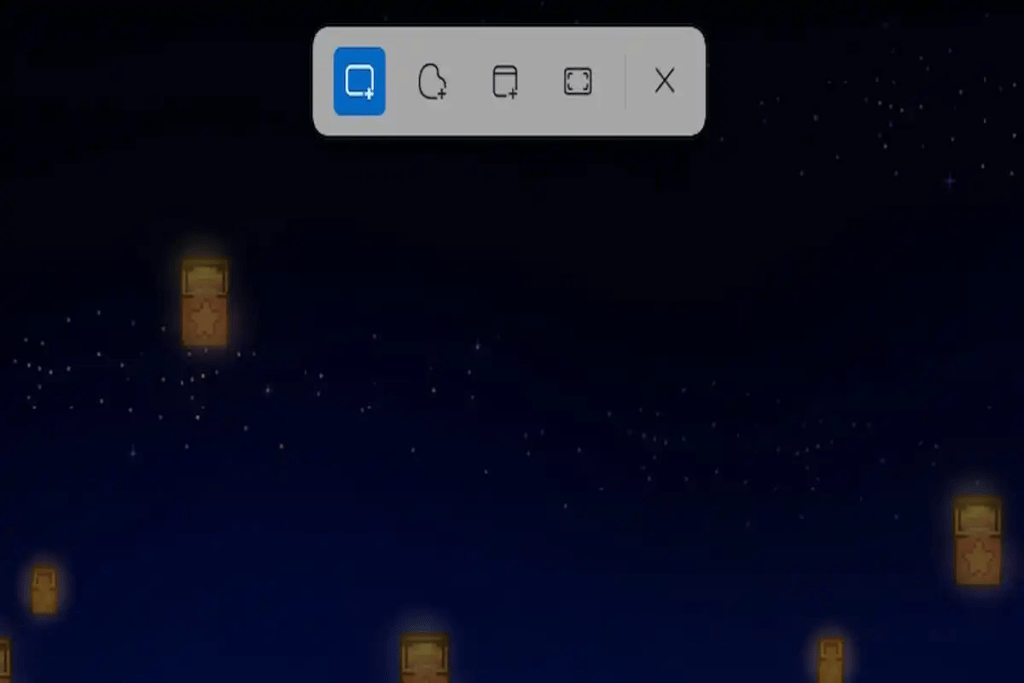
To capture only a portion of the screen, use the keyboard shortcut Windows + Shift + S.Your screen will dim and a crosshair cursor will appear. Then, select the area you want to capture by holding down the left mouse button. The screenshot will be automatically copied to the clipboard.
Tips:
- Use the Shift, Ctrl and the arrow keys to refine your selection.
- Press the Esc to cancel the capture.
1.3. Capturing an active window:
To capture only the active window, use the keyboard shortcut Windows + Alt + Print Screen. The screenshot is automatically copied to the clipboard.
2. Screenshot Tool: Advanced Options
The Snipping Tool built into Windows 11 offers more advanced features for capturing and annotating your screenshots.
To open the Screenshot tool:
- Start Menu: Search for "Snipping Tool" and click on the result.
- Keyboard shortcut: Press the Windows + Shift +S.
- To run: Press the Windows + R, type "snippingtool" and press Enter.
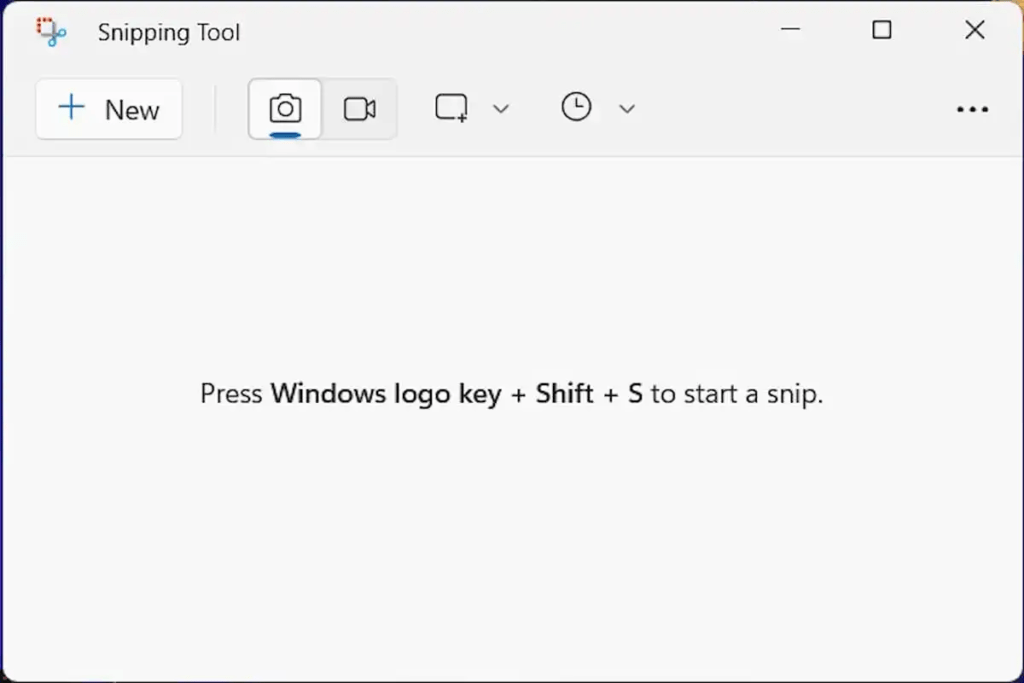
Screenshot tool features:
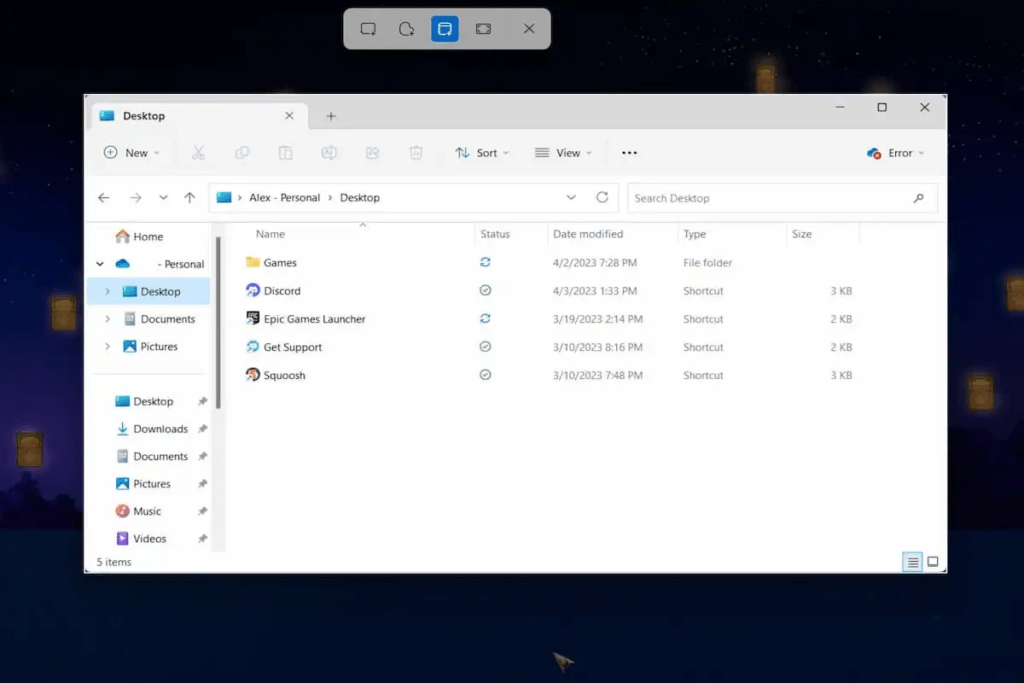
- Different capture modes: rectangular capture, freeform capture, active window capture, full screen.

- Delay options: capture after a delay of 2, 5 or 10 seconds.
- Annotation tools: pen, highlighter, eraser, text box, etc.
- Capture recording format: PNG, JPEG, GIF or HTML.
Tips:
- Use the " New " button to start a new capture.
- Edit your screenshots after you have taken them.
- Save your captures directly to the folder of your choice.
3. Third-party applications: for specific needs
If the native options in Windows 11 aren't enough, many third-party applications offer advanced screen capture features. Some of the most popular include:
- Lightshot: quick and easy screenshot capture with annotation tools.
- Snagit: Screen capture and video recording with many customization options.
Tips and tricks for taking successful screenshots
- Use the Shift key to capture straight shapes.
- Press the Ctrl key to resize your selection.
- Use the touch stylus for precise annotations.
- Save your screenshots in a dedicated folder for easy retrieval.
- Share your screenshots on social media or via email.
Conclusion
techniques and on Windows 11 users. Windows 11 Whether you are a student, a professional, or simply a casual user, this article has provided you with the tools and information necessary to capture and share your favorite moments on your laptop.


