

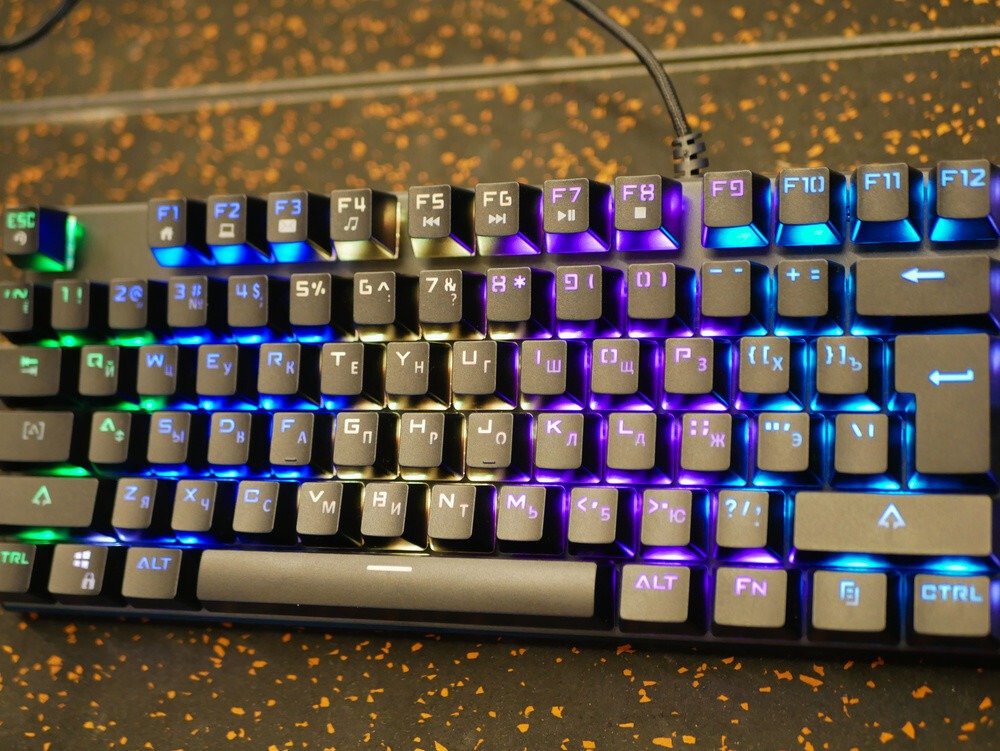
Reliable, durable, precise… You are the proud owner of a mechanical gaming keyboard that met all your expectations.
Fast key feedback, optimized typing speed, you are fully satisfied with your purchase which provides you with unparalleled comfort.
Your keyboard has countless advantages.
However, despite your satisfaction, you have desires for change: a more pleasant feel, a desire for originality with unusual colors, a need for cleaning…
In short! You want to customize your keyboard, to take care of it to offer yourself a unique experience.
Changing the keycaps seems like the ideal way to complete your project. A mechanical keyboard makes this operation quite easy.
So you head over to YouTube to watch tutorials, but you still doubt the viability of your project. You really want to have all the information you need before you start.
I'll let you in on a secret: I, too, have taken the same approach. And you're right.
To avoid ending up with a keyboard that has no unusable keys, you need to prepare and organize yourself meticulously.
To help you, I therefore propose some guidelines.
In this article, you will find all the steps to follow to successfully complete “Operation Keyboard”.
Step 1: Choosing the keys.

You've made up your mind, you're going to change your keycaps. You go online and start searching for the keyset of your dreams.
In front of your screen, you are spoiled for choice: red, blue, fluorescent, in the colors of manga heroes, for gamers, for typists… You are reassured by the abundance of the offer.
After a few hours of searching, you've found the perfect item. You pull out your credit card, ready to click the "Pay" or "Order" button
STOP! Have you checked the compatibility of the keys with your keyboard?
Vigilance is essential. Simply changing " easily" does not mean they are all compatible. You absolutely must check.
If the acronyms PBT, ABS, OEM, Cherry are unfamiliar to you, take a few minutes to learn about them.
By quickly familiarizing yourself with the characteristics of a key, you will be more confident in your choice and avoid disappointment upon receiving your order.
Rest assured, I'll get straight to the point.
The material of the keys.
The two most common materials are PBT (polybutylene terephthalate) and ABS (acrylonitrile butadiene styrene).
ABS keycaps are the most common and widely used. Cheaper than their counterparts, they can deteriorate quite quickly (degradation accompanied by the fading of the lettering).
These keys come in two thicknesses.
The thicker one offers comfort of use and soundproofing .
ABS keys are particularly appreciated: they offer the possibility of having a backlit keyboard.
More durable, thicker, and more comfortable, PBT keycaps are less common due to their higher cost. However, they offer a much more pleasant tactile feel .
They also come in 2 sizes (“thin” for thin and “thick” for thick). Again, for your comfort and soundproofing, choose the thicker one.
The profile.
And yes! Not all keys are the same. Their profile, defined by height and a striking angle, is well defined.
Each “row” on your keyboard features keys with a specific profile.
It is impossible to place the letter B right next to the letter A, 2 rows above.
These profiles, unique to each row, give depth and ergonomics to your keyboard for optimal typing sensations.
By maintaining the consistency of each row, 2 key profiles are at your disposal
Layout: the OEM profile and the Cherry profile.
While generally quite similar in shape, the Cherry profile keys are less tall.
The switch.
The switch is the plastic switch, equipped with a spring, located under each key.
Simply put, the switch is arguably the key element to your comfort. Gamers and typing enthusiasts have different needs.
A switch is characterized by its noise, feel, and the force of pressure required to "activate" the key.
A switch with less resistance allows for higher key actuation. Perfect for gaming. Difficult for typing.
Important! Please note: the switches on your keyboard are only with one key profile (OEM or Cherry).
If you want to be more efficient in your daily practice, you may need to change the switches on your entire keyboard. Simply changing the keycaps may not be enough.
The keyboard.
Rest assured, we're almost there!
The keyboard format should be carefully considered if you do not want to end up with a multicoloured keyboard due to a lack of sufficient parts or with an incomplete keyboard with keys that are too small and unsuitable.
There are two main keyboard layouts: ANSI and ISO. The only difference, but a significant one, is that the keys in the row with the space bar are different sizes.
The ANSI format is the most common.
Finally, what type of keyboard do you have? A full-size keyboard with 104 or even 105 keys, or a 60% keyboard without a numeric keypad or arrow keys on dedicated "spaces" to your right?
Do your research before ordering.
Step #2: The organization.
There you go! You've received your new keys, and you eagerly open the package to discover them.
Carried away by your enthusiasm, knife in hand, you are ready to "jump" the keys of your keyboard.
Wait a minute! Take some time to get organized!
Take advantage of this "change of look" to do a little spring cleaning. You'll be surprised by the "treasures" hidden under your keys.
Your new keys will thank you.
Prepare yourself:
- from your smartphone;
- from the keycap puller that was provided to you when you purchased the keyboard;
- a disinfectant solution;
- of cotton swabs and paper towels;
- a vacuum cleaner (preferably a handheld one).
Set yourself up at a table that is spacious enough to allow you to work comfortably.
Ready? Let's go!
Step 3: Removing the keys.
This operation takes 5 to 10 minutes.
First, turn off your computer and then unplug your keyboard. (If you have a wireless keyboard, feel free to remove the batteries.)
Next, take a picture of your keyboard to keep a record of the key layout.
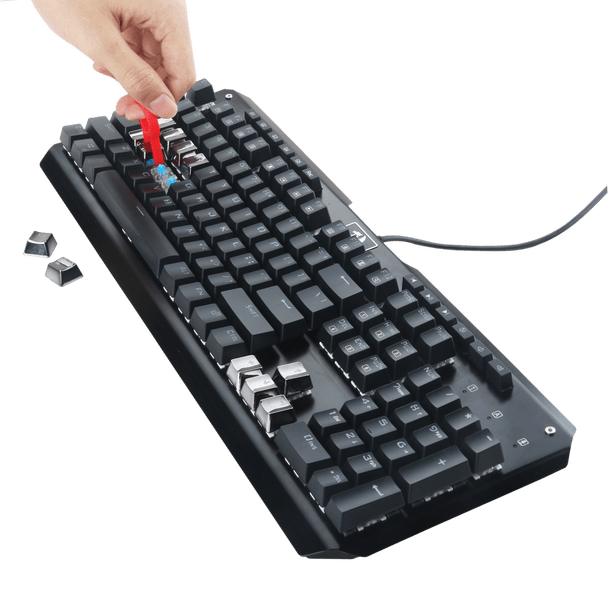
Take your keycap puller and remove the keys starting from the top left of your keyboard. To keep track of them, do this horizontally, row by row, from left to right.
If you don't have a keycap puller, here are the models we recommend:

If you have never used this tool, you must position yourself vertically above the key, clip it on and gently pull upwards.
Never force it! You risk damaging a switch or a key.
Some slightly longer keys, such as the space bar or the enter key, may require a little more attention.
Place the keys on your workspace in the same order as they appear on the keyboard. This may help.
Step #4: Cleaning the keyboard.

Your keyboard is now empty of keys. It's time to tackle cleaning your mechanical keyboard ! Allow about an hour to do it properly.
First, turn your keyboard upside down and shake it over a bin to remove the initial impurities.
Next, take a cotton swab and lightly soak one end in the cleaning solution of your choice.
Don't flood your keyboard! Be careful of the electrical components!!
Clean the spaces between the switches with moistened cotton swabs. (You will need to use several as they deteriorate during the process.)
Dry with the dry end of the cotton swab or a paper towel, always gently.
Repeat the same process around the edges of the keyboard. This time, you can lightly dampen a paper towel directly and dry it.
Finish the cleaning with a quick vacuum.
Step 5: Inserting the keys.
This is the big moment! You're going to be able to marvel at your keys. You insert them one by one until you hear a click.
Always remain vigilant and carefully install large keys (space keys, enter keys, etc.).
Reconnect your keyboard (or reinstall the batteries for wireless keyboards) and then turn your computer back on.
You have seen that changing the keys on a mechanical keyboard requires meticulousness and organization.
Now that you know the best practices, customize the keyboard of your dreams , and feel free to keep me updated on the progress of your project in the comments.


 on a Mac?")