

During its announcement of the new 24-inch iMac, Apple also took the opportunity to unveil the new Magic Keyboard. This keyboard has undergone significant changes, allowing users to benefit from a range of additional features.
The Magic Keyboard with Touch ID: an essential tool in the digital age

The Magic Keyboard can now be used as a separate accessory. Apple thus offers two types of keyboards: with or without a numeric keypad.
The changes to the new keyboard will allow you to view thefull emoji library through language options. The keyboard also features a new key that provides direct access to the Spotlight function.
This feature allows you to search for one or more files across your entire Mac with a single click. Furthermore, you can now perform a voice search simply by clicking a dedicated voice dictation button.
In addition to all this, Apple has integrated a Do Not Disturb key into the new Magic Keyboard. Finally, the high-end models feature a fingerprint sensor to enhance the security of your Mac.
How much does this new Apple tool cost and where can I get it?

Previously, Apple's Magic Keyboard was exclusively available with the iMac. It was even originally offered as an option when purchasing an M1 chip. However, the company ultimately decided to make the keyboard available to the public.
Please note that the Magic Keyboard with Touch ID can only be used with specific Macs. These Macs must be equipped with an Apple Silicon SoC. You will also need macOS version 11.3.
You can find the new keyboard on Apple's official website or on the Amazon marketplace. TheMagic Keyboard with Touch ID and no numeric keypad typically costs €159. The version with a numeric keypad costs €185.
Here is the new Magic Keyboard with Touch ID without an iMac:

What is the difference between Magic Trackpad and Magic Mouse?
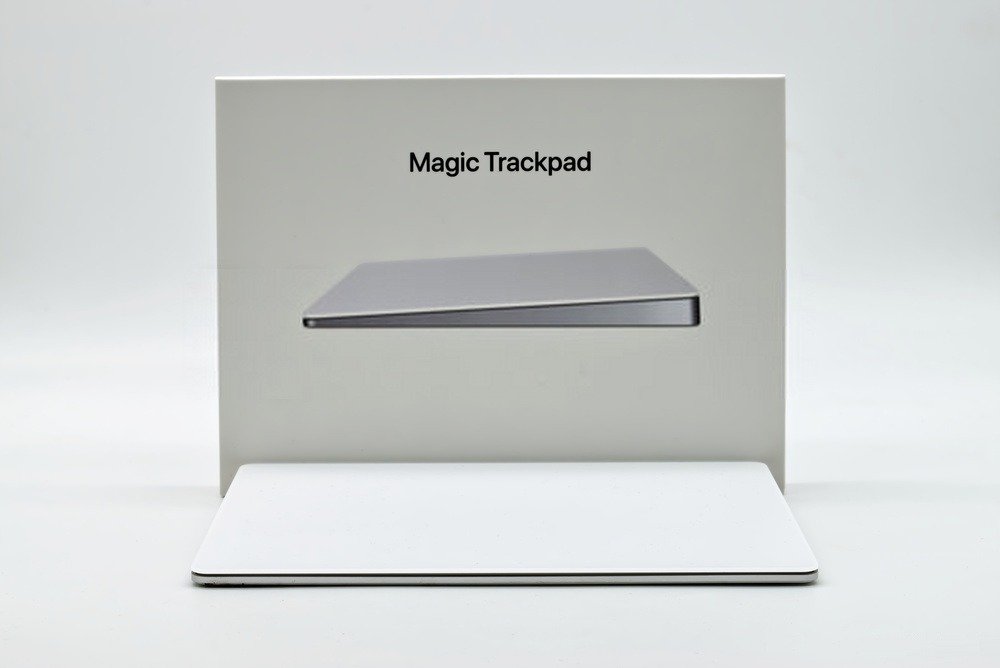
Ultimately, Apple also decided to introduce its new trackpads and practical new mice to its customers. Compared to the Magic Keyboard, there isn't a significant difference between the Magic Trackpad and the new mouse.
Indeed, the brand has only added a minor touch to the trackpad. This is noticeable in the form of a few additional colors already present on the latest Magic Mouse. However, please note that neither the Magic Trackpad nor the Magic Mouse are available for individual sale.
The new Magic Mouse is priced at 85 euros and the new Magic Trackpad at 135 euros. The only drawback is that these accessories are only available in white, which completely negates their novelty and originality.
If you want a different color than the one usually offered, you must buy a new iMac. Note that the new trackpad has more curved and rounded corners than the old one.


