

Setup.exe is an executable file used to install or update software on Windowsinstallation program Windows, containing the instructions and resources needed to deploy the software to the computer. The name setup.exe stands for "setup executable," meaning a file that executes the configuration process.
There are several ways to use setup.exe, depending on the type of file you downloaded, your system's compatibility mode, and your personal preferences. Here are some common methods for using setup.exe :
Double-click on the setup.exe file

This is the simplest and most intuitive way to launch the installer. Simply locate the setup.exe file in the folder where you saved it, usually the Downloads, and double-click it. A window will then open to guide you through the installation process. You may need to accept the terms of use, choose the destination folder, select the components to install, and so on. Once the installation is complete, you can access the software from the Start or the desktop.
Right-click on the setup.exe file and choose Run as administrator
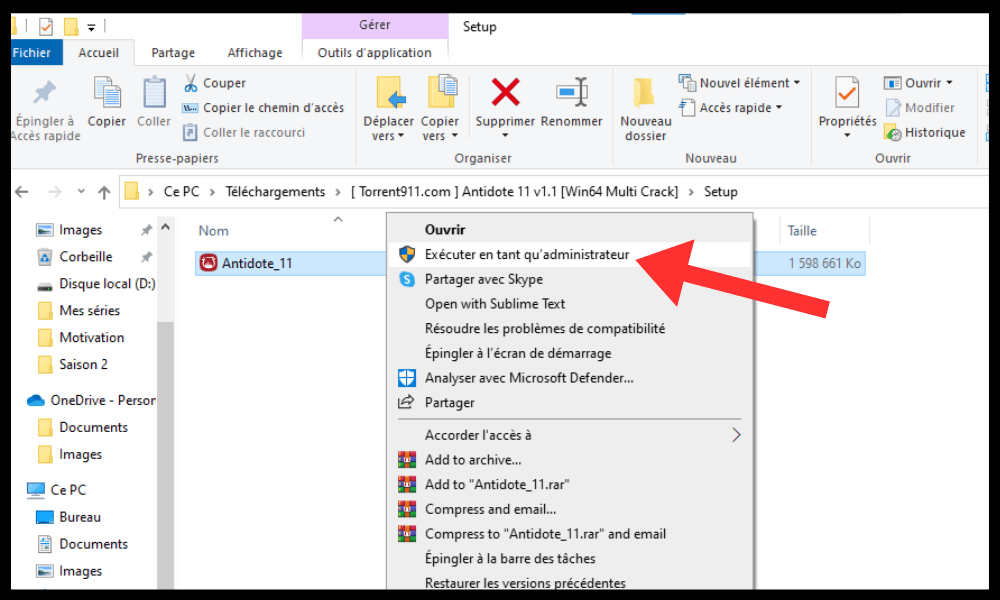
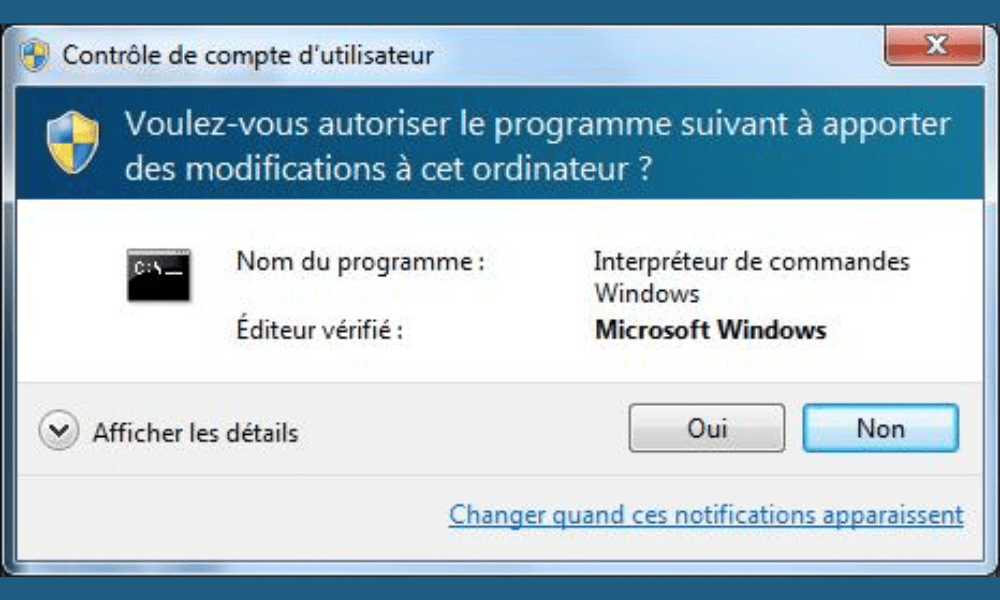
This method is recommended if you encounter permission or access problems when using the previous method. Indeed, some software requires administrator privileges to install correctly on Windows. To do this, right-click on the setup.exe file and select " Run as administrator" from the context menu. You may be asked to enter your administrator account password or confirm your choice in a dialog box. Then, you can follow the same steps as in the previous method.
Use the command prompt to run the setup.exe file
This method is useful if you want to use specific settings or advanced options when running the setup.exe file.
For example, you can choose silent mode, which allowsthe software to be installed without displaying a graphical interface or requesting any interaction from the user.
For that :
- You need to open the command prompt by right-clicking on the Start and choosing Command Prompt (admin).
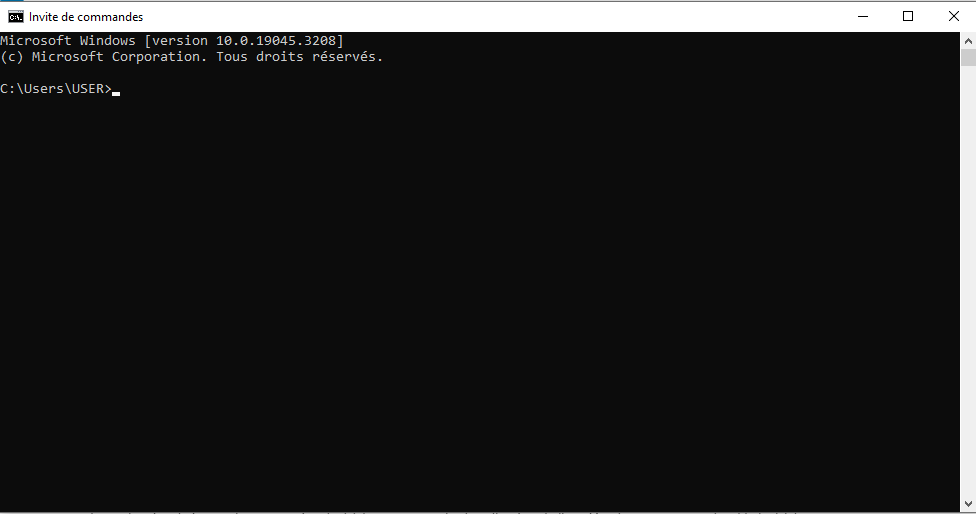
- Next, you need to navigate to the folder where the setup.exe file is located using the cd (change directory) command. For example, if the setup.exe file is located in the Downloads, you need to type cd C:\Users\Username\Downloads.
- Finally, you need to type the name of the setup.exe file followed by the parameters you want to use. For example, if you want to install the software in silent mode, you need to type setup.exe /s.
Use compatibility mode to run the setup.exe file

This method is necessary if you are trying to install software that is not compatible with your current version of Windows. For example, if you want to install software designed for Windows XP on Windows 10 or 11 , the setup.exe file may not work correctly or may cause errors. To resolve this issue:
- Use compatibility mode, which allows you to run a program as if it were on an earlier version of Windows. To do this, right-click on the setup.exe file and choose Properties from the context menu.

- Next, go to the Compatibility and check the box " Run this program in compatibility mode for…" Then, choose the Windows that corresponds to the software you want to install from the drop-down list. For example, if the software is designed for Windows XP, you must choose Windows XP (Service Pack 3).
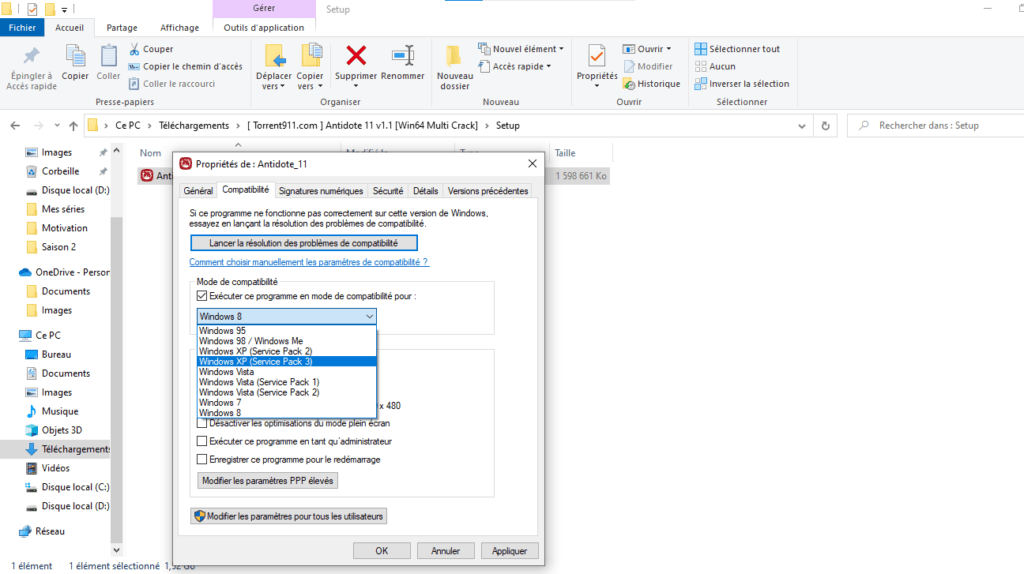
- Finally, click OK and double-click the setup.exe file to launch the installer.
FAQ
How can I tell if a setup.exe file is safe?
There is no foolproof method to know if a setup.exe file is safe, but there are some precautions to take before running it.
- You need to check the source of the file, that is, the website or medium where you downloaded it.
- You should avoid dubious websites or unsolicited links that may contain malware.
- You should also scan the file with an antivirus or antimalware program before opening it.
- You should also pay attention to warning messages or permission requests that may indicate an attempted infection.
How do I uninstall software installed using setup.exe?
To uninstall software installed with setup.exe, there are several possible methods.
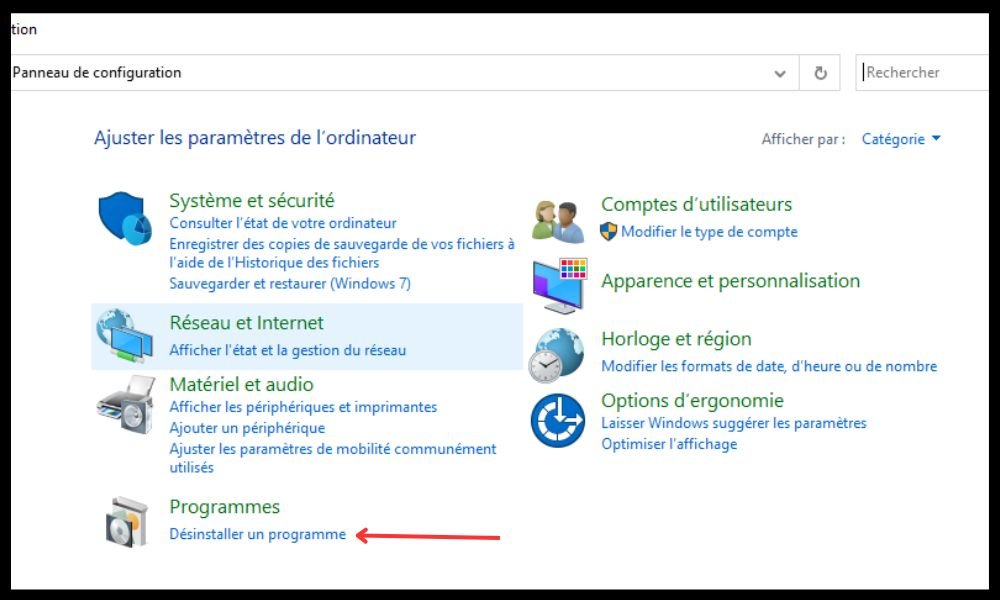
Control Panel Windows, which allows you to manage the programs installed on your computer. To do this, go to the Start and selectControl Panel.
Next, click on Programs and Features and select the software you want to uninstall from the list. Then, click Uninstall and follow the on-screen instructions.
Another method is to use the uninstallation program provided by the software itself, if it has one.
To do this, go to the Start menu and find the software name in the list of programs. Then, click on the software name and choose Uninstall from the submenu . Finally, follow the on-screen instructions.
How to repair a damaged or corrupted setup.exe file
If you are having trouble running a setup.exe file, it may be damaged or corrupted due to an incomplete download , a power outage, a virus, or another cause. There are several possible solutions to repair a damaged or corrupted setup.exe file
The first is to re-download the file from the original source, checking that the internet connection is stable and that the download is complete.
The second is to use an executable file repair tool, such as EXE Repair Tool or File Repair Tool, which can scan and repair errors in setup.exe files.
The third option is to contact the technical support of the software you want to install, who can provide you with personalized assistance or an alternative version of the setup.exe file.
How do I change the default settings of the setup.exe file?
If you want to modify the default settings of the setup.exe file, such as the destination folder, the components to install, or advanced options, you can use the command prompt to run the setup.exe file with specific parameters.
To do this, you need:
- Open the command prompt by right-clicking on the Start and choosing Command Prompt (admin).
- Next, you need to navigate to the folder where the setup.exe file is located using the cd (change directory) command. For example, if the setup.exe file is located in the Downloads, you need to type cd C:\Users\Username\Downloads.
- Finally, you need to type the name of the setup.exe file followed by the parameters you want to use. For example, if you want to install the software in a folder other than the default one, you need to type setup.exe /D=C:\Program Files\MySoftware.
You can find the list of available parameters for each setup.exe file by consulting the software documentation or by typing setup.exe /? in the command prompt.
Conclusion
Setup.exe is an executable file used to install or update software on Windows. There are several ways to use setup.exe, depending on the type of file you downloaded, your system's compatibility mode, and your personal preferences. You can double-click the setup.exe file, run it as administrator, use the command prompt, or enable compatibility mode. Regardless of the method you choose, it's important to follow the installer's instructions and verify that the software works correctly after installation. For example, if you're installing software that uses the Java platform, you might need to check that the javaw.exe file is present in the installation folder and that it isn't blocked by your antivirus or firewall.
 to use the Ping command in Windows ?")

