

You built your computer yourself , or you want to change your case , but you don't know how to connect the power switch to your motherboard? Don't panic, we'll explain how to do it step by step. The power switch is the button that turns your computer on or off. It's connected to the motherboard by a small two-pin connector. But which way is it oriented correctly? What are the risks of making a mistake? Follow the guide!
What is the power SW?

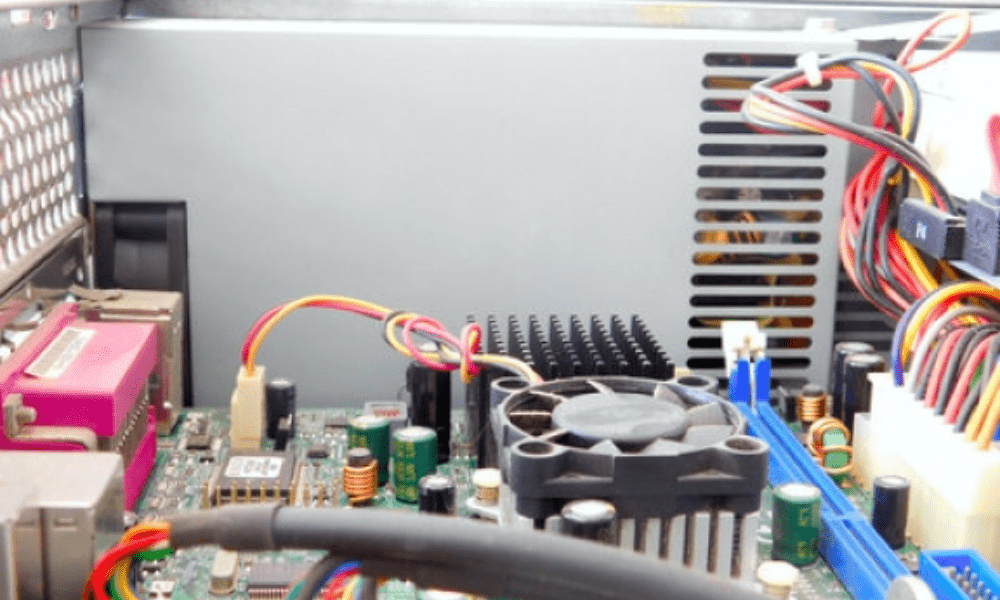
Power SW is short for power switch , which means power supply switch In French. This is the button that is usually located on the front or top of the computer case . Pressing it sends an electrical signal to the motherboard, which triggers the computer to turn on or off.
The power switch is connected to the motherboard by a short cable that terminates in a two-pin connector . This connector must be plugged into a specific location on the motherboard, called a header or front panel. There are usually several headers on a motherboard , which are used to connect other buttons or indicator lights, such as the reset switch , the HDD LED (hard drive activity indicator), the PWR LED (power power supply ) , etc.
How do I connect the power switch to my motherboard?

To connect the power switch to your motherboard , you must first locate the corresponding header . It is usually located in the bottom right corner of the motherboard and is indicated by a label or diagram. For example, you might see “ PWR SW ”, “ PW SW ”, “ POWER SW ”, “ PWR BTN ”, “ PW BTN ”, “ POWER BTN ”, etc.
Next, you need to identify the two header pins that correspond to the power switch . They are usually marked with a " + " and a " - ", or with different colors ( red and black ). Be careful not to confuse them with the reset switch, HDD LED, or power LED pins, which may be located nearby.
Finally, connect the power switch connector to the two pins on the header, observing the correct orientation. The red wire, or the wire marked with a "+", must be connected to the positive (+) pin , and the black wire, or the wire marked with a "-", must be connected to the negative (-) pin . If the connector is unmarked or if the wires are the same color, the orientation is not critical.
What are the risks in case of an error?
the power switch to the wrong header or pins , there's no major risk to the computer. The button simply won't work, or it will perform a different function ( for example, it will turn on the hard drive indicator light instead of turning on the computer ). Simply unplug the connector and plug it back in the correct position.

However, you should avoid connecting the power switch to headers that are not designed for it , such as those used to power fans or USB ports. This could damage the motherboard or the case. Therefore, you should always check the motherboard documentation before connecting anything.
Summary table of the power switch connection
| Header | Positive pin (+) | Negative pin (-) |
| PWR SW | Red or marked “+” | Black or marked “-” |
| PW SW | Red or marked “+” | Black or marked “-” |
| POWER SW | Red or marked “+” | Black or marked “-” |
| PWR BTN | Red or marked “+” | Black or marked “-” |
| PW BTN | Red or marked “+” | Black or marked “-” |
| POWER BTN | Red or marked “+” | Black or marked “-” |
FAQ about connecting the power switch
How can I tell if the power switch is properly connected?
To check if the power switch is properly connected, simply test the button. If the computer turns on or off normally, the connection is correct. Otherwise, you need to check the header and the orientation of the connector.
Can the power switch and reset switch be reversed?
Yes, you can swap the power switch and the reset switch, provided you connect them to the correct headers. The power switch will then become a reset button, and the reset switch will become a power supply power supply button to be more accessible than the reset button, or vice versa.
Can the power switch be connected to a different header than the one indicated?
No, you cannot connect the power switch to a header other than the one indicated . Each header has a specific function, and connecting the power switch to a header that is not designed for it can cause malfunctions or damage.
Can we do without the power switch?
No, you can't do without the power switch your computer on or off . If you don't have a power switch, or if you've lost or broken it, you have to buy a new one or make one yourself.
How to make a power switch yourself?
To make your own power switch , you'll need a push button, an electrical cable, and a two-pin connector. Next, solder the wires of the cable to the terminals of the button and connect the connector to the motherboard header. You can then attach the button to the case using glue or screws.
Conclusion
Connecting the power switch to your motherboard is a simple but important operation. You must respect the header, pinout, and connector orientation . While there's no major risk of failure, you must correct the connection for the button to function properly. The power switch is essential for turning your computer on and off . You can also reverse its function using the reset switch, or even build your own if needed.
The reset button on a desktop computer is another button that allows you to restart your computer without going through the Start menu. It's often located next to the power switch , and it also needs to be properly connected to the motherboard . The reset button is useful in case of a system freeze or bug. However, it should be used with caution, as it can lead to the loss of unsaved data.


