

In the digital age, a stable and high-performance internet connection has become essential. Whether you're a passionate gamer, a professional working remotely, or simply a user who wants to fully enjoy online content, an Ethernet connection is the ideal solution.
If you wish to install an Ethernet wall socket in your home, this article will guide you step by step through the necessary stages, providing all the technical details and simplifying the terms for easy understanding by everyone.
Prerequisites
Before you begin, make sure you have the following items:
- Cat 5e or Cat 6 Ethernet cable : These cables are designed for Gigabit Ethernet connections and offer optimal transmission speeds.
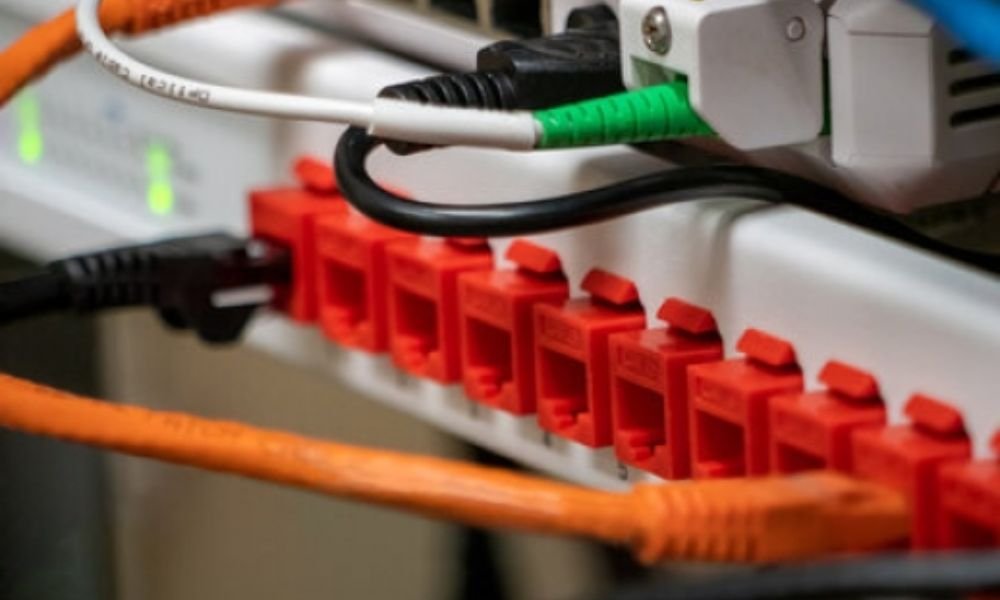
- RJ45 Ethernet wall socket : Choose a socket compatible with your cable type and suitable for your interior decor.
- Tools : You will need a wire stripper, wire cutters and an Ethernet cable tester (optional).
Steps to wire an Ethernet wall outlet
Now that you have gathered all the necessary materials, we will proceed to the actual wiring steps . Follow the instructions below carefully for a successful installation.
Step 1: Preparing the Ethernet cable

The first step is to prepare the Ethernet cable by stripping it properly. Use a cable stripper to remove about 2 to 3 centimeters of the outer sheath of the cable. Be careful not to damage the wires inside.
Once the outer sheath is removed, you will see four pairs of twisted wires. Use your fingers to gently separate the pairs and align them in the correct order.
Step 2: Crimping the wires
Now that the cable is prepared, you can crimp the wires onto the Ethernet wall socket . Insert the wires into the wall socket following the T568B wiring diagram, which is the most commonly used. Make sure each wire is correctly inserted into its corresponding slot.
Refer to the T568A wiring standard to arrange the wires in the correct order. For a standard connection, the order is usually:
- White-orange
- Orange
- White-green
- Blue
- White-blue
- Green
- White-brown
- Brown
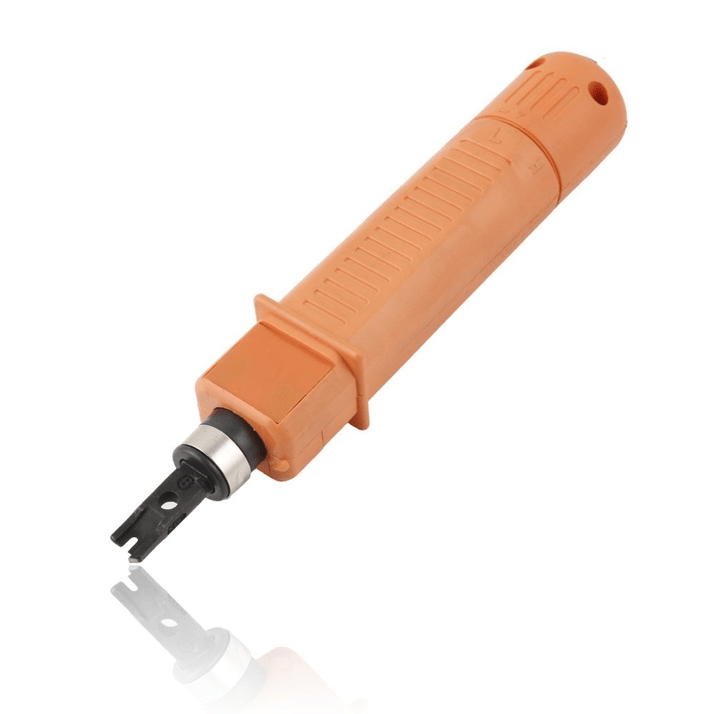
Once the wires are inserted, use an RJ45 crimping tool to secure them in place. Apply firm pressure to ensure the wires are properly connected.
Step 3: Installing the wall socket

Now that the wires are crimped, you can install the Ethernet wall socket in the recessed box. Secure the wall socket to the box using the screws provided. Ensure the socket is firmly attached and does not move.
Step 4: Connection verification
Once the installation is complete, it's important to check the connection to ensure everything is working correctly. Use an Ethernet cable tester to check the continuity of the wires and the quality of the connection. Plug one end of the Ethernet cable into the wall socket and the other end into a compatible device, such as a computer or router.
Turn on the Ethernet cable tester and follow the instructions provided with the device to perform the test. The tester will check the continuity of the wires and tell you if the connection is good or if there are any wiring problems .
See also: Mobile network amplifiers: are they effective?
FAQ
Why should I wire an Ethernet wall socket instead of using Wi-Fi?
A wired Ethernet connection offers a more stable and faster connection than Wi-Fi. It is ideal for activities requiring high bandwidth , such as online gaming, HD video streaming, and transferring large files. Furthermore, it is less susceptible to interference and signal loss.
What type of Ethernet cable is recommended for wiring a wall socket?
It is recommended to use a Category 6 or higher Ethernet cable to connect to a wall socket. These cables offer optimal performance and are compatible with the highest connection speeds.
Can I use an existing Ethernet cable to wire a wall socket?

Yes, you can use an existing Ethernet cable to wire a wall socket , provided it is in good condition and meets the appropriate wiring standards.
Is it necessary to hire a professional to wire an Ethernet wall socket?
Wiring an Ethernet wall socket can be done by a novice by following best practices and the appropriate instructions. However, if you are not comfortable with wiring or if you want a professional installation, it is recommended to hire a professional.
What are the advantages of a wired Ethernet connection compared to Wi-Fi?
The advantages of a wired Ethernet connection over Wi-Fi include a more stable connection, higher connection speeds, enhanced security, and reduced interference. Furthermore, a wired Ethernet connection can reduce Wi-Fi network congestion , which can improve overall network performance.


