

In a world where speed and efficiency are paramount, upgrading your external hard drive to USB 3.0 may seem like a technical task, but it is accessible to everyone. You may be wondering why and how to undertake this upgrade.
This article will guide you through the steps needed to turn your old external hard drive into a USB 3.0 compatible device . By following these steps, you will benefit from data transfer , making your daily computing tasks more smooth and efficient.
Why upgrade to USB 3.0?
USB 3.0 offers significant advantages over USB 2.0 . The main difference is the data transfer speed. USB 3.0 can reach speeds of up to 5 Gbps , ten times faster than USB 2.0, which is limited to 480 Mbps .
This increase in speed translates to significantly faster file transfer times, which is especially beneficial for large files like HD videos , photo libraries, and entire system backups.
Hardware needed for upgrade
Before you begin, make sure you have the following materials:
- A current external hard drive (USB 2.0).
- USB 3.0 compatible external hard drive enclosure (available for around €15).

- A screwdriver suitable for dismantling the old housing.
- A computer with a USB 3.0 port.
Step 1: Choose the right case
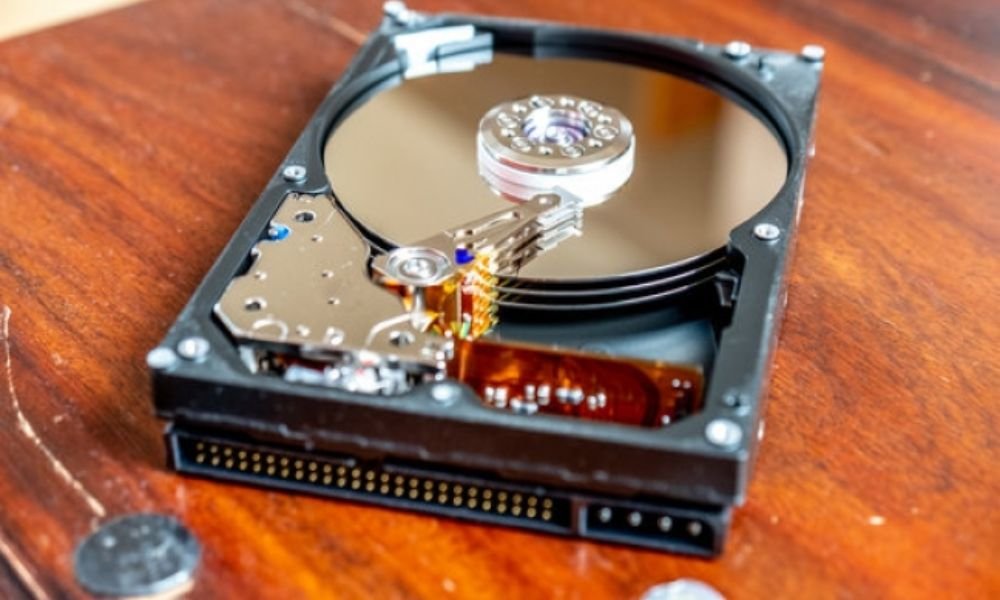
The choice of enclosure is crucial to the compatibility and performance of your hard drive. First check the dimensions of your hard drive. Hard drives generally come in two sizes: 2.5 inches (laptop hard drives) and 3.5 inches (desktop hard drives) .
Make sure the enclosure you buy is compatible with the size of your hard drive. Additionally, it is important to check the hard drive interface. Most modern hard drives use a SATA interface , but older drives may use an IDE interface. Choose an enclosure that matches your hard drive's interface.
Plastic or aluminum housing?
Plastic cases are generally cheaper and sufficient for normal household use. However, if you frequently transport your hard drive, an aluminum enclosure may provide better protection against shock and physical damage. Additionally, aluminum dissipates heat better, which can extend the life of your hard drive .
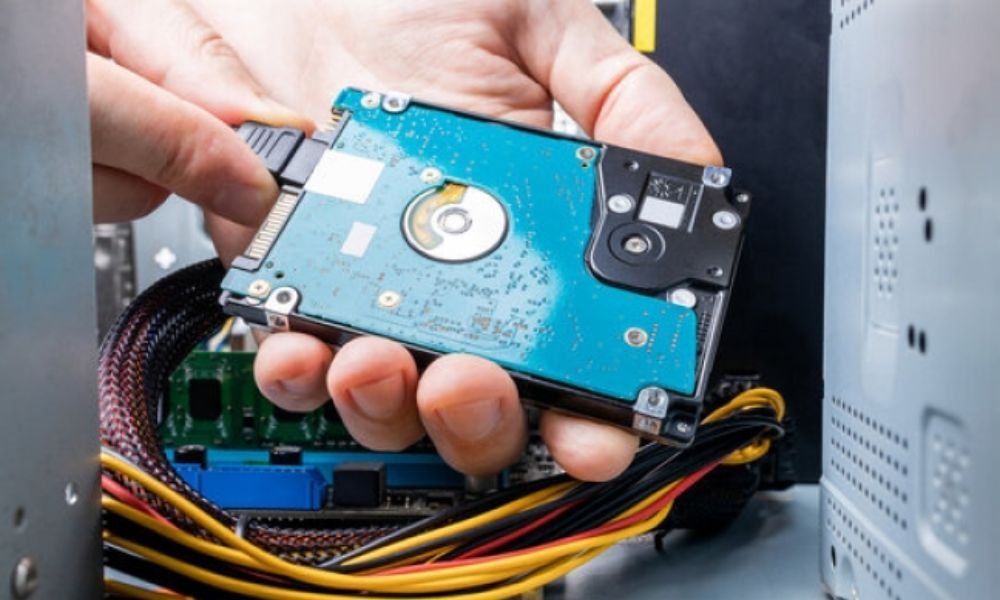
Step 2: Remove the hard drive from the old enclosure
To get started, turn off and unplug your external hard drive . Use a screwdriver to remove the screws from the old case. Once the screws are removed, carefully open the case. Be careful not to damage internal components . Carefully remove the hard drive from the old enclosure by disconnecting all attached cables.
Step 3: Install the hard drive into the new USB 3.0 enclosure
Take your new USB 3.0 enclosure and open it following the instructions provided. Place the hard drive into the enclosure, making sure to align the connectors correctly. Connect the SATA and power power supply from the enclosure to the hard drive. Once connected, close the case and secure it with the screws provided. Make sure all connections are secure and the hard drive is secure inside the enclosure.
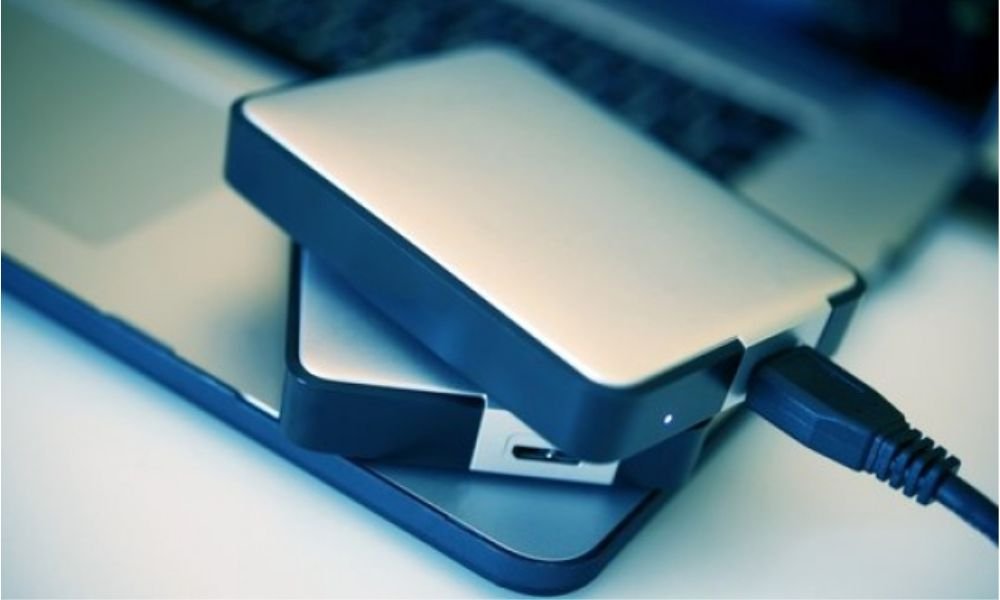
Step 4: Test the upgraded hard drive
Plug your new USB 3.0 external hard drive into a USB 3.0 port on your computer. The computer should automatically detect the hard drive. If not, check the connections and make sure the hard drive is receiving proper power .
Once detected, transfer a few files to test the transfer speed. You should notice a significant improvement over the old USB 2.0 interface. If transfers go quickly and smoothly, your upgrade was successful.
Step 5: Optimize performance
To get the most out of your new USB 3.0 hard drive , you can make a few additional adjustments. Make sure you use good quality USB 3.0 cables. Poor quality cables can limit performance and cause intermittent disconnections.
your computer's power supply management settings Some systems may reduce the power of the USB ports to save power, which may affect hard drive performance. your system's power supply settings make sure the USB ports are configured to operate at full power.

Update drivers
To ensure optimal compatibility and maximum performance, make sure your computer's USB drivers are up to date. You can check for driver updates through your operating system's device manager. Check for updates specific to USB controllers and update if necessary.
Step 6: Regular Maintenance
To maintain the performance of your USB 3.0 external hard drive , it is important to perform regular maintenance. Defragment the hard drive periodically to optimize data access . Also, be sure to scan the hard drive to detect and repair any errors .
Use diagnostic tools provided by the hard drive manufacturer or reliable third-party software. Additionally, avoid abruptly unplugging the hard drive without using your operating system's safe removal option to prevent data corruption.
Conclusion
Upgrading your external hard drive to USB 3.0 is a relatively simple and affordable task that can significantly improve the performance of your data transfers . By following the steps detailed in this article, you can turn your old hard drive into a high-speed device, maximizing your efficiency and productivity .
In case of problems, it is also useful to know how to recover data from a broken SSD hard drive . Not only will you extend the life of your existing hardware, but you'll also enjoy the benefits of USB 3.0 technology without having to invest in a new hard drive.


