Has the Wi-Fi icon disappeared from your computer's taskbar and you don't know how to get it back? Have you restarted your PC, but the icon is still missing? This article offers some solutions that can help you resolve the issue of the Wi-Fi icon not displaying on Windows 10!
Why has the WIFI icon disappeared from your computer?
Several reasons explain the absence of the WIFI icon in your PC's taskbar:
WIFI adapter disabled
In this case, you must ensure that your computer is not connected to the network via an Ethernet cable . This could cause the Wi-Fi icon to change shape and prevent you from selecting the network you want to connect to. If you have a cable plugged in, unplug it!
A mistake that led to the network icon being hidden in the taskbar.
To check if the Wi-Fi icon is hidden or obscured , click the small upward-pointing arrow in the bottom right corner of the screen. If you see the Wi-Fi icon there, you can drag it back to its original position on the taskbar. Otherwise, browse the different solutions presented in this tutorial!
However, before continuing, we suggest you watch this short video which explains how to make a missing WIFI icon reappear on Windows 10:
Now, let's look at the different solutions!
Solution 1: Use the Personalization option to make the WIFI icon reappear on Windows 10

Follow the different steps to achieve this:
Step 1: Use the keyboard shortcut “ Windows + I Windows 10 settings
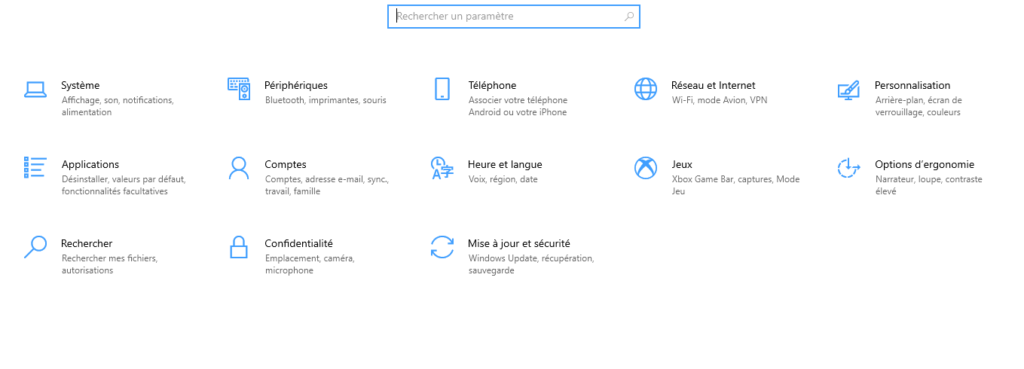
Step 2: Personalization option and then press “ Taskbar ” in the menu on the left.
Step 3: Scroll down and then click on the "Enable or disable system icons " option located under " Notification area "
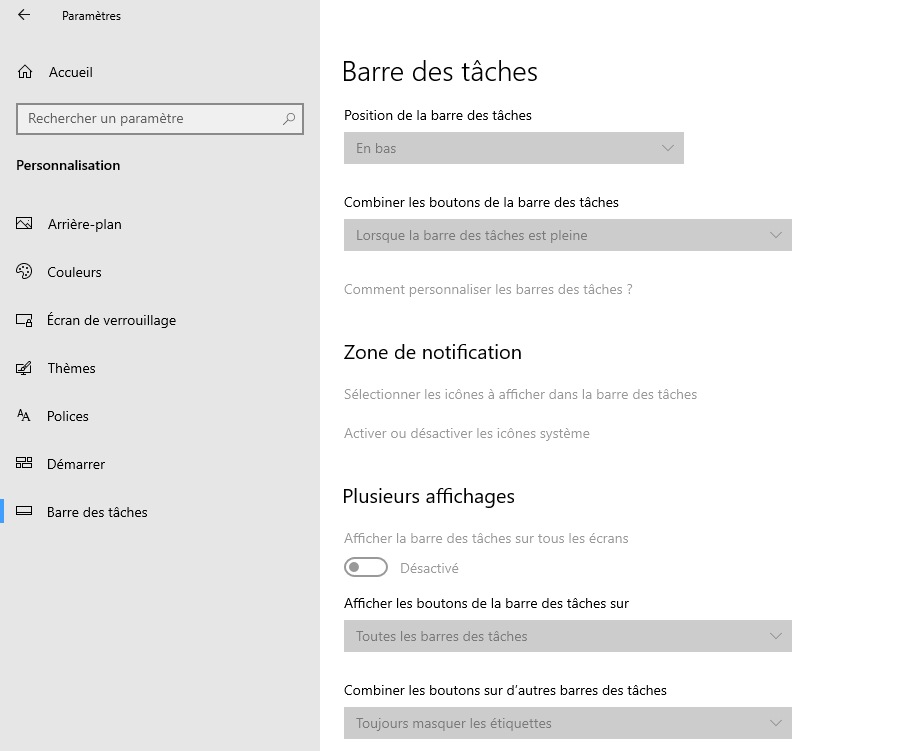
Step 4: In the list of system icons, check that the Network icon is enabled. If it is not, enable it!
Step 5: Then go back and tap the " Select icons to display in the taskbar"
Step 6: As you did previously, check that the Network icon is active. If it is not, simply press the button next to it to activate it.
The icon should now reappear in the taskbar. If you don't see it, the problem may lie elsewhere. Please try the following solution!
Solution 2: Use the Local Group Policy Editor to enable the Wi-Fi icon on Windows 10
The Local Group Policy Editor, or "gpedit.msc", is an administrative tool that simplifies the configuration of many Windowspolicy settings. To check if the Wi-Fi icon is enabled in the Windows 10 Group Policy Editor, follow these steps:
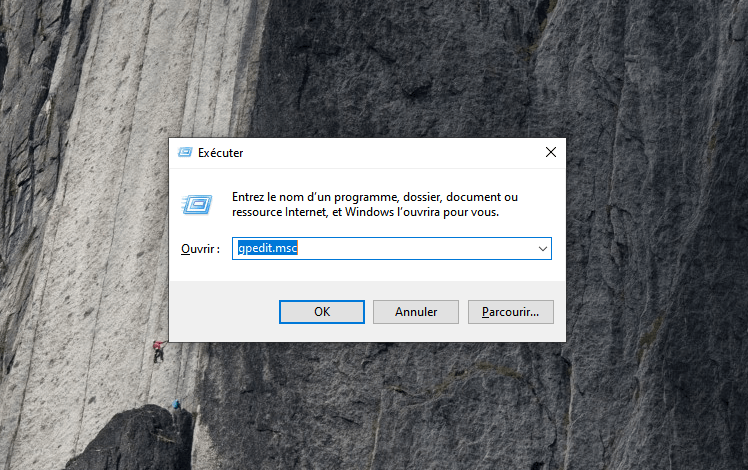
Step 1: Use the keyboard shortcut ' ' Windows + R'' to open the Run command
Step 2: gpedit.msc in the address bar and then click " OK " to access the Local Group Policy Editor
Step 3: "User Configuration" option in the left sidebar menu and then click on it.
Step 4: Next, click on the options ' 'Administrative Templates'' >>> ' 'Start Menu and Taskbar ''
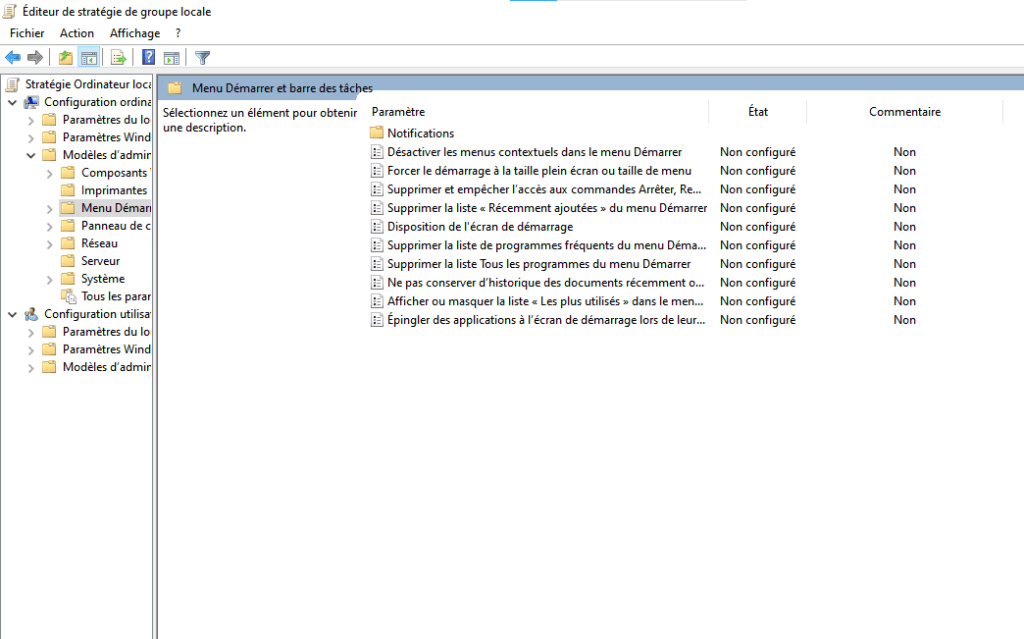
Step 5: In the right-hand sidebar menu, double-click on the policy setting ' 'Remove network icon'
Step 6: 'Remove networking icon policy setting is set to 'Not configured', press 'OK' to confirm and exit the Local Group Policy Editor.
Solution 3: Restart Windows Explorer

Restarting Windows Explorer on your computer might also help resolve the issue of the missing Wi-Fi icon in the taskbar. To do this:
Step 1: Right-click on the taskbar and click on Task Manager. Alternatively, you can use the keyboard shortcut " Ctrl + Shift + Esc ".

Step 2: Next, click on the " Processes " tab and select the " Windows Explorer "
Step 3: Next, right-click on " Windows Explorer " and select the " Restart "
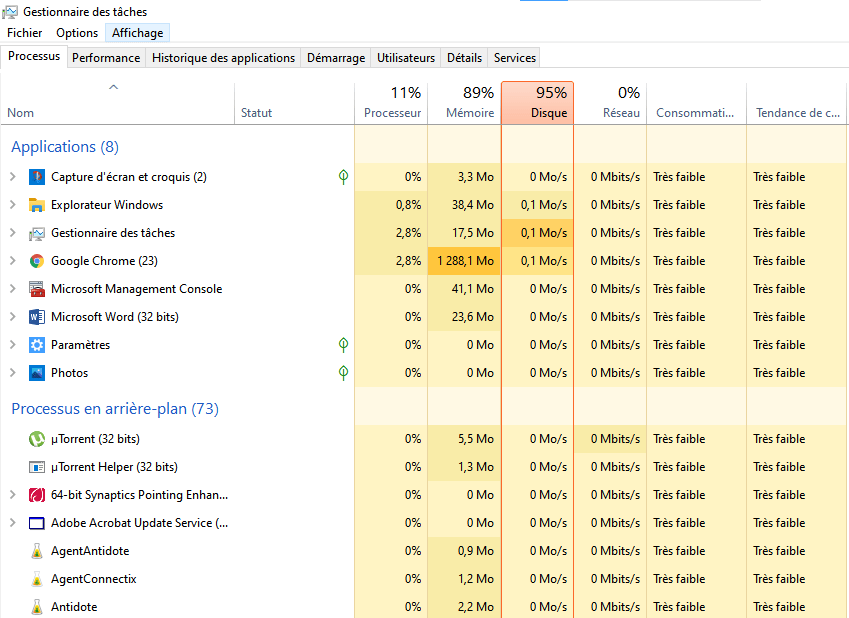
That's it! Check if the missing Wi-Fi icon is now displayed at the bottom of your screen. If not, proceed to the next method.
Solution 4: Check Windows 10 network services
Follow these steps to go faster:
Step 1: Use the keyboard shortcut " Windows + R" to access the Run command
Step 2: In the bar, type "services.msc" and press "OK"

Step 3: In the " Status " column, ensure that the Windows listed below are " Running ". If you find that a service is stopped, select it and click the " Start service " option.
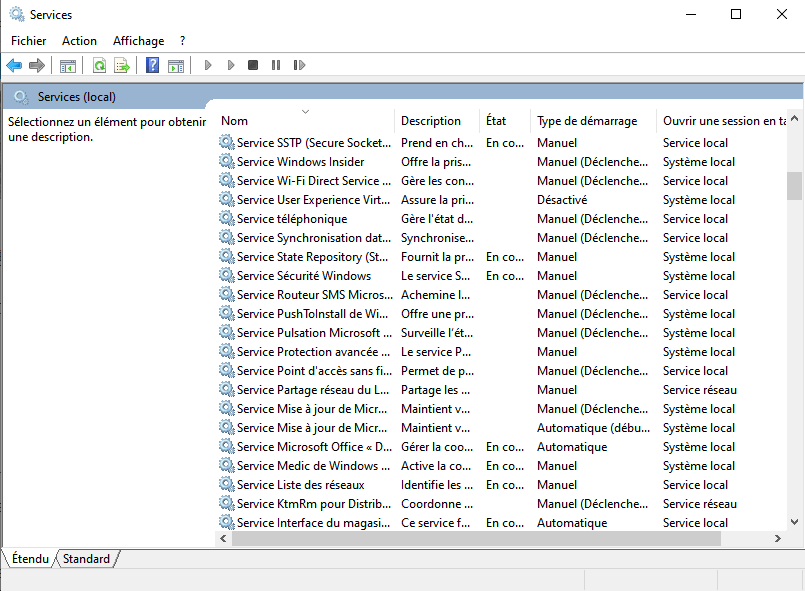
Indeed, a service that is not running can cause the Wi-Fi icon to disappear on Windows 10. Here is a list of services to consider:
- Services Network List
- Knowledge of network locations
- Remote Access Connection Manager
- Plug-and-Play
- Remote Procedure Call (RPC)
- WLAN automatic configuration service
Solution 5: Update your computer's Wi-Fi card driver

Very often, running a Windows 10 driver update effectively solves a problem, and the method used to achieve this is very simple.
To update your Wi-Fi card and make the Wi-Fi icon appear on your computer, follow these steps:
Step 1: Type “ Device Manager Windows search bar and click “ Open ” to access it
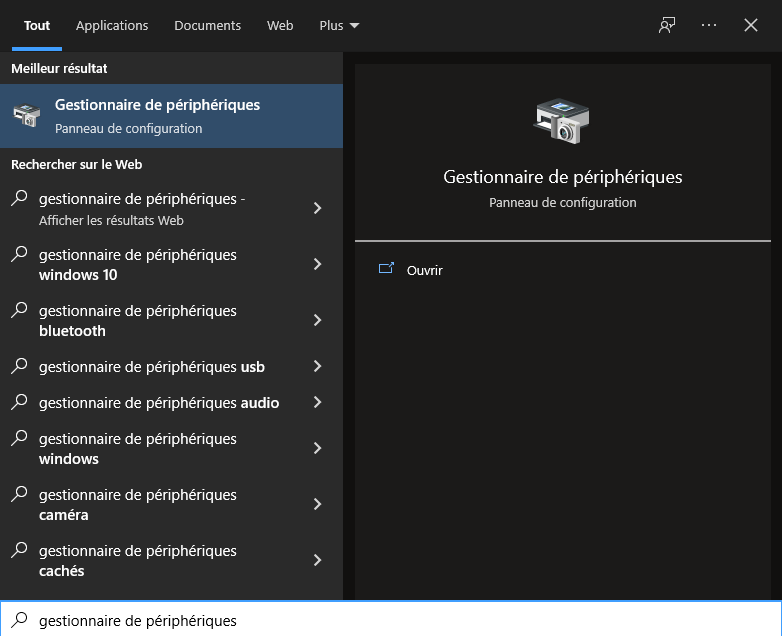
Step 2: Next, find the “ Network card ” section and select it
Step 3: Double-click on your WIFI card
Step 4: In the “ Properties ” tab, select the “ Driver ” option and click the “ Update Driver ”
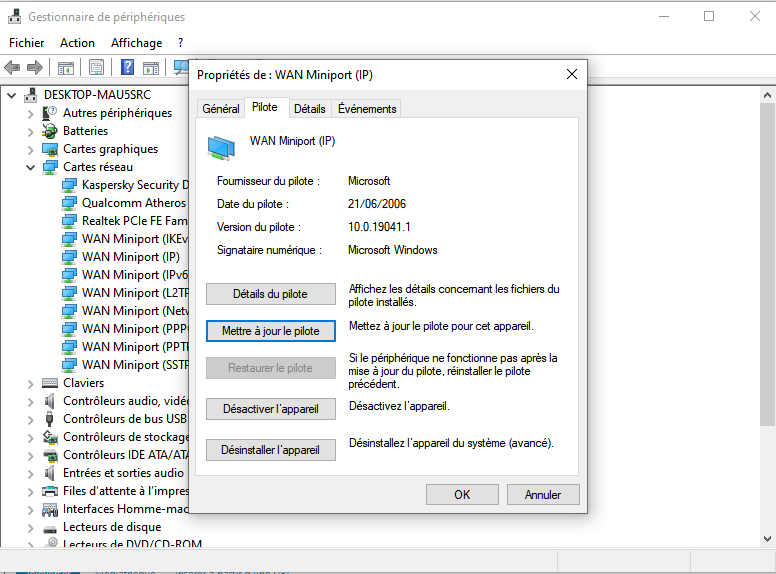
Step 5: Click on “ Automatically search for drivers ” in the new window that will appear.


