

Windows Defender represents the antivirus/antimalware protection Windows 10 operating system . When you don't have any other antivirus program installed on your computer, Windows Defender activates by default and protects your PC in real time.
While this solution is effective, it often impacts system performance, and the only option that comes to mind is to disable it. If you agree with this view, here's how to do it in Windows 10.
Everything you need to know before uninstalling Windows Defender
Using your computer without antivirus protection commonly leads to serious consequences. The main one? The loss of all your data (emails, photos, documents, etc.). Be aware that this data could fall into the wrong hands (which happens very often).
For data protection, many people prefer Windows Defender, as this Microsoft proves to be very effective. Based on feedback from users, the program receives a rating of 5.5/6 for the protection it offers. It also receives a rating of 5.5/6 for performance and a score of 6/6 for ease of use.
This is therefore a good antivirus built into your operating system , and it is sometimes not even necessary to install another similar program like Avast, Kaspersky or Bitdefender to ensure the protection of your computer.
However, if you insist on disabling it to install another program, simply follow the methods below. Note that if you install another antivirus program, Windows Defender will be automatically disabled by it. Therefore, you will not need to perform the operation described in this article.
Good to know : If you are unable to resolve a particular problem, you can consider using safe mode on Windows 10.
The method to temporarily disable Windows Defender in Windows 10
To temporarily disable Windows Defender, it's very simple. Just use the Windows settings . Follow these steps:
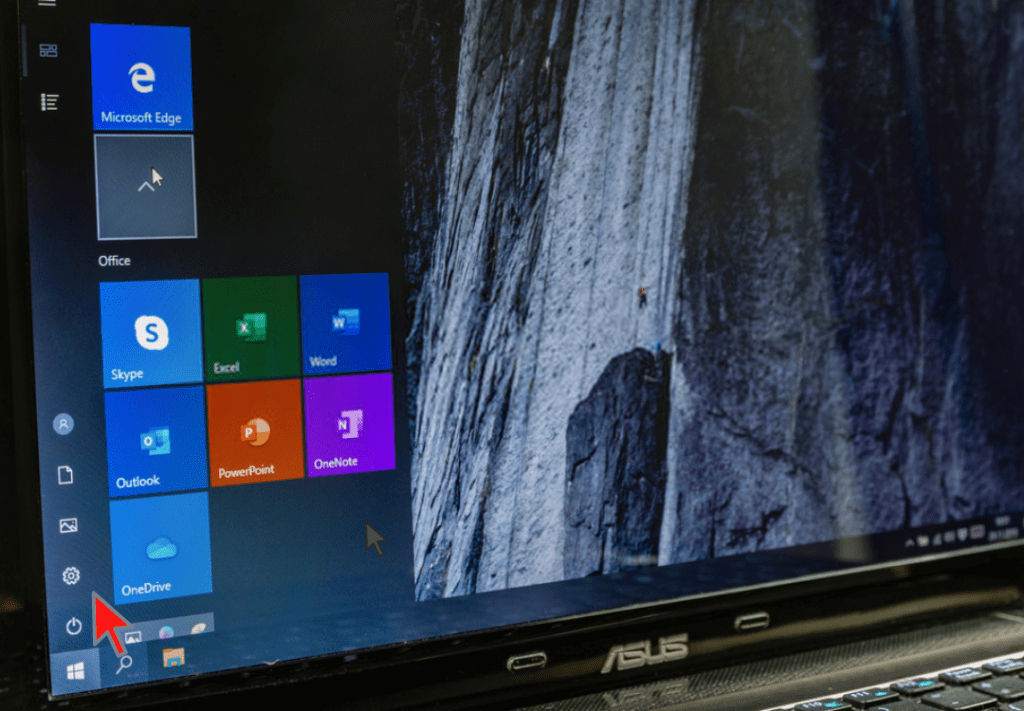
Step 1: Go to Windows via the Start . You can also try the keyboard shortcut " Windows key + L ". If you're still having trouble, simply use the Windows located at the bottom of your screen.
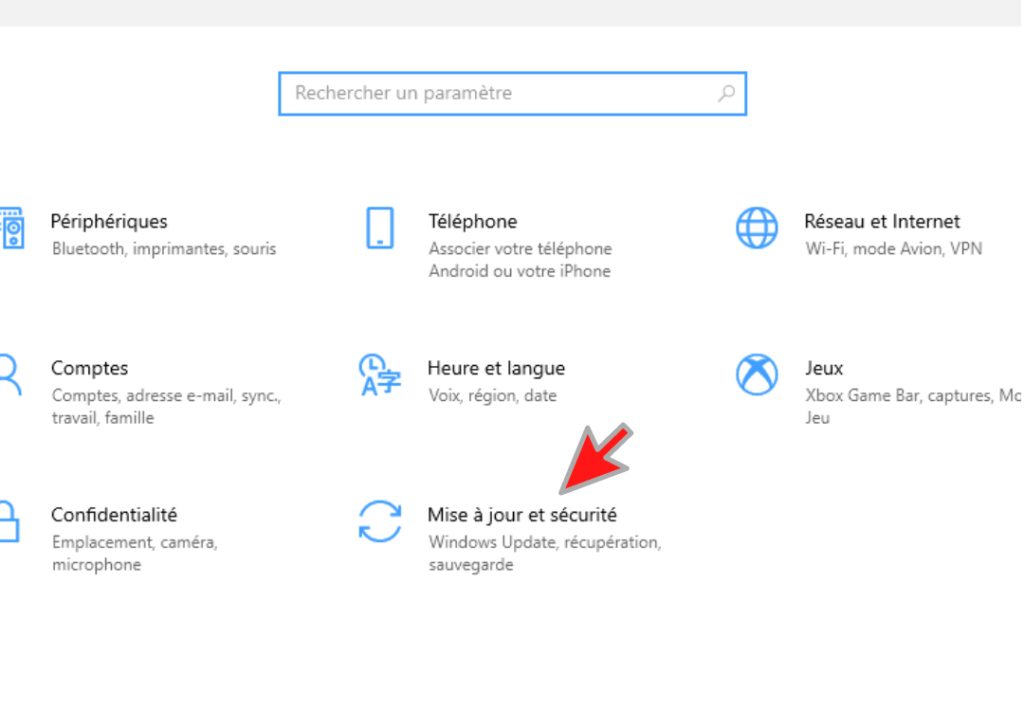
Step 2: In the settings menu, then look for the " Update & Security " option and click on it.
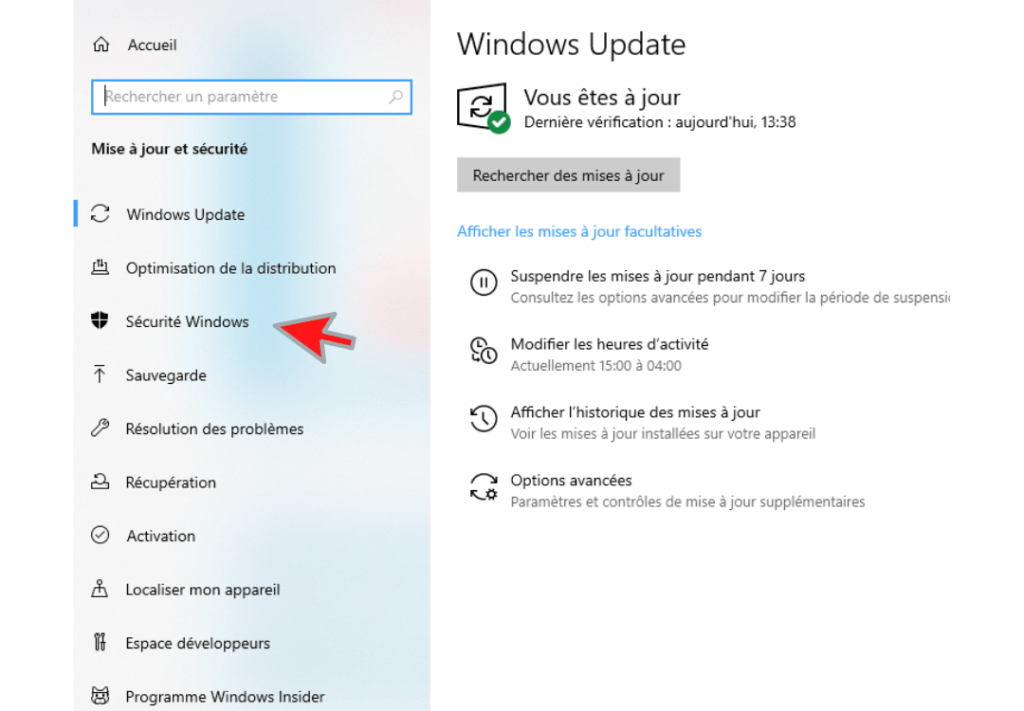
Step 3: In the column that appears on the left, select " Windows Security ".
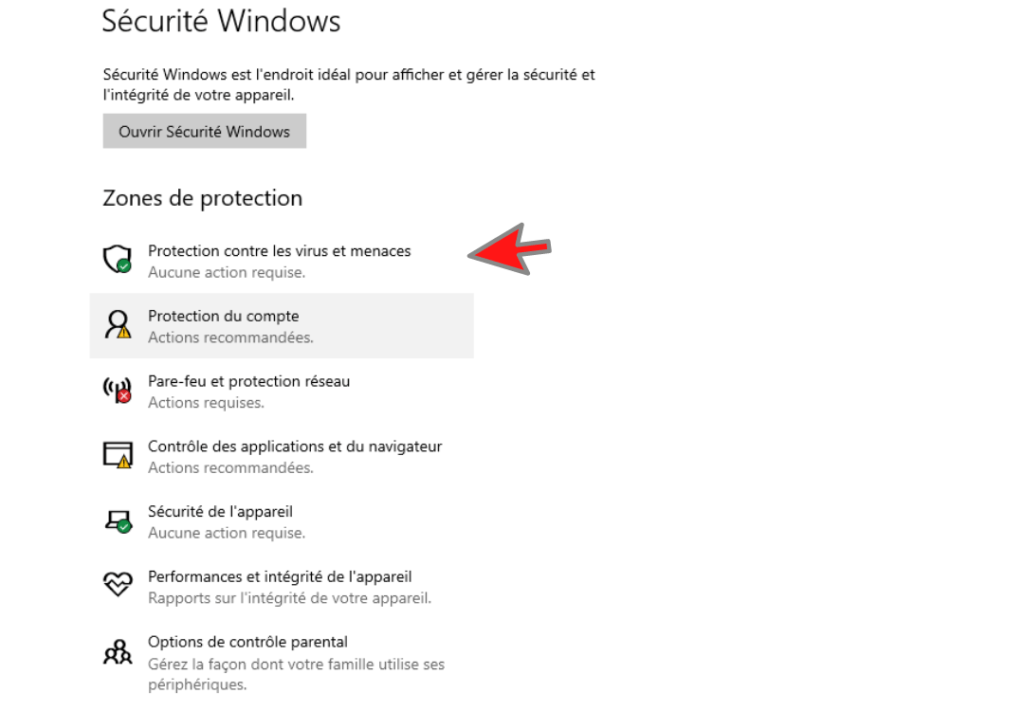
Step 4: Windows security menu . You're almost there! All you have to do now is find and click on the " Virus & threat protection " option.
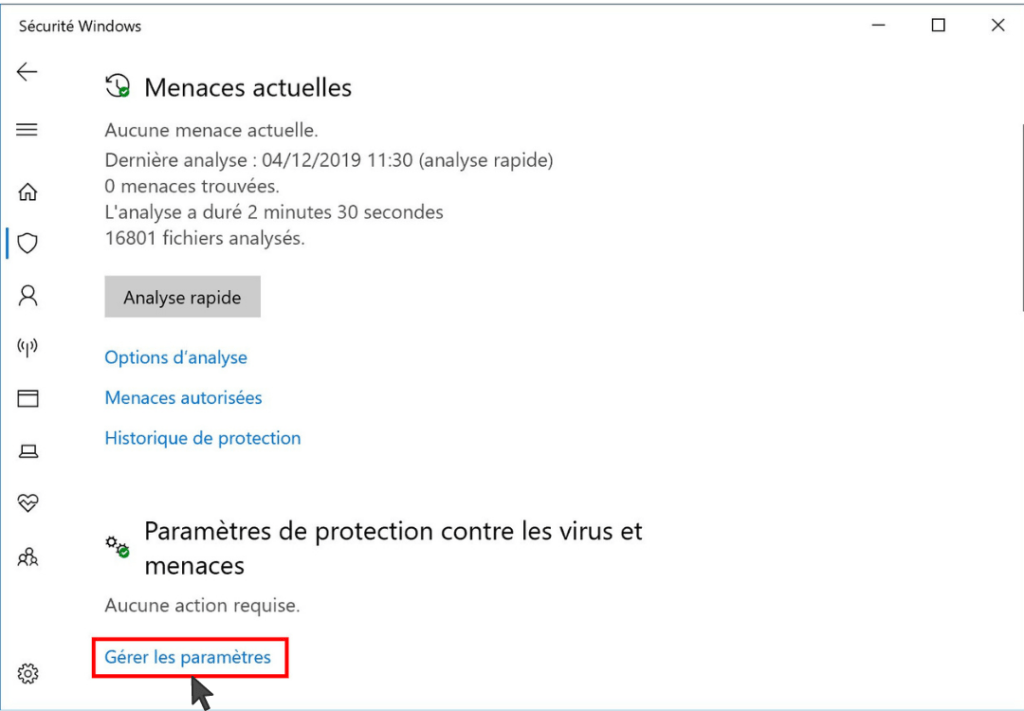
Step 5: In the new window that appears on your screen, select the " Manage settings " option. This option is visible just below " Virus and threat protection settings ".
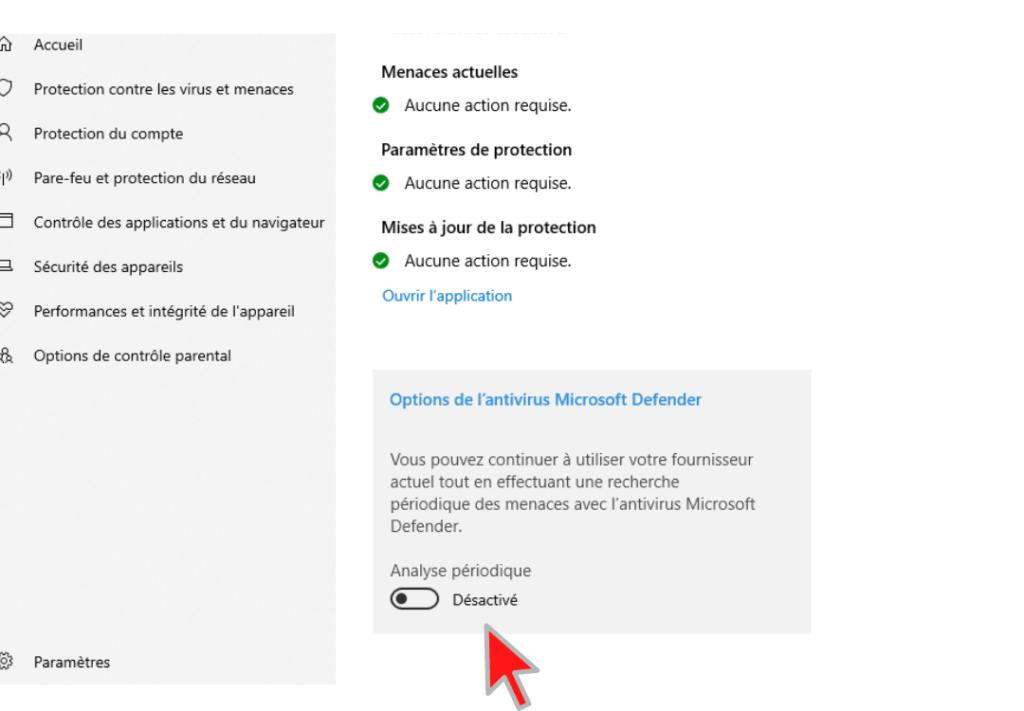
Step 6: real-time protection option using the slider provided for this purpose, then disable it!
Done! You have just temporarily disabled Windows Defender on windows 10. You can now perform all the tasks you want on your computer and re-enable it if you don't have third-party programs such as:

How to permanently disable Windows Defender in Windows 10
It is impossible to completely uninstall Windows Defender from your PC. It is a program integrated by default into your operating system.
However, there is a trick that will allow you to disable it permanently. This trick simply involves using the Ultimate Windows Tweaker , which is an alternative to the registry editor .
For your information, the operation of adding a key in the registry editor no longer appears to be an effective solution for completely disabling the Windows Defender program.
However, Ultimate Windows Tweaker is a free and portable tool that helps you force the disabling of Microsoft Defender.
To use it:
- Download and launch the Ultimate Windows Tweaker . Note that it is portable and therefore does not require installation.
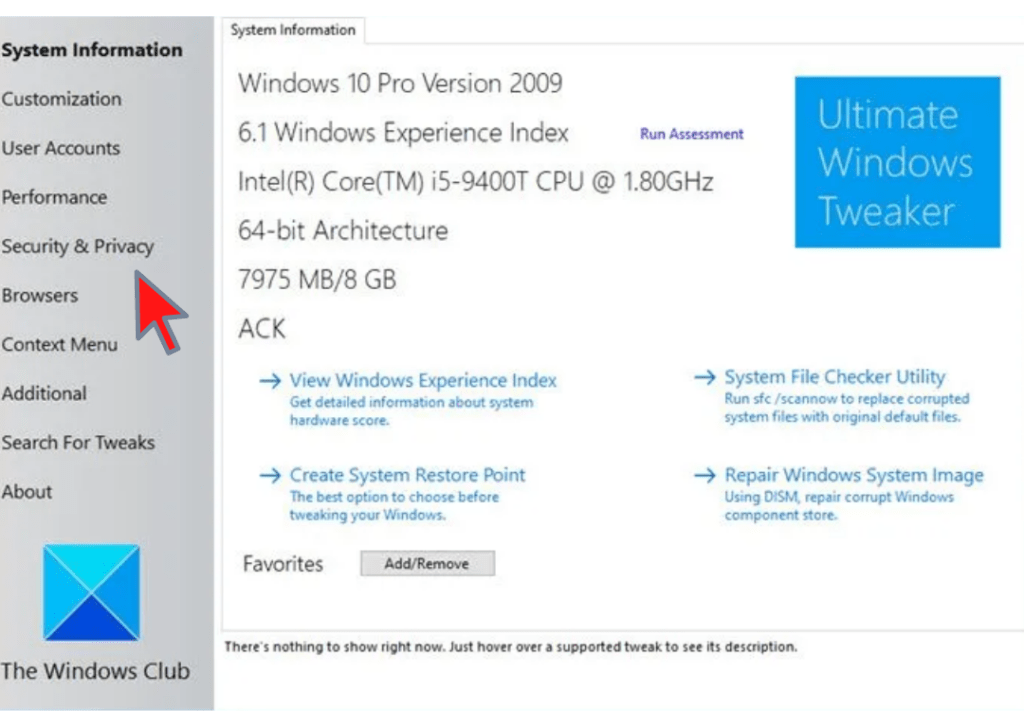
- In the window that will appear after launching the utility, press the " Security & Privacy " option on the left.
- Next, check the box " Disable Windows Defender " and then click on " Apply Tweaks ".
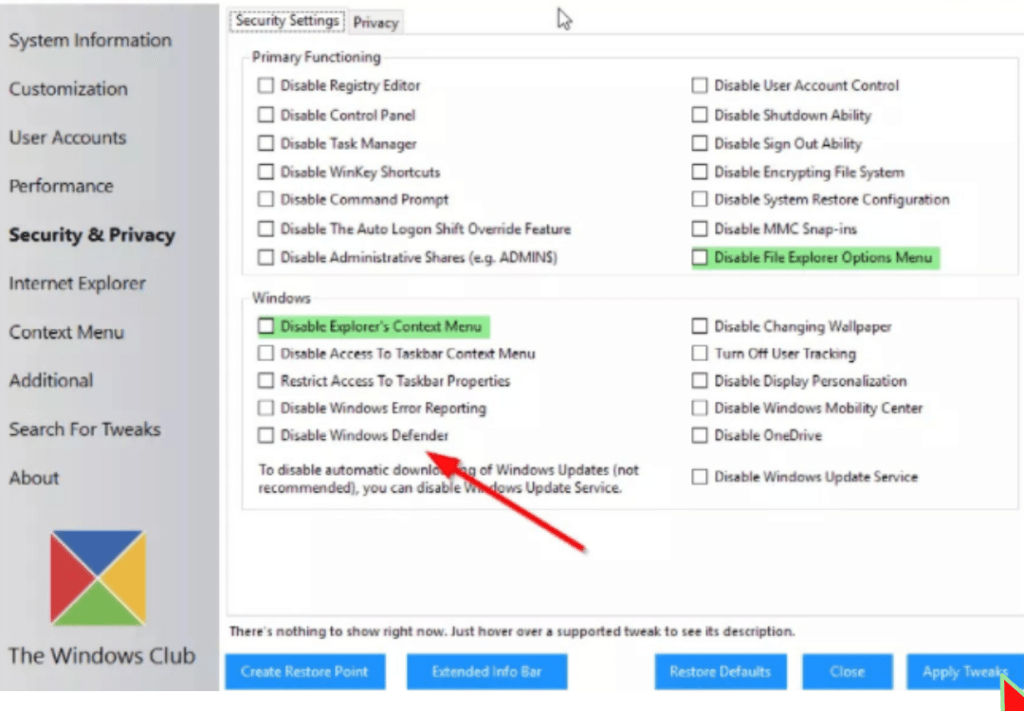
- To permanently apply the changes and disable Windows Defender, we recommend that you restart your computer.
If you wish to revert to the previous state and reactivate Windows Defender, you must:
- Restart Ultimate Windows Tweaker,
- Return to the " Security & Privacy " tab,
- Restore Defaults " option
- Confirm and restart your PC so that Windows Defender can work again.
Up to you !

There you go, you've successfully disabled Windows Defender on your computer. Now it's time to install antivirus software to protect your machine. To help you, we've selected the best antivirus programs currently available. Here are a few:
Source :
 to use the Ping command in Windows ?")

