Photoshop is a very powerful and popular image editing software It allows you to create impressive visual effects, edit photos , create illustrations, logos, posters, etc. But to take full advantage of its features, you need to know how to zoom in Photoshop .
Indeed, zoom is an essential tool for working with precision and efficiency on your images. It allows you to see details, correct imperfections, fine-tune settings, etc. But how to zoom in photoshop? What are the different possible methods? What keyboard shortcuts should you know? How to move around in the image when you have zoomed in ?
In this article, we will explain to you in a few easy steps how to zoom in Photoshop with all the tips and advice to optimize your workflow. Follow the leader !
Here is a video tutorial to learn how to zoom in Photoshop in just a few clicks !
Zoom in or out using the Zoom tool

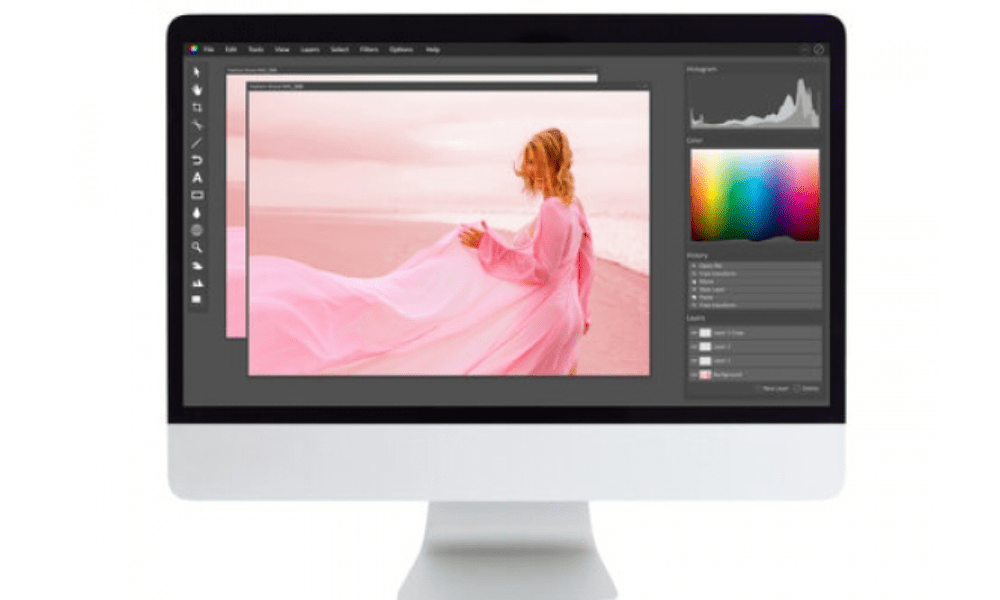
The Zoom tool is arguably the simplest and most intuitive method for zooming in Photoshop . It's located in the tools panel on the left of the screen. It's shaped like a magnifying glass with a plus (+) or minus (-) symbol depending on whether you want to zoom in or out.
To use the Zoom tool , simply click its icon in the tools panel, then click in the area of the image you want to enlarge or reduce. Each click changes the zoom percentage to the next preset level, and centers the image relative to the point where you click.
You can also click and drag with the Zoom tool to draw a selection rectangle around the area you want to zoom. The image then automatically adapts to the size of the rectangle.
In the Zoom tool options bar, located at the top of the screen, you can also choose between the following options:
- Zoom in : to enlarge the image
- Zoom out : to reduce the image
- Resize windows : to adapt the size of the window to that of the image
- Zoom windows : to synchronize the zoom between several windows
- Scrolling zoom : to enable horizontal and vertical scrolling with the mouse wheel
- Fit to screen : to display the entire image in the window
- Full screen : to display the image in full screen mode
Zoom in or out using keyboard shortcuts

If you prefer to use your keyboard rather than your mouse, know that there are very practical keyboard shortcuts for zooming in Photoshop . They allow you to save time and streamline your work.
Here are the main keyboard shortcuts to know:
- Ctrl + + ( Windows ) or Cmd + + (Mac) : to zoom in
- Ctrl + – ( Windows ) or Cmd + – (Mac) : to zoom out
- Ctrl + 0 ( Windows ) or Cmd + 0 (Mac) : to fit the image to the screen
- Ctrl + Alt + 0 ( Windows ) or Cmd + Option + 0 (Mac) : to display the image at 100% (actual size)
- Space + left click : to temporarily activate the Hand tool and move around the image
- Space + Alt + left-click ( Windows ) or Space + Option + left-click (Mac ): to temporarily activate the Zoom tool and zoom in
- Space + Alt + right-click ( Windows ) or Space + Option + right-click (Mac) : to temporarily activate the Zoom tool and zoom out
Zoom in or out using the navigation window

The navigation window is another very useful tool for zooming in photoshop. It allows you to see a thumbnail of your image and control the zoom level and displayed area.
To display the navigation window, go to the Window menu > Navigation. You will then see a small window appear with a reduced image of your document. In the lower right corner of the window you can see the current zoom percentage. You can change it by clicking on the number and entering a value, or by using the slider below it.
To zoom in or out on a specific area of the image , you can use the red rectangle that appears in the navigation window. It represents the area visible in the main window. You can click and drag on the edges of the rectangle to resize it, or on its center to move it. The image updates in real time in the main window.
You can also click directly in the navigation window to center the image on the point where you click. If you hold down Alt (Option on Mac), you can also click to zoom in, or right-click to zoom out.
FAQ: How to zoom in Photoshop
Here are some frequently asked questions about zooming in Photoshop, with answers:
How to zoom with the mouse wheel?
To zoom with the mouse wheel, you need to enable the Zoom with Scroll Wheel option in the software preferences. To do this, go to the Edit menu > Preferences > General (Windows) or Photoshop > Preferences > General (Mac), then check the Zoom with scroll wheel box. You can then use the wheel to zoom in or out, while holding down the Ctrl key (Cmd on Mac).
How to zoom in gradually?
To zoom in gradually, you can use the keyboard shortcut Ctrl + Space + left click (Cmd + Space + left click on Mac). It allows you to temporarily activate the Zoom tool and draw a selection rectangle around the area you want to enlarge. The larger you draw a rectangle, the greater the zoom will be.
How do I return to the initial zoom level?
To return to the initial zoom level, you can use the keyboard shortcut Ctrl + Alt + Z (Cmd + Option + Z on Mac). It allows you to undo the last actions performed, including zoom changes.
How to display multiple zoom levels at the same time?
To display multiple zoom levels at the same time, you can use the Floating Windows feature. To do this, go to the Window menu > Layout > Floating Windows . You will then see several windows containing your image.

You can resize and move them as you want. You can also change the zoom level of each window independently, using the methods described previously. To synchronize zooming between multiple windows, you can check the Zoom Windows option in the Zoom tool options bar.
Conclusion: how to zoom in photoshop
Now you know how to zoom in Photoshop with different methods: the Zoom tool, keyboard shortcuts, navigation window and floating windows . Zoom is an essential tool for working with precision and comfort on your images. Feel free to experiment with the different options and find the one that suits you best.


