

Do you use Microsoft Office on your computer and want to optimize your hard drive space ? You may have noticed a hidden folder called MSO Cache that takes up several hundred megabytes, or even several gigabytes. What is this folder and what is its purpose? Is it essential for your Office applications to function properly? Can it be safely deleted or moved ? In this article, we'll explain everything you need to know about MSO Cache and how to manage it effectively.
What is the MSO Cache?
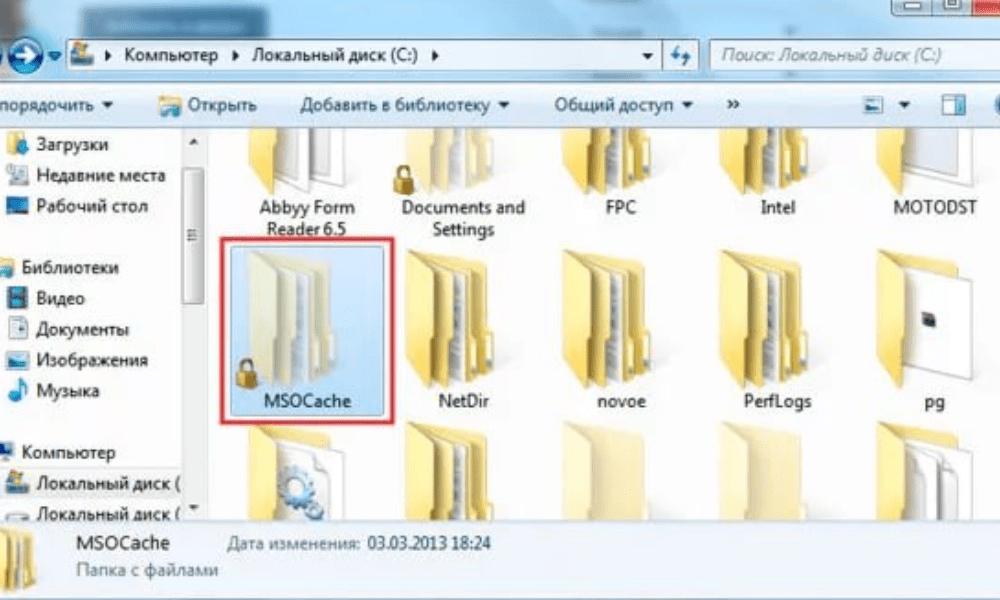
The MSO Cache is a folder created by Microsoft Office during installation. It contains installation files and local sources that allow you to repair or add features to Office without needing the CD-ROM or downloaded file.
The MSO Cache is useful if you want to modify your Office installation, for example by adding or removing components, or applying updates . It also avoids having to request the CD-ROM or downloaded file every time you launch an Office application.
The MSO Cache is usually located at the root of your C: partition Windows Explorer folder options .
The size of the MSO Cache can vary depending on the version of Office you have installed. For example, for Office 2007 , it can occupy approximately 430 MB , while for Office 2010, it can reach more than 750 MB .
Should the MSO Cache be deleted?

It is not recommended to delete the MSO Cache , as this can cause problems with your Office installation. If you delete the MSO Cache, you will need to provide the CD-ROM or downloaded file each time you want to modify your Office installation, or each time an Office application checks the installation source.
Furthermore, simply deleting the MSO Cache folder will leave orphaned registry entries, which can cause errors or malfunctions. Therefore, a specific tool must be used to properly remove the MSO Cache.
Microsoft provides a tool called Local Installation Source (LIS) that allows you to manage the MSO Cache. You can download this tool from the official Microsoft website. Once installed, you can launch this tool by typing listool.exe in a command prompt.
With this tool, you can delete the MSO Cache by selecting the "Delete files" option. You can also move the MSO Cache to another drive by selecting the "Move files" option and specifying the target drive letter.
How to optimize the MSO Cache?

If you don't want to delete or move the MSO Cache, but still want to save space on your hard drive, there are a few tricks to optimize the MSO Cache.
First, you can compress the MSO Cache folder using the NTFS compression feature built into Windows . To do this:
- Right-click on the MSO Cache folder
- Select Properties, then check the box "Compress this folder to save disk space".
This will reduce the size of the folder without affecting its functionality.
Next, you can clean the MSO Cache folder by removing unnecessary or obsolete files . For example, if you uninstalled certain Office components, you can delete the corresponding files from the MSO Cache. You can use software like CCleaner to do this; it detects and removes unnecessary files from the MSO Cache.
Finally, you can limit MSO Cache verification by Office applications . Some Office applications check the installation source every time you launch them, which can slow down startup or cause error messages. To prevent this, you can modify the Windows to disable MSO Cache verification.
Warning : Before modifying the Windows , it is advisable to back up the registry or create a system restore point, as incorrect manipulation can damage your system.
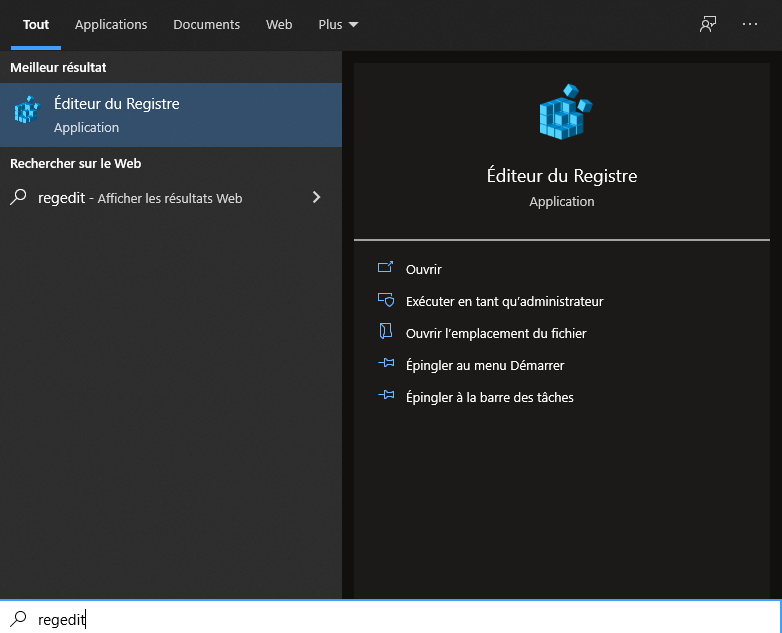
To disable MSO Cache verification, follow these steps:
- Windows Registry Editor by typing regedit in the Start or in the search box.
- Access the following key: HKEY_LOCAL_MACHINE\SOFTWARE\Microsoft\Office\Delivery\SourceEngine\Downloads

- Below this key, you will see several subkeys with alphanumeric names. Each subkey corresponds to an Office component. To find out which component a subkey belongs to, click on it and look at the ProductName value in the right pane.
- For each subkey corresponding to an Office component for which you want to disable MSO Cache checking, click on it and create a new DWORD value named CDCache in the right pane.
- Double-click on the CDCache value and assign it the value 0.

- Close the registry editor and restart your computer.
FAQ about the MSO Cache

Here are some frequently asked questions about the MSO Cache and their answers.
What is the difference between MSO Cache and Office Cache?
The MSO Cache is a folder containing installation files and local source code for Microsoft Office . The Office Cache is a folder containing temporary files created by Office applications during their use. The Office Cache is typically located in the AppData\Local\Microsoft\Office .
This article may interest you: How to open a GPX file? Learn how to use them!
Can the Office cache be deleted?
Yes, you can safely delete the Office cache, as it only contains temporary files that are not essential for Office to function. You can use software like CCleaner to easily clean the Office cache.
How do I repair the MSO Cache if it is damaged?
If the MSO cache is damaged or corrupted , you can try repairing it using Microsoft's Local Installation Source (LIS) tool. Launch this tool by typing listool.exe in a command prompt and choosing the Repair Files option. If that doesn't work, you can try repairing your Office installation using the Windows .
What are the advantages and disadvantages of MSO Cache?
The advantages of MSO Cache are :
- It allows you to modify or repair your Office installation without needing the CD-ROM or downloaded file.
- It speeds up the startup of Office applications by avoiding the need to request the installation source each time.
The disadvantages of MSO Cache are :
- It takes up a lot of space on your hard drive, which can be inconvenient if you have little free space.
- It can be damaged or corrupted by viruses or system errors, which can affect the operation of Office
How do I know which version of Office corresponds to the MSO Cache?
To find out which version of Office corresponds to the MSO Cache , you can folder size
- If the folder is approximately 430 MB and contains files named ProPlusWW.msi or EnterpriseWW.msi, it is Office 2007.
- If the folder is larger than 750 MB and contains files named ProPlusWW.msi or ProfessionalPlusWW.msi, it is Office 2010.
- If the folder is approximately 1 GB and contains files named ProPlusWW.msi or ProfessionalPlusWW.msi, it is Office 2013.
- If the folder is approximately 1.5 GB and contains files named ProPlusWW.msi or ProfessionalPlusWW.msi, it is Office 2016 or 2019.
Comparative table of Office versions and MSO Cache
| Office version | MSO Cache Size | File names |
| Office 2007 | Approximately 430 MB | ProPlusWW.msi or EnterpriseWW.msi |
| Office 2010 | Over 750 MB | ProPlusWW.msi or ProfessionalPlusWW.msi |
| Office 2013 | Approximately 1 GB | ProPlusWW.msi or ProfessionalPlusWW.msi |
| Office 2016/2019 | Approximately 1.5 GB | ProPlusWW.msi or ProfessionalPlusWW.msi |
How do I create an MSO Cache if it doesn't exist?
If you don't have an MSO Cache on your hard drive , you can create one using Microsoft's Local Installation Source (LIS) tool. Launch this tool by typing listool.exe in a command prompt and choosing the " Create files" option . You will need to specify the path to the CD-ROM or downloaded Office file, as well as the drive letter where you want to create the MSO Cache.
Conclusion
The MSO Cache is a useful folder for managing your Office installation , but it can also take up a lot of space on your hard drive. You can choose to delete it, move it, or optimize it depending on your needs and preferences. We hope this article has helped you better understand the MSO Cache and how to manage it effectively.


