

An RJ45 socket is a connector used to connect computer devices to a local area network . It allows for high-speed data transmission via an Ethernet cable. Wiring an RJ45 socket isn't very complicated , but it does require a few tools and a little patience.
In this article, we will explain how to wire an RJ45 socket step by step .
What tools are needed to wire an RJ45 socket?
To wire an RJ45 socket, you will need the following tools:
- An Ethernet cable of the desired length
- A crimping tool
- A knife or a box cutter
- Wire strippers
- A female RJ45 socket
- A male RJ45 connector
Wiring an RJ45 socket: the different steps
Prepare the Ethernet cable

The Ethernet cable consists of eight wires of different colors, grouped into four twisted pairs. Each pair corresponds to a color code:
- Pair 1: white-orange / orange
- Pair 2: white-green / green
- Pair 3: white-blue / blue
- Pair 4: white-brown / brown
The RJ45 color code is a convention that defines the order of the wires in the connector, depending on whether the T568A or T568B . It is important to respect the RJ45 color code to ensure proper data transmission.
The first step is to cut the Ethernet cable to the desired length, leaving a few centimeters of slack. Next, strip about 3 cm of insulation from each end of the cable, being careful not to damage the wires . Then, separate and untangle the wires.
Follow the RJ45 cabling color code
There are two RJ45 cabling standards: T568A and T568B . They differ in the order of the wires in the connector. You must choose one standard or the other and adhere to it for both ends of the cable. Here is a diagram of the two standards:

The wires must therefore be aligned according to the chosen color code, respecting the left-to-right reading direction. Then, the wires must be cut flush with the cable sheath , ensuring that they are all the same length.
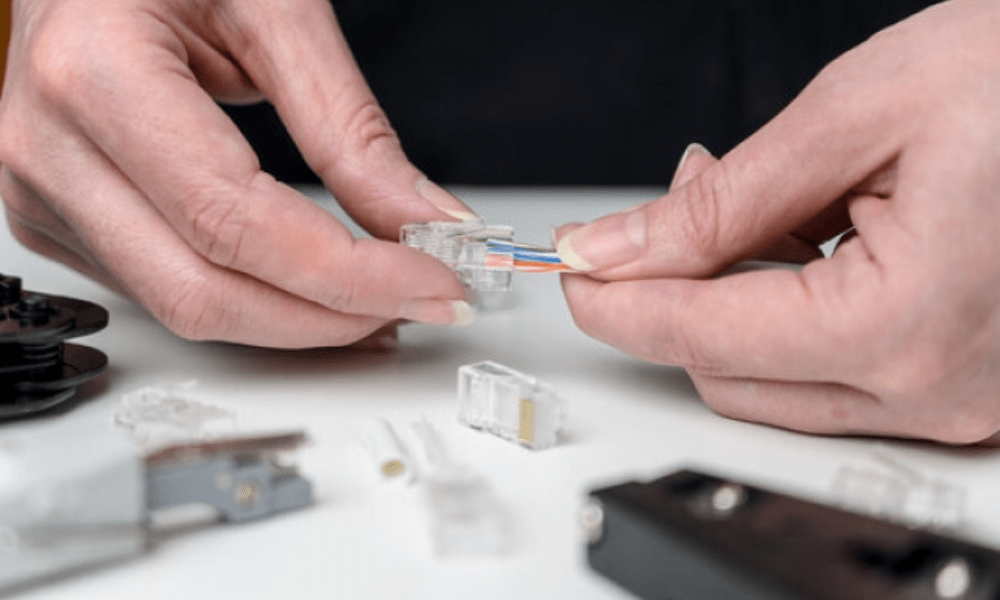
Insert the wires into the RJ45 socket
Next, insert the wires into the RJ45 socket , following the color code order. Ensure the wires are fully inserted and do not cross. Also, verify that the cable sheath is held securely by the metal hook of the socket.
Watch this short video to learn how to correctly insert the wires into the RJ45 socket:
Crimp the RJ45 connector
The final step is to crimp the RJ45 connector using the crimping tool . Place the connector in the corresponding slot on the tool and press firmly until the tool clicks into place. Repeat this process for the other end of the cable, using the same wiring standard.
Here's another video to help you master this step:
How to test if the RJ45 cable is working correctly?
To test the proper functioning of the RJ45 cable, there are two main methods:
- The first method involves connecting the RJ45 cable between two computing devices (computer, router, switch, etc.) and verifying that the connection is established. For example, you can use the ping command to send data packets to the other device and measure the response time. If the connection is good, you should receive responses without loss or excessive delay.
- The second method involves using an RJ45 cable tester , a device specifically designed to detect potential wiring faults. Simply plug the RJ45 cable into the tester and run the test. The tester will check if the wires are correctly connected according to the chosen standard ( T568A or T568B ) and if the signal is being transmitted properly. The tester will display the test result on a screen or LEDs, indicating any errors or anomalies.
RJ45 Cabling FAQs
What mistakes should be avoided when wiring an RJ45 socket?
When wiring an RJ45 socket, care must be taken to avoid the following mistakes:
- Failure to use the same color code on both ends of the cable will result in signal loss or incompatibility with certain devices.
- Failure to properly crimp the RJ45 core can cause poor contact or wire breakage.
- Do not test the cable before plugging it in, as this may cause malfunctions or damage to the network or devices.
- Using a cable that is not suitable for your network limits the speed or quality of the signal.
- Failure to protect the cable from electromagnetic interference, which generates noise or disruptions to data transmission.
How to choose the correct sheath diameter for an RJ45 cable?
The sheath diameter of an RJ45 cable depends on the number and diameter of the wires it contains. There are two types of sheathing: solid core, which contains rigid wires, and stranded core, which contains flexible wires.
The single-strand cable is more durable and easier to insert into an RJ45 connector , but it is less flexible and more susceptible to twisting. The multi-strand cable is more flexible and better suited to movement, but it is less durable and more difficult to insert into an RJ45 connector.
The most common sheath diameter for an RJ45 cable is 0.5 mm for single-strand sheath, and 0.6 mm for multi-strand sheath.
How to protect an RJ45 cable from external damage?
An RJ45 cable can be exposed to external elements such as humidity, heat, cold, rodents, insects, etc. Several solutions exist protect an RJ45 cable
- Use a shielded , which contains a metallic foil or braid that surrounds the wires and isolates them from electromagnetic interference.
- outdoor RJ45 cable , which contains a reinforced sheath that resists weathering and UV rays.
- Use a cable tray , cable raceway or heat shrink tubing , which are devices that protect the cable from mechanical shocks and animal bites.
What is the maximum length of an RJ45 cable?
The maximum length of an RJ45 cable depends on the cable category and the network type. Generally, a maximum length of 100 meters is considered to avoid signal loss and interference.
What is the difference between a straight RJ45 cable and a crossover RJ45 cable?
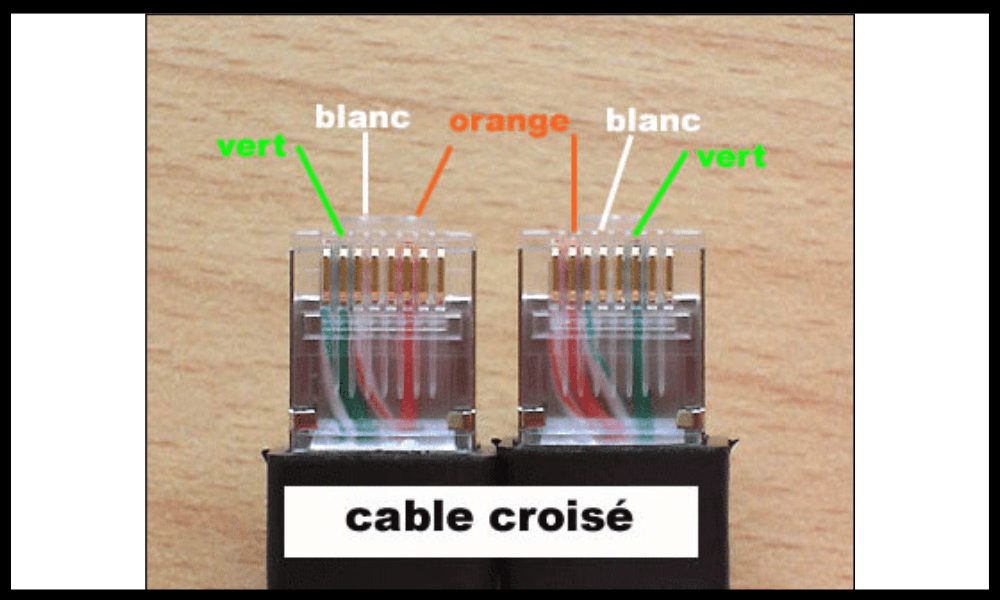
A straight RJ45 cable is a cable that conforms to the same wiring standard ( T568A or T568B ) at both ends. It is used to connect different types of devices, such as a computer and a router.
A crossover RJ45 cable is a cable that reverses pairs 1 and 3, and pairs 2 and 6, at both ends. It is used to connect devices of the same type, such as two computers or two switches.
What is the difference between a Category 5, 6, or 7 RJ45 cable?
The category of an RJ45 cable indicates its performance in terms of speed and frequency. The higher the category, the better the cable's performance.
- Category 5 RJ45 cable supports a data rate of 100 Mbps at a frequency of 100 MHz. It is suitable for 10/100 Ethernet networks.
- Category 6 RJ45 cable supports a data rate of 1 Gbps at a frequency of 250 MHz. It is suitable for Gigabit Ethernet networks.
- Category 7 RJ45 cable supports a data rate of 10 Gbps at a frequency of 600 MHz. It is suitable for 10 Gigabit Ethernet networks.


