

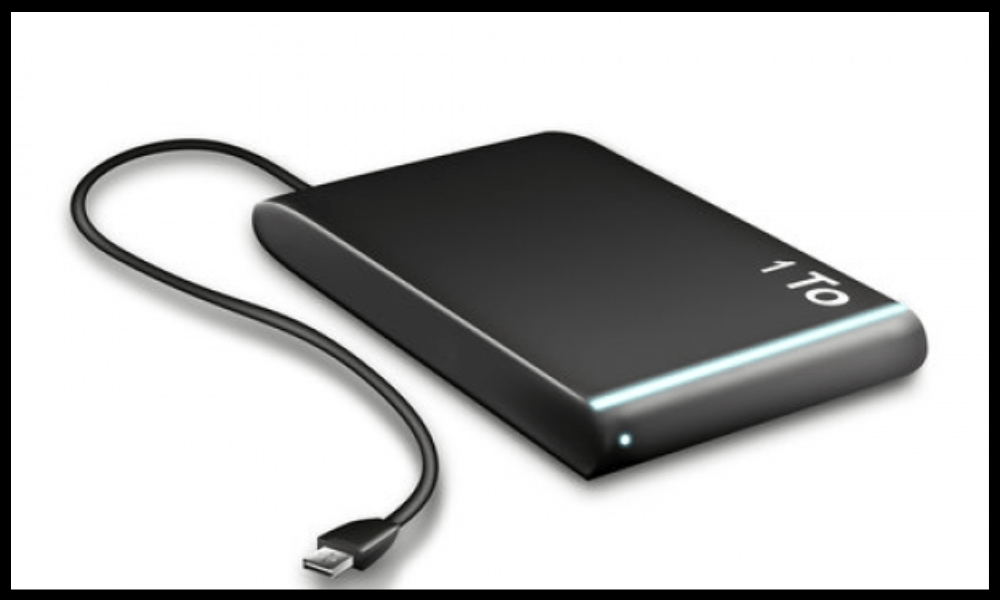
Storage is an essential part of our digital lives . We need space to keep our photos , videos , documents , music , and apps . But do you know what 1 TB of storage and what that is in gigabytes (GB) ? In this article, we'll explain what a terabyte is, how it compares to other storage units, and how to optimize your use of 1 TB of storage.
What is a terabyte?
A terabyte (TB) is a unit of measurement for digital storage capacity . It is equivalent to 1,000 gigabytes (GB) or 1,000,000 megabytes (MB). To understand what this represents, it's important to know that a byte is the basic unit of digital information and consists of eight bits . A bit is a binary digit , which can be either 0 or 1. For example, a byte can be represented as 00101101 .
A terabyte is therefore equal to 1024 multiplied by 1024 multiplied by 1024 bytes , or 1,099,511,627,776 bytes. This is a very large storage capacity that can hold thousands of digital files .
What does 1 TB of storage correspond to?

To get a more concrete idea of what 1 TB of storage , it can be helpful to compare it to other storage units or common devices. Here are a few examples:
- 1TB of storage is equivalent to approximately 8 smartphones with a capacity of 128GB .
- 1TB of storage is roughly equivalent to 4 laptops with a capacity of 256GB each .
- 1TB of storage can hold approximately 250 movies or 500 hours of HD video.
- 1TB of storage can hold approximately 250,000 photos taken with a 12MP .
- 1 TB of storage can hold approximately 6.5 million pages of documents in the form of Office files, PDFs, or presentations.
As you can see, 1TB of storage offers ample capacity for storing your digital data . But how can you best utilize this space?
How to optimize your use of 1TB of storage?
If you have a device or service that offers 1TB of storage, you can take advantage of it to back up all your important files without having to make choices or compromises. However, there are a few tips to optimize your use of this space and avoid potential problems.
Make regular backup copies
It is recommended to follow the 3-2-1 : three copies of a file on two different media, one of which should be stored off-site. This will help prevent data loss or corruption in the event of an accident , failure, or cyberattack.
Use the cloud

The cloud is a convenient solution for storing your files online , without having to worry about physical hardware. You can access your data from any internet-connected device, easily share it with others, and benefit from enhanced security. Many services offer plans with 1 TB or more of cloud storage.
Compress your files
If you have large files, such as videos or images , you can compress them to reduce their size and free up storage space . There are software programs and websites that allow you to compress your files without losing quality.
Sort and delete unnecessary files
Even if you have 1TB of storage, it's always a good idea to clean things up from time to time and delete files you no longer need, such as duplicates, temporary files, or obsolete files . This will not only free up space but also make it easier to find and organize your files.
What are the advantages and disadvantages of cloud storage?
Cloud storage is a form of storage that uses remote servers accessible via the internet . It has advantages and disadvantages compared to traditional on-premises storage. Here are some of the main advantages and disadvantages of cloud storage:
Advantages of cloud storage

- Cloud storage offers unlimited bandwidth . You don't have to worry about storage limits or data transfer.
- Cloud storage offers enhanced security . Data is encrypted and protected against viruses, ransomware, and cyberattacks.
- Cloud storage offers easier collaboration . You can easily share your files with others and work together on projects in real time.
- Cloud storage offers flexible scalability . You can increase or decrease your storage capacity as needed, without having to invest in additional hardware or software.
Disadvantages of cloud storage
- Cloud storage requires a stable internet connection . If you do not have internet access, you will not be able to access your data or synchronize it with the cloud.
- Cloud storage implies limited control . You depend on the service provider for the management, maintenance, and availability of your data. You must also comply with the provider's terms of service and privacy policies.
- Cloud storage presents a potential risk of data loss . If the service provider experiences an outage, error, or breach, you could lose access to your data or have your data compromised.
- Cloud storage can come with hidden costs . Some services may charge extra for transferring, retrieving, or deleting your data. You should also consider the cost of internet bandwidth when using the cloud.
FAQ
What is the unit that comes after the terabyte?
The unit that comes after the terabyte is the petabyte (PB), which is equivalent to 1,000 terabytes or 1,000,000 gigabytes.
What is the difference between a terabyte and a terabit?
A terabyte and a terabit are two different units of measurement. A terabyte measures storage capacity, while a terabit measures data transfer speed. One terabit is equivalent to 1,000 gigabits or 1,000,000 megabits . One terabyte is equivalent to 8 terabits or 8,000 gigabits .
What is the world's largest hard drive?

The world's largest hard drive is Seagate's HAMR (Heat-Assisted Magnetic Recording) , which offers a capacity of 100 TB . It uses a technology that increases data density on the hard drive's magnetic platters.
What is the largest cloud storage service?
The largest cloud storage service is Amazon Web Services (AWS) , which offers more than 200 cloud computing services, including storage, databases, analytics, security, and artificial intelligence. AWS has more than one million customers worldwide, including businesses, governments, and non-profit organizations.
What is the best cloud storage service for 1TB?

The best cloud storage service for 1TB depends on your needs and preferences. Several services offer plans with 1TB or more of cloud storage , such as Dropbox , Google Drive , OneDrive , iCloud, and pCloud . You can compare their features, prices, functionalities, and user reviews to choose the one that best suits you.
How do I transfer data from one hard drive to another?
There are several methods for transferring data from one hard drive to another . You can use a USB cable, a SATA or IDE adapter, an external enclosure, or a docking station. You can also use cloning or backup software to copy the entire hard drive or selected files . Alternatively, you can use cloud storage to transfer your data online and upload it to the new hard drive.
How to protect your data from hackers?
There are several steps you can take to protect your data from hackers . You can use a strong and unique password for each account, enable two-factor authentication , encrypt your data , use antivirus and firewall software, avoid suspicious links and attachments, update your software and applications, back up your data regularly, and use a virtual private network (VPN) to secure your internet connection.
How to recover lost or deleted data?
If you have accidentally lost or deleted data , there are solutions to recover it. You can check your Recycle Bin or system backup if you have enabled this option. You can also use data recovery software that can scan your hard drive and restore deleted files. If you want to restore a deleted app on your smartphone , you can also check your device's app store and reinstall it if it's still available. You can also contact a professional data recovery service if the previous methods don't work .
Conclusion
1 TB of storage is a very large capacity, allowing you to store a significant amount of digital data. However, it's important to understand what a terabyte is, how it compares to other storage units, and how to optimize your use of this space. We hope this article has helped you better understand what 1 TB of storage means and how to make the most of it.


