

Outlook is Microsoft's email service that lets you create personalized signatures for all your emails! Want to create an email signature with Outlook? This tutorial will show you the steps to follow!
Electronic signature in Outlook: start the process with Word

Creating a signature in Outlook can quickly become a real ordeal… The process isn't very intuitive. If this is your first time, you'll undoubtedly encounter difficulties.
Therefore, if you plan to create an email signature in Outlook with a fairly complex page structure, it is recommended to use a word processing program : Word ! Indeed, Word offers you a little more freedom and ease of use, facilitating the creation of one or more email signature templates.
Here are the steps to follow if you wish to create a signature.
1. Open Word, then type your text

Here, double-click on the text editor, then add your text. We strongly recommend using a single font and highlighting the most important information in your new signature. To do this, you can, for example, bold the keywords in your text.
2. Add an image to signatures
Do not blacklist any element during the digitization of your signature in favour of the electronic one.
It's important to include key information in your text. Add your company name and, most importantly, include a link that directs the recipient to your company's website.
If you wish, you can also add an image or even your company logo. This is precisely why Word is recommended in this tutorial. Indeed, the formatting tool associated with Microsoft Outlook allows you to add an image to signatures .
However, it does not give you any option to, for example, attach the text and image of the signature on the same page.
You might also like this article: Disable Cortana on Windows 10 in just a few clicks!
3. Format the text that will serve as your signature
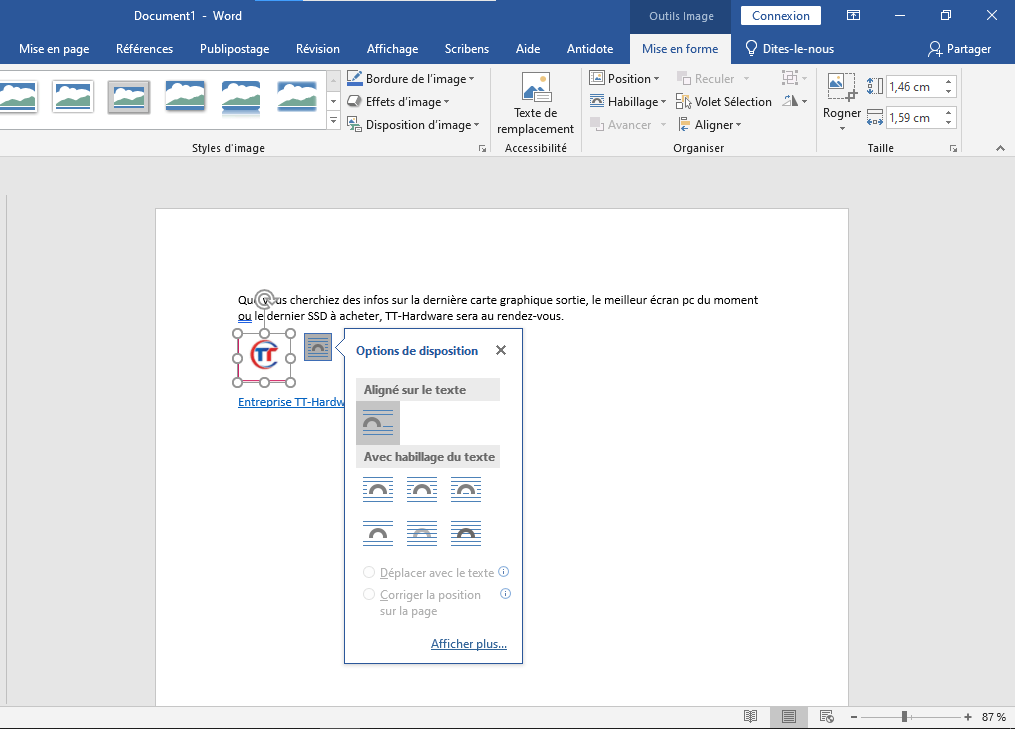
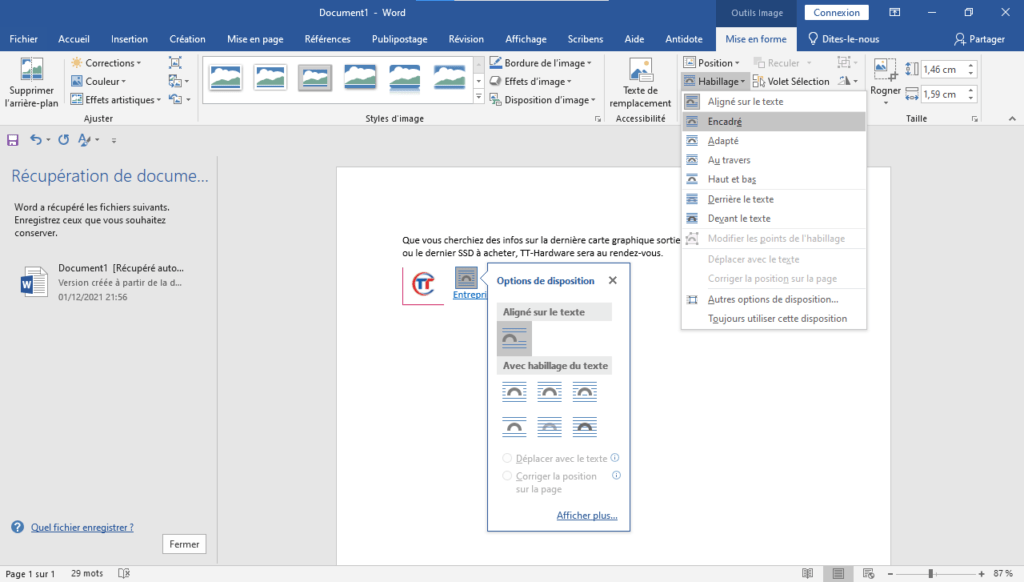
To format the text that will form your signature, carefully align your text and logo. To do this, select your company logo by right-clicking on it. A floating button , providing formatting options.
This menu can also be found in Word's tab section, just below the " Wrap Text " option. Select the " Border " option and then drag the image with your mouse to align it with your text.
Once you have finished formatting the text and image, select all the text by pressing (Ctrl+A) . Then copy it to your clipboard by pressing (Ctrl+C) .
Creating an electronic signature on Outlook: it's now!

You already have the text you'll use as your signature. Now you just need to insert it into Microsoft Outlook for a professional look. To do this, follow the steps below.
Step 1: Open Outlook and click on the " New Mail "

Step 2: In the window that appears, click on the " A signature " option and then on " Signature "
Step 3: You will see a new tab appear called <
Note : Generally, when you create a new signature in Outlook, it is automatically assigned to the account configured in the Microsoft email service. If you have configured multiple accounts, please ensure you select the account for which the signature was created!
Step 4 : A text field will appear at the bottom of the window for your signature. Use the keyboard shortcut (Ctrl+V) to paste the content you copied earlier.
Your signature should now be pasted and correctly displayed in the Outlook module . However, at this stage, you may notice that the image inserted in your signature isn't showing up in Outlook. Don't worry about it; just confirm your signature by clicking " OK ".
Repeat the process whenever you want to easily and quickly create a new signature in Outlook !
To make this tutorial easier to understand, we invite you to watch this video!


