

A microphone connected to a computer is useful in many cases: from recording a podcast, to making videos for YouTube, or even for recording your songs!
But to be able to connect your wired microphone to your laptop, you'll need to know a few things!
If you want to connect your new microphone to your laptop but don't know how, no problem, we'll explain everything in detail!
How do I connect the microphone to my laptop?
Microphone with USB cable or mini jack, here are the steps to follow!
Connect the microphone using a USB cable!
Depending on your microphone model, you can connect it to your laptop using the USB cable provided by the manufacturer. To properly connect a microphone with a USB cable, follow these steps:
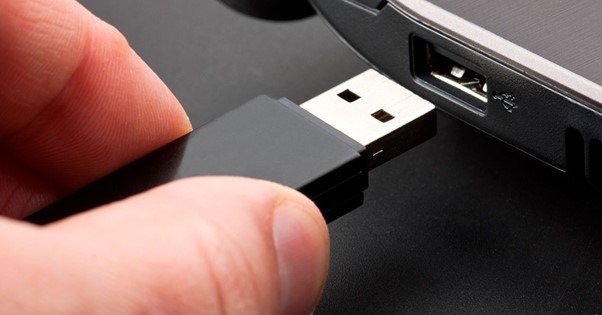
- Connect the microphone to the USB port of your choice on your computer. USB ports are located on the sides or back of your PC.
- Wait a few seconds for a notification to appear on your computer screen. If nothing appears, don't panic! Disconnect the microphone from the port and reconnect it!
- Once the installation is successfully completed, perform the appropriate tests :
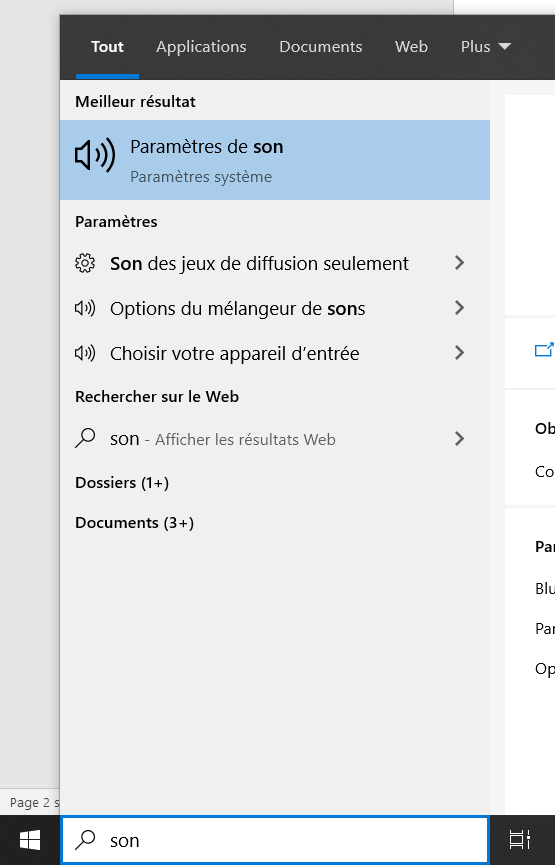
- Regardless of which Windows operating system you're using— windows 10, 8, or even Windows 7 for older versions—go to the Windowssearch bar. It's located in the bottom left corner of your screen. Once there, type "Sound"
- You will see several options appear, including: " Sound settings " Click on it.
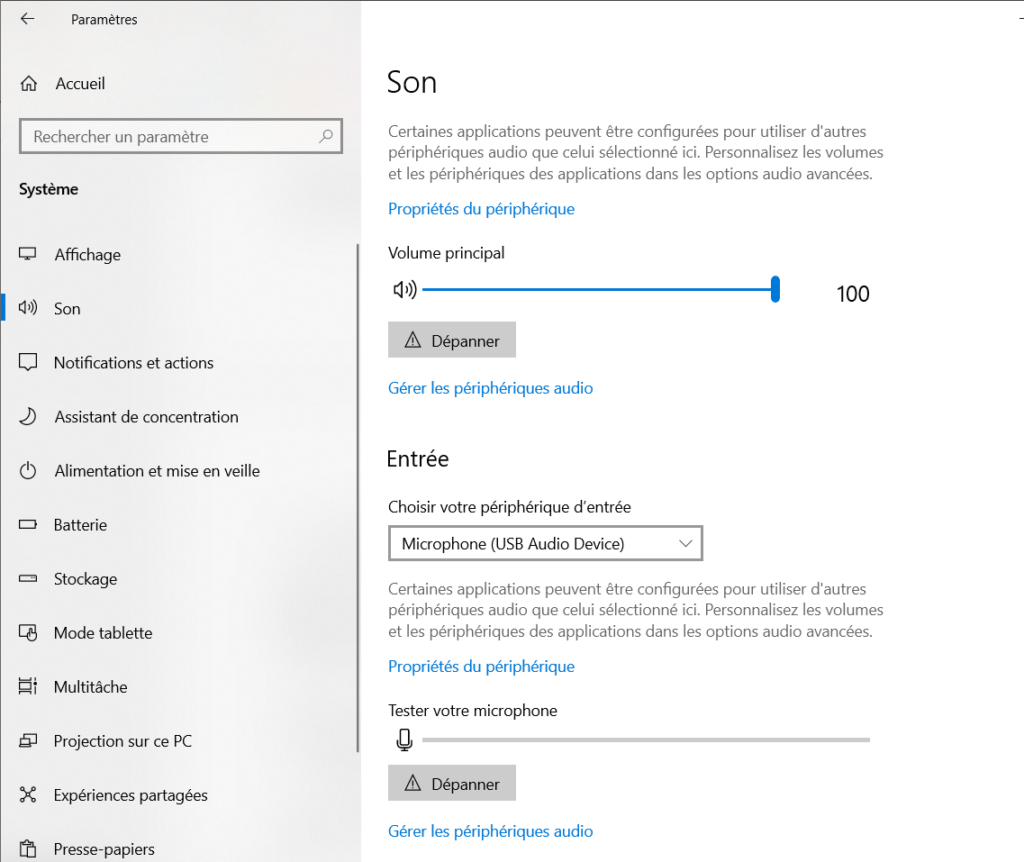
- If your microphone is not recognized as the default device, go to the "Choose your input device" tab and select your microphone.
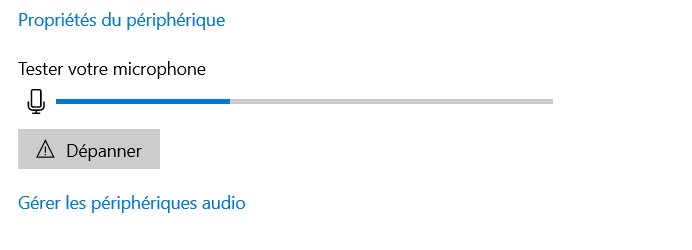
- Test it by speaking through the microphone ; if you see the blue bar moving, good news, everything is working perfectly!
In the case of a microphone without a USB cable, as is generally the case with a professional microphone, here's how to do it!
How do I connect my professional microphone to my laptop?
To connect a professional microphone to a laptop, you will need an adapter . This reduces the normal 3.5mm microphone connection opening to a microphone suitable for the laptop.
When you have the adapter, simply put the microphone part on the adapter (in the hole at one end), and plug the other part into the computer in the "Mp3" section.
It will look something like this:
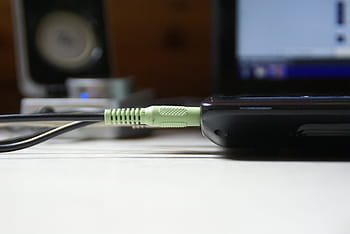
What if your laptop doesn't have a mini-jack input?
If your laptop doesn't have a built-in audio input, you can buy a USB adapter to connect your microphone. It has an internal sound card that allows it to work perfectly.

This allows you to use the adapter mentioned above for the professional microphone instead of connecting it directly to your laptop. To do this, plug it into the green slot on this USB adapter
Simply plug the USB adapter into your PC's USB port. Just like a regular USB flash drive!
The advantage of this type of adapter is that it requires no prior configuration to make your new microphone work. Most of them are called " plug & play ," meaning they connect and use with ease!
Your laptop won't recognize your microphone?
If, after connecting your microphone and verifying that the device is properly plugged in, your laptop may not recognize it! This is most likely due to the sound card not being compatible with your microphone. But rest assured, this rarely happens!


