

Have you invested in a new laptop? Naturally, you want it to last as long as possible. But how do you remove fingerprints, dust, and other grime from the long hours you spend in front of your screen? And all without scratching it? Follow this guide!
Here's a quick overview of the cleaning steps to pamper your laptop properly, and at a lower cost!
First step: what should you use to clean your computer?
Before you can transform yourself into Mr. Clean, it is essential to gather the appropriate equipment.
You've probably thought of those famous "computer cleaning wipes." They can certainly do the job, but their quality varies greatly from one brand to another, and the price can quickly add up… For our cleaning, we'll aim for something simpler , cheaper and more eco-friendly ! Not bad, right?
Here's our recommendation for cleaning your computer: tested and approved!

The basics needed to clean your laptop:

- Microfiber cloths are a must -have for cleaning electronic devices with screens. They have the advantage of being lint-free and anti-static . Ideally, have two on hand: one damp and one dry for finishing.
- Ideally, use demineralized water . You can easily find it in your usual supermarket. The price is very affordable, and this water helps prevent mineral deposits on your screen.
- White vinegar , diluted with demineralized water, is ideal. You can use a spray bottle with a ratio of 1/3 white vinegar to 2/3 water. You can find it in supermarkets and DIY stores at a low price. And as everyone knows, white vinegar is a must-have for household cleaning; you'll definitely use it again!
- Isopropyl alcohol (we promise, we won't launch into a chemistry lesson here). It's an alternative to white vinegar. This alcohol-based solution evaporates quickly and leaves no residue. It's used particularly for cleaning sensors and other electronic components. You can find it in pharmacies or hardware stores. If the concentration is higher than 70%, you can also dilute it slightly: 1/3 alcohol, 2/3 distilled water.
- A few cotton swabs to reach difficult areas , onto which you can put a little of the chosen solution.
- A small handheld vacuum cleaner or mini USB vacuum cleaner, available on e-commerce sites. They are more suitable than "household vacuums" which are far too powerful for what we want to do.
- A can of compressed air . It will be very helpful for finishing the keyboard. You can find them online at affordable prices.
Some tips
- Avoid paper towels, tissues, and cloth napkins, which can cause micro-scratches. Even avoid that old, super-cool T-shirt, which might leave you with some nasty lint ...
Finally, avoid 90% alcohol, window cleaner, acetone, and all types of unsuitable household products, as all these liquids are too abrasive.
- Never spray directly onto the surface , as this may damage the machine. Always spray or dampen the microfiber cloth; the goal is to moisten it, not soak it.
Are you all ready? Let the cleaning begin!

At least dirty…
Let's get practical and start with the most visible part: the screen . Before anything else, it's best to take a few precautions. Indeed, even if short circuits are unlikely, it's always preferable to turn off before starting any spring cleaning…
Beyond the security , this also brings some advantages .
Yes, it's a simple thing, but dust is more visible when the computer screen is black than when it's on. Furthermore, for LED screens, this helps eliminate static electricity, which is detrimental to their lifespan.
Turn off your computer! You'll simplify your life and preserve your machine.
Once you've done that, if you're in a hurry and haven't had time to go to the supermarket, you can try the steam method ( I'm sure you've tried it long before I told you about it, but just in case...). Take your cloth, blow a little steam into the center, and clean in circular motions from the center outwards. Go over it several times if necessary.
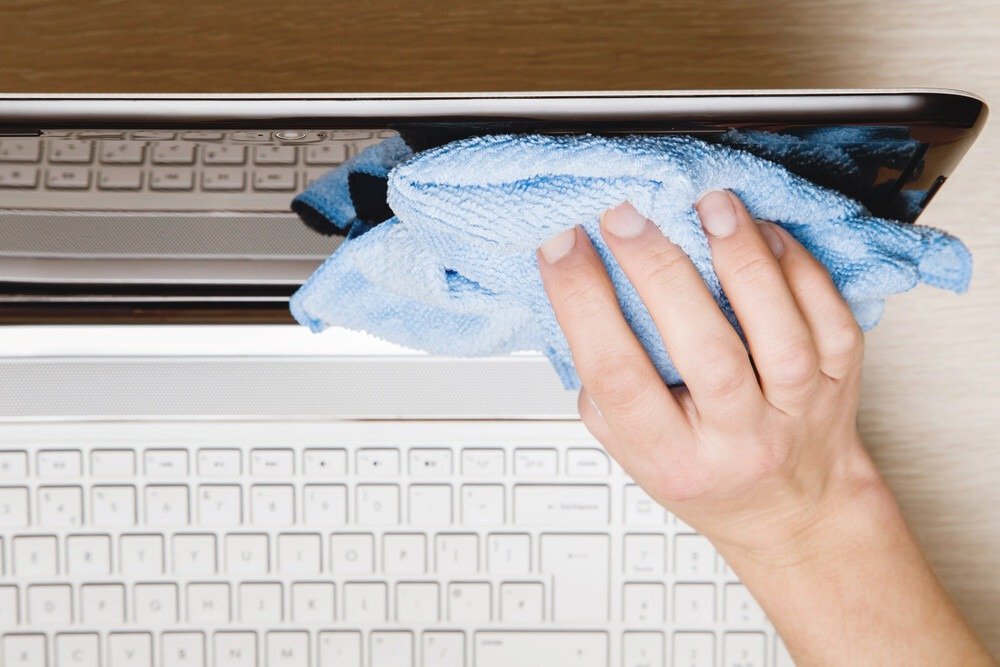
Does your screen need a more thorough cleaning ? That's where our equipment comes in! Spray or dampen a little of your cleaning solution onto the microfiber cloth, then begin cleaning with the same circular motion from the center outwards. For corners and edges of the screen, your damp cotton swab will be perfect! Dry or refine with the dry cloth if necessary.
Continue cleaning towards the casing . It's a less delicate area, but still be careful not to apply too much pressure. Go over it several times if necessary rather than trying to scrub away at a stubborn stain or mark! Tip : You can spread your dry microfiber cloth over the keyboard and close the screen on top while you clean the casing. This way, your work will be protected until you can move on to the next step.
…At the dirtiest!
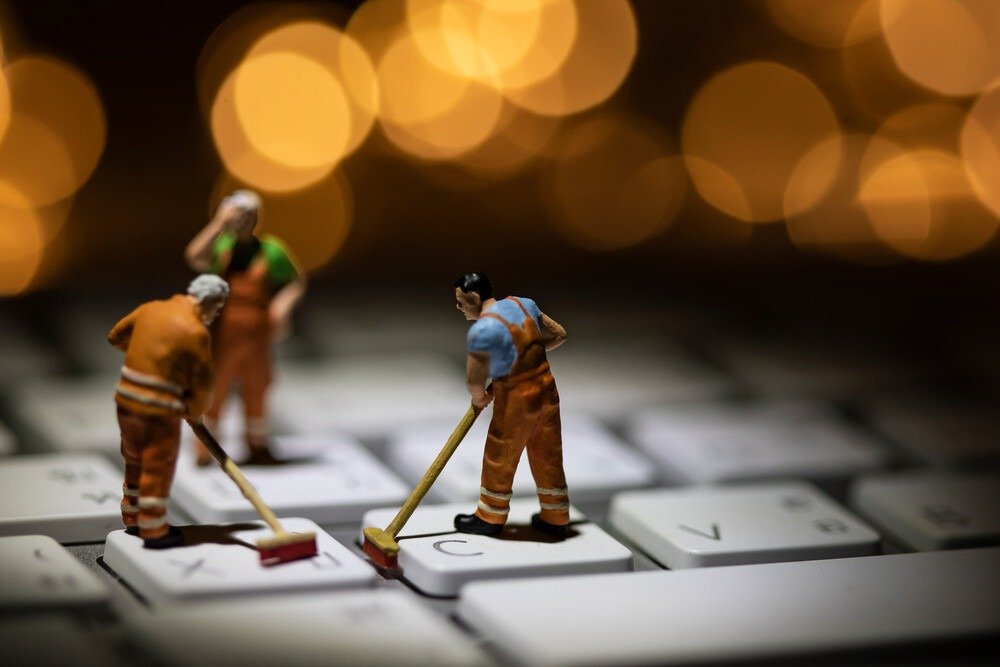
Now we come to the tricky (sorry, it was tempting): cleaning the keyboard ! It can't be stressed enough, but our beloved companion's keyboard is a breeding ground for germs . Be sure to clean it regularly, for its own good… and yours!
To begin, use your handheld vacuum or mini USB vacuum to vacuum up anything that shouldn't be there (crumbs, pizza bits, and other unwanted items). This will clear the way for the rest of the cleaning.
Next, use the can of compressed air to remove any remaining dust from between the keys. Vacuuming first will prevent you from blowing larger pieces of dust inside your keyboard.
Let's finish with the tops of the keys and the touchpad . Time to use the soft cloth again! Dampen it again if needed with your water and vinegar solution. Then, gently wipe the keys and the touchpad to remove any fingerprints or other smudges.
Dry with a dry cloth if necessary. You can refine the cleaning using a cotton swab to reach the smallest corners of the keyboard, especially between the keys, which are sometimes difficult to access with a cloth.
We've covered everything you need for optimal laptop cleaning . Now it's time to admire the results! With just a few affordable accessories and ingredients, you've tackled the grime— well done ! Now that you're a Mr. Clean of the computer world, don't hesitate to repeat the process at least once a week to keep up the good work!
You now have all the tools you need to your laptop a makeover protect it from premature wear and tear .
Do you have any other tips? Feel free to share them with us in the comments!


