

Did you know that Windows 11 is packed with tools to capture your laptop screen? Whether you want to share a funny image with your friends, save an important tutorial, or log a computer bug, this article guides you step-by-step through the different options available.
1. Keyboard shortcuts: speed of execution
1.1. Full screenshot:
Just press the Print key. screen (or PrtScn ) of your keyboard. Your screenshot is then copied to the clipboard. You can then paste it into image processing software, like Paint or Photoshop , to save or edit it.

Tip: for faster screenshot, use the Windows Windows Impr. screen . The screenshot is automatically saved in the "screenshot" folder of your image library.
1.2. Capturing a defined area:
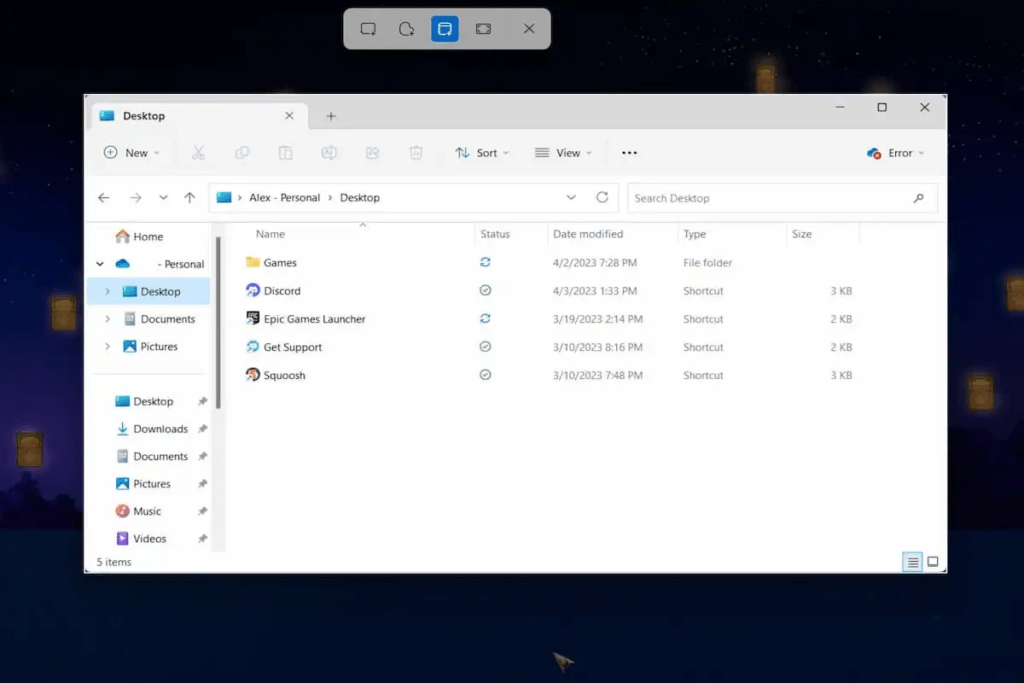
To capture only part of the screen, use the Windows + Shift + S . Your screen goes dark and a cross-shaped cursor appears. Then select the area you want to capture by holding down the left mouse button. The screenshot is automatically copied to the clipboard.
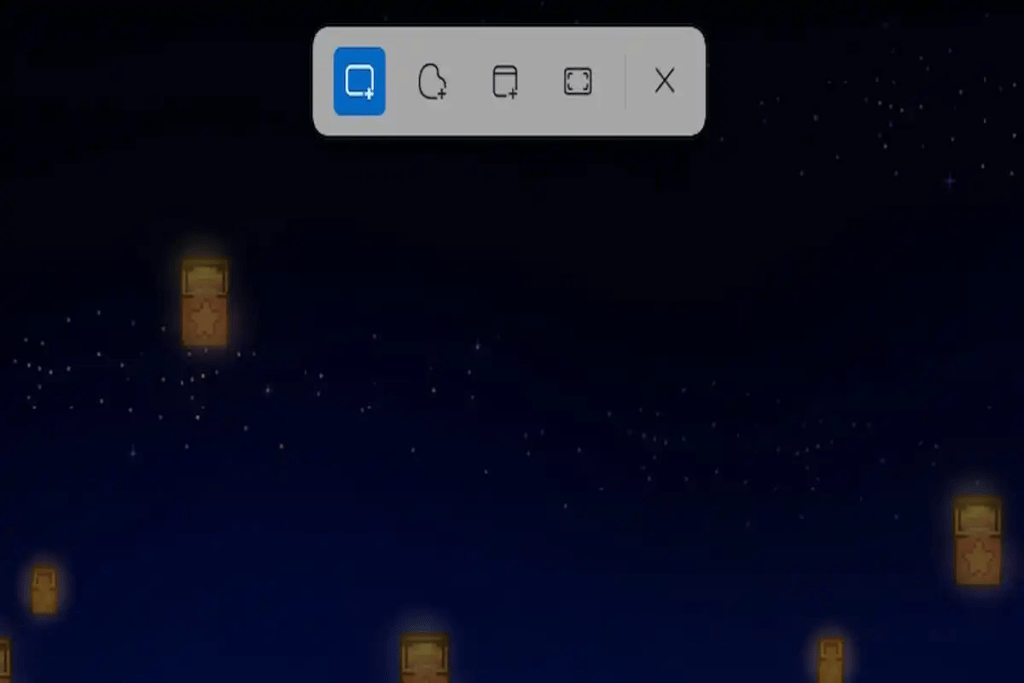
Tips:
- Use the Shift , Ctrl , and directional arrows to refine your selection.
- Press the Esc to cancel the capture.
1.3. Capturing an active window:
Windows + Alt + Print key combination screen . The screenshot is automatically copied to the clipboard.
2. Screenshot tool: advanced options
Windows 11's built-in Screenshot tool offers more advanced features for capturing and annotating your screenshots.
To open the Screenshot tool:
- Start menu: Find "screenshot tool" and click on the result.
- Keyboard shortcut: Press Windows + Shift + S.
- Run: Press the Windows + R , type "SnippingTool" and press the Enter .
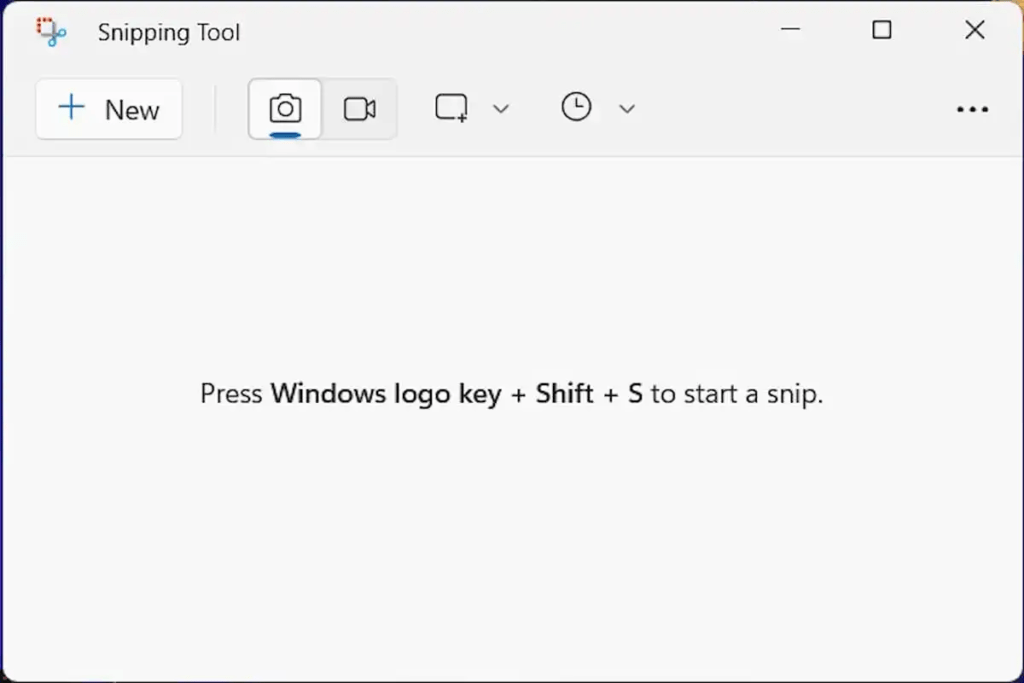
Screenshot tool features:
- Different capture modes: rectangular capture, free form, active window, full screen.

- Delay options: capture after a delay of 2, 5 or 10 seconds.
- Annotation tools: pen, highlighter, eraser, text box, etc.
- Saving the capture: PNG, JPEG, GIF or HTML format.
Tips:
- Use the " New " button to start a new capture.
- Edit your captures after taking them.
- Save your captures directly to the folder of your choice.
3. Third-party applications: for specific needs
If Windows 11's native options aren't enough, many third-party apps offer advanced features for screenshotting. Some of the most popular include:
- Lightshot: Quick and easy screenshot capture with annotation tools.
- Snagit: Screen capture and video recording with many customization options.
Tips and Advice for Successful Screenshots
- Use the Shift key to capture straight shapes.
- Press the Ctrl key to resize your selection.
- Use the touch pen for precise annotations.
- Save your screenshots in a dedicated folder to find them easily.
- Share your screenshots on social networks or by email.
Conclusion
Master screenshot and video capture techniques on Windows 11 Windows 11 users . Whether you are a student, a professional, or just a casual user, this article has provided you with the tools and information needed to capture and share your favorite moments on your laptop.


