

Easter is just around the corner, and Geekom is offering you a unique opportunity to get a super-powerful mini PC at an incredible price! The Geekom Mini IT11 i7-11390H 32GB + 1TB SSD is currently on sale with an exceptional 15% discount , bringing its price down to just €439. This offer is only available for a limited time, so don't delay in taking advantage of this unique opportunity.
To take advantage of this incredible offer, use the promo code "TTPR80" when placing your order on the official Geekom website.
Mini PC, maximum power: the Geekom Mini IT11 i7-11390H
The Geekom Mini IT11 i7-11390H is a powerhouse in an ultra-compact form factor. Powered by an 11th-generation Intel Core i7-11390H processor 32GB of DDR4 RAM , it outperforms most traditional laptops and desktops. Whether you're a gamer , a content creator , or a demanding user , the Mini IT11 will deliver a smooth and uncompromising computing experience.
Technical specifications that are truly inspiring
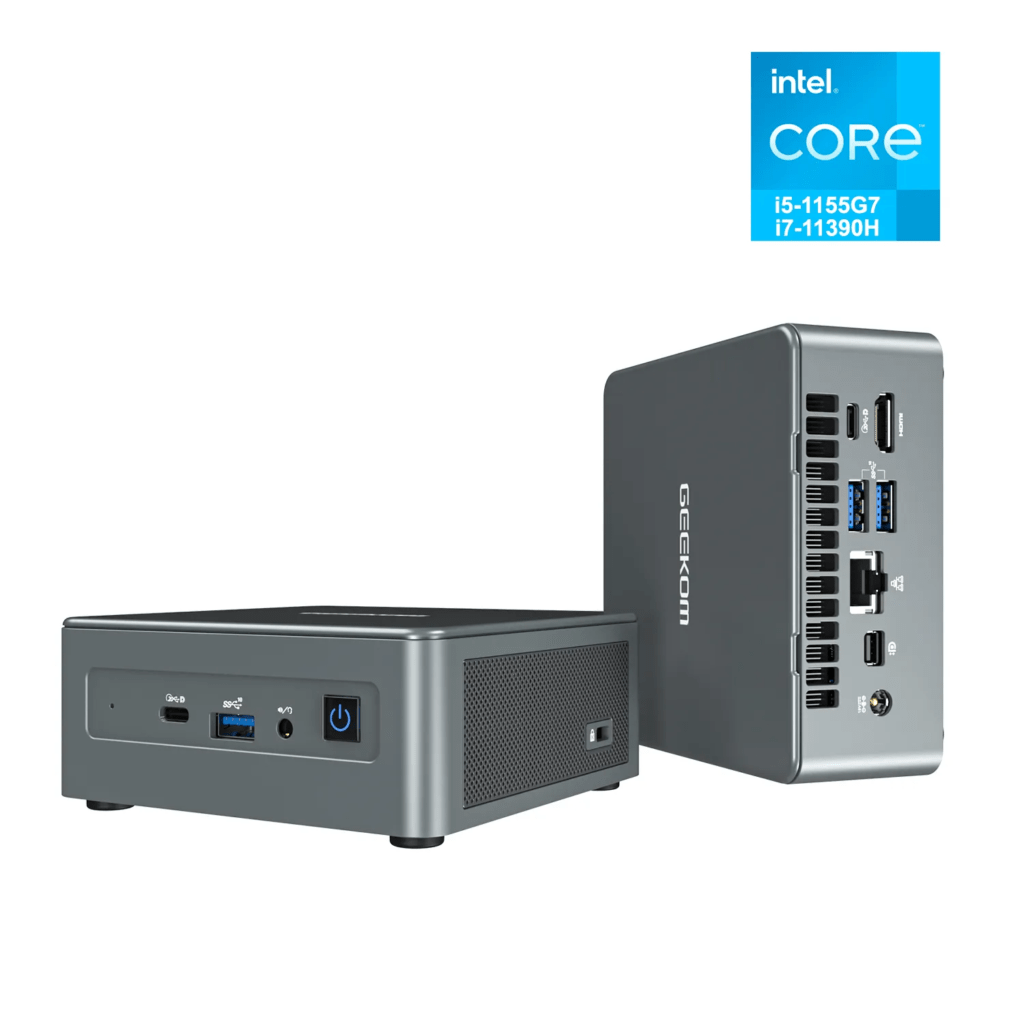
- Intel Core i7-11390H Processor
- 32GB of DDR4 RAM
- 1TB SSD
- Intel Iris Xe Graphics
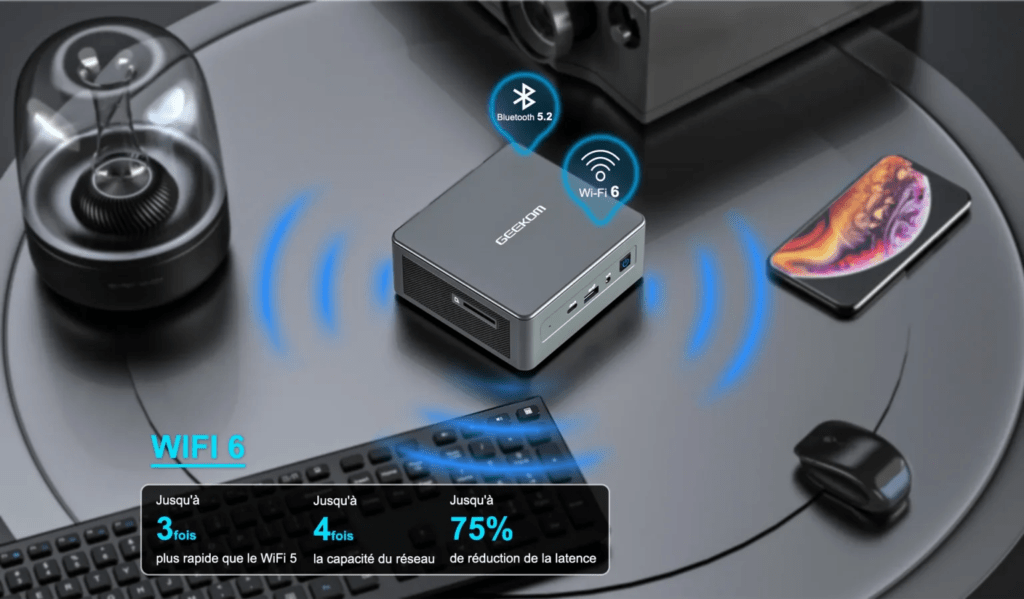
- Wi-Fi 6
- Bluetooth 5.2
- Ports: 2x HDMI, 2x USB 3.2, 1x USB 2.0, 1x Gigabit Ethernet, 1x SD card reader
- Windows 11 pre-installed
Smooth multitasking without lag
With its 32GB of DDR4 RAM, the Geekom Mini IT11 i7-11390H 32GB + 1TB SSD lets you enjoy smooth, lag-free multitasking. You can easily switch between multiple open applications without your computer experiencing any slowdowns. Furthermore, the SSD's high read and write speeds ensure fast system boot times and instant application loading.
Compact and elegant design
Despite its power, the Geekom Mini IT11 i7-11390H 32GB + 1TB SSD maintains a compact and elegant design. With dimensions of 117 x 112 x 46 mm and a weight of only 500g, it will easily find a place on your desk, even in the tightest spaces.
Take advantage of the Geekom Easter offer!
The original price of the Geekom Mini IT11 i7-11390H 32GB + 1TB SSD is €519. But thanks to Geekom's exceptional Easter offer, you can get it for just €439, saving you €80 !
To take advantage of this incredible offer, use the promo code "TTPR80" when placing your order on the official Geekom website.
Don't wait any longer and take advantage of this exceptional offer today to equip yourself with the most powerful mini PC on the market at an unbeatable price!
Highlights of the Geekom Mini IT11 i7-11390H 32 GB + 1 TB SSD:
- Exceptional performance: Geekbench 5: Single-Core 1569, Multi-Core 5011
- Smooth, lag-free multitasking: 32GB DDR4 RAM
- Large 1TB SSD storage: Read/write speed: 2000 MB/s / 1700 MB/s
- Compact and elegant design: Dimensions: 117 x 112 x 46 mm – Weight: 500 g
- Wi-Fi 6 and Bluetooth 5.2 connectivity: Wi-Fi 6: 2.4 GHz / 5 GHz – Bluetooth 5.2: Improved range and stability
- Easter Special Price: €439
Don't wait any longer and enjoy the power and versatility of the Geekom Mini IT11 i7-11390H 32GB + 1TB SSD !


