

A faulty laptop keyboard can quickly become a major obstacle to your productivity. Sticky keys, repeated malfunctions, or significant wear and tear are just some of the reasons for such an inconvenience. Fortunately, it's not always necessary to rush to a repair shop to fix this problem. Replacing a laptop keyboard is often a task within everyone's reach, provided you have the right tools and the necessary information.
Before we begin : the prerequisites!
Before you begin replacing your keyboard, it is crucial to take a few precautions and gather the essential items:
1. Identify your keyboard model
Determining the exact model of your keyboard is crucial for ordering the correct replacement part. This information is usually found on a label affixed to the underside of the keyboard or in the documentation that came with your laptop. If you are unsure, don't hesitate to contact your device's manufacturer.
2. Acquire the replacement keyboard

Once you've identified the model, you can order a replacement keyboard online or from a specialist retailer. Make sure you choose a keyboard compatible with your laptop's make and model.
3. Gather the necessary tools
Replacing a keyboard usually only requires a Phillips screwdriver and a plastic opening tool ( spider ). You can also get a microfiber cloth to clean the keyboard before installation .
4. Back up your data
As a precaution, back up your important data before starting any internal manipulation of your laptop.
Step-by-step replacement procedure
Step 1. Disconnect the power supply and remove the battery
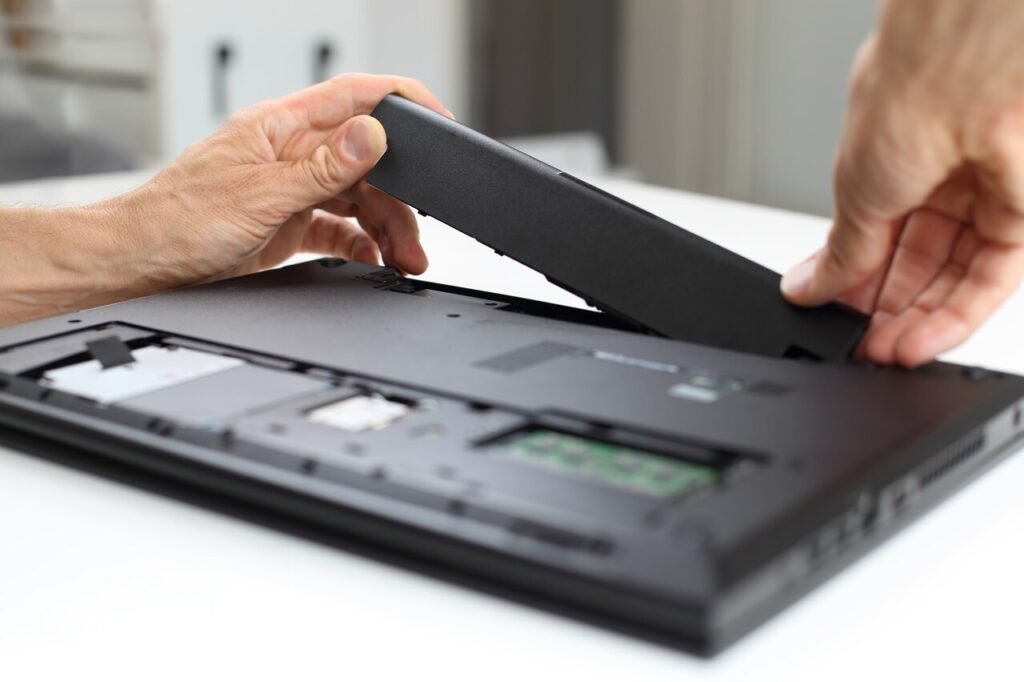
For safety reasons, always turn off your laptop, unplug it from the power outlet and remove the battery before performing any internal work.
Step 2. Locate the keyboard mounting screws
The keyboard mounting screws are usually located under the keyboard or on the back of the screen. Locate them and carefully remove them using a Phillips screwdriver.
Step 3. Unclip the keyboard
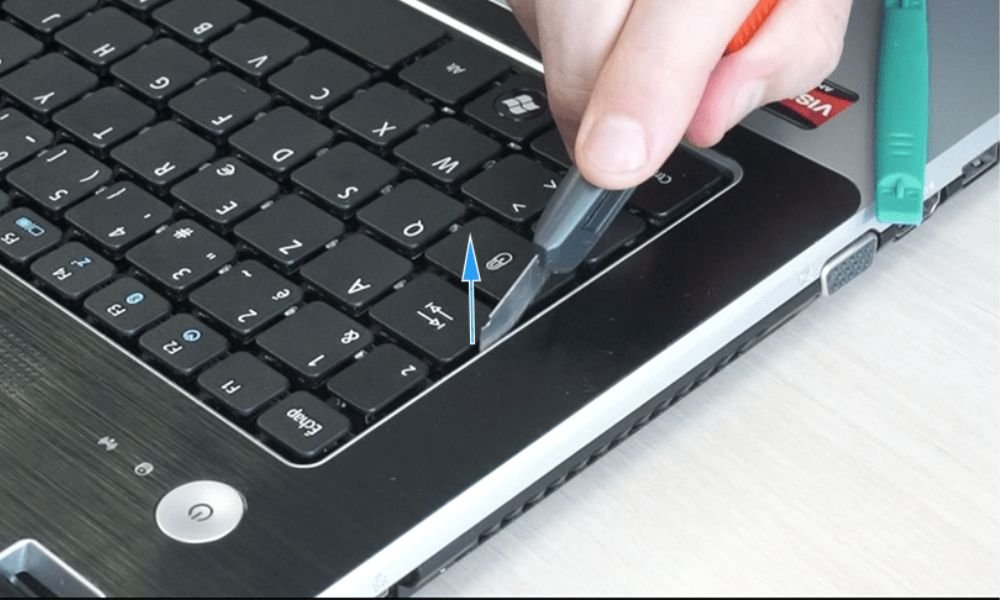
Once the screws are removed, the keyboard should easily detach from the laptop chassis . If it doesn't, look for tabs or clips that will need to be carefully released using a plastic opening tool.
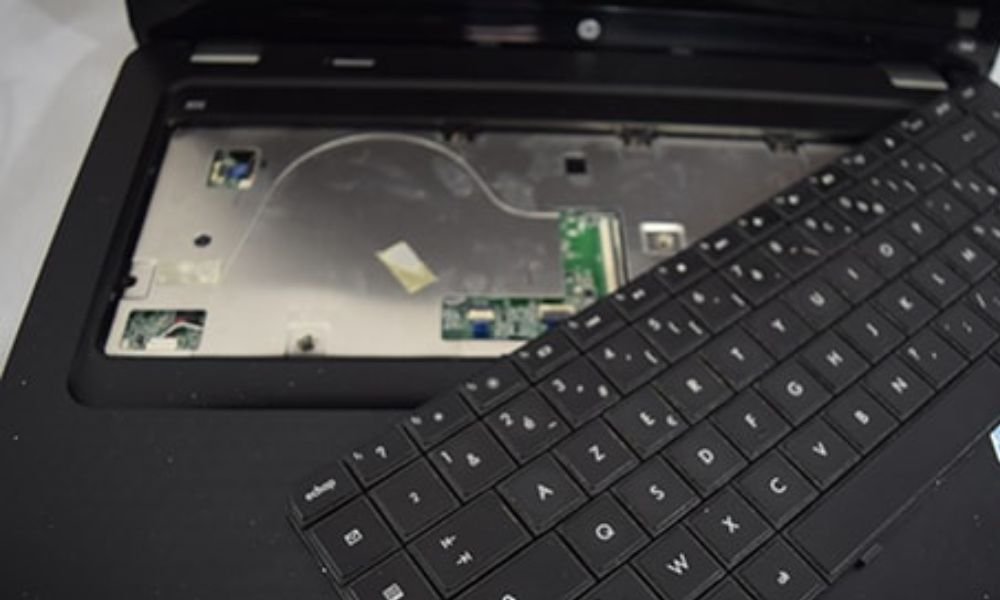
Step 4. Disconnect the keyboard cable
The keyboard is usually connected to the motherboard by a flat cable . Disconnect this cable carefully by gently pulling on the connector.
Step 5. Clean the keyboard compartment (optional)

Take this opportunity to clean the keyboard compartment to remove any accumulated dust or debris. Use a slightly damp microfiber cloth. If you're unsure how to do this, this article will show you how to properly clean your laptop keyboard .
Step 6. Install the new keyboard
Position the new keyboard in its slot, making sure to align it correctly with the connection pins. Reconnect the keyboard cable to the motherboard.
Step 7. Reattach the keyboard
Click the keyboard into place and tighten the mounting screws. Make sure the keyboard is securely fastened and does not move.
Step 8. Reinsert the battery and connect the power supply
Replace the battery and plug the laptop back into the mains.
Step 9. Test the new keyboard
Turn on your laptop and test all the keyboard keys to make sure they are working properly.
Additional tips

- If you are having trouble removing the keyboard, feel free to consult a video tutorial specific to your laptop model.
- If you have any doubts or problems, do not hesitate to contact the technical support of your device manufacturer.
- Keep the defective keyboard in case you need to return it to the manufacturer for warranty service.
Conclusion
Replacing a laptop keyboard might seem daunting at first, but with a little patience and by carefully following the instructions, you should be able to do it yourself without major difficulty. By saving on repair costs, you'll save time and money while extending the life of your laptop.


