

computer Windows behaving strangely? Are you experiencing slowdowns, unexpected errors, or programs that won't launch? A clean boot might be the solution to identify the source of the problem and restore optimal performance.
This comprehensive guide, suitable for both beginners and experienced users, explains in detail how to perform a clean boot in Windows 11. We will cover the steps to follow, the available options, and the precautions to take for a safe and efficient experience.
Why perform a minimal startup?
Clean Boot is a powerful diagnostic tool that allows you to start Windows 11 with a minimal set of services and programs. By temporarily disabling non-essential elements, it is possible to:
- Identify the software or services causing conflicts and malfunctions.
- Resolve performance issues such as slowdowns, freezes, or excessive memory usage.
- Uninstalling problematic programs that cannot be removed in normal mode.
- Repair system errors and file corruption.
Step 1: Access the system configuration utility
- Press the Windows + R to open the Run.
- Type msconfig in the text box and press Enter or OK.
- utility System Configuration opens.
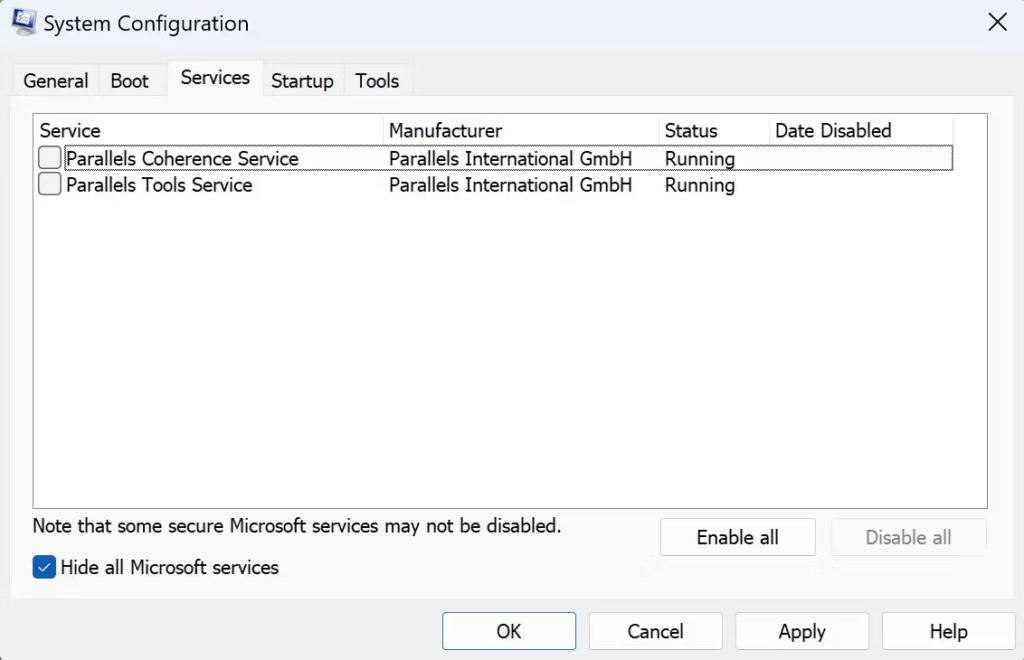
Step 2: Disable non-essential services
- In the system configuration utility, go to the Services.
- Check the "Hide all Microsoft services". This will only show third-party services installed on your computer.

- Click the Disable all to disable all non-Microsoft services.
- If you are aware of a specific service that is causing problems, you can disable it individually by unchecking its box.
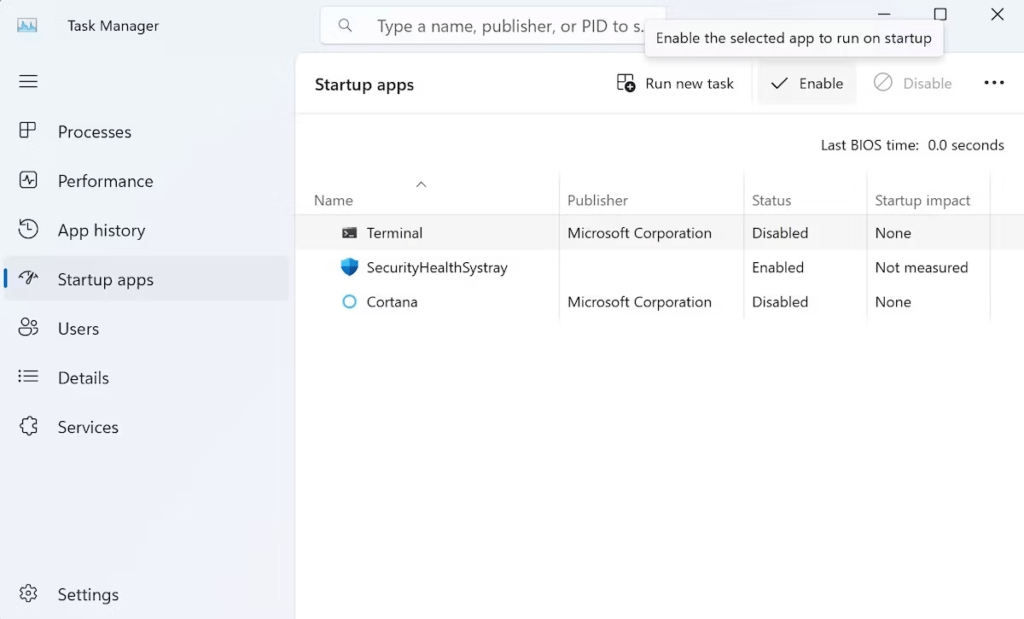
Step 3: Manage startup programs
- In the system configuration utility, go to the Startup.
- You will see a list of programs that launch automatically when Windows 11 starts.
- Select a program that you do not want to launch at startup and click the Disable.
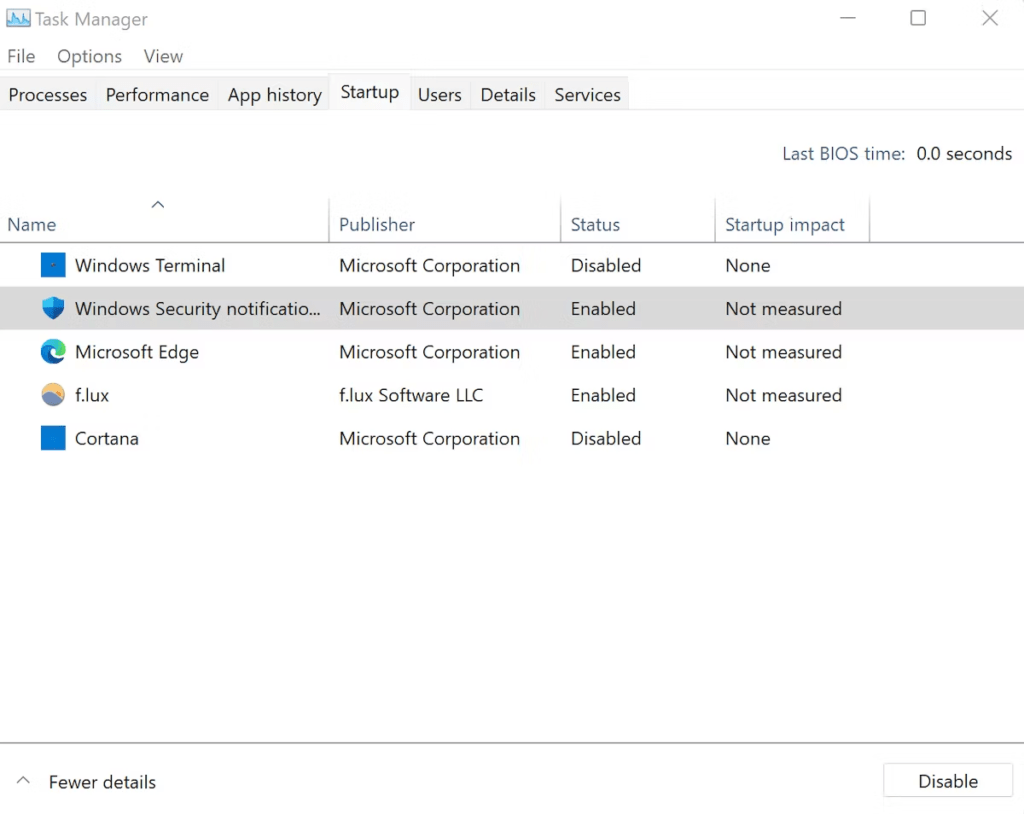
- Repeat this process for all programs you wish to disable.
Step 4: Restart your computer in minimal mode
- Click the OK in the system configuration utility.
- A message prompts you to restart your computer. Click on Restart.
- Your computer will restart in minimal mode.
Step 5: Identify the source of the problem
- Once your computer has restarted in minimal mode, observe its behavior.
- If the problem you were experiencing has disappeared, it means that it was caused by one of the services or programs being disabled.
- To identify the culprit, reactivate the services and programs one by one by following the steps above.
- After each reactivation, restart your computer and observe its behavior.

- The service or program causing the problem will reappear. You can then uninstall or update it to fix the issue.
Step 6: Stop the minimal boot process
- Once you have identified and resolved the problem, it is important to return to a normal Windows 11 startup.
- Open the system configuration utility as described in step 1.
- Go to the Services and check the box Hide all Microsoft services.
- Click the Activate all to reactivate all non-Microsoft services.
- Go to the Startup and select the programs you want to launch automatically at startup.
- Click the Activate for each program.
- Click OK and restart your computer.


