

Do you need to create a Google Docs document for a school, work, or personal project? Do you want your document to be well-presented and easy to identify? Are you looking for a quick and easy way to create a custom Google Docs cover page ? If you answered yes to these questions, then this article is for you.
We're going to show you how to create a Google Docs cover page in a few simple steps . Let's get started!
Step 1: Open a Google Docs document
To create a Google Docs cover page, you must first open a blank or existing document on the online service. To do this, you can:
- Access [ Google Docs ] from your web browser and sign in with your Google account.
- + button in the top left corner to create a new blank document.

- Or click the “ Open a file ” button in the top right corner to open an existing document from your computer, your Google Drive, or other sources.
Step 2: Insert a text box
Once you've opened your Google Docs document, you can insert a text box to create your cover page. A text box is a graphic element that allows you to add text anywhere in the document. To do this, you can:
- Click on the “ Insert ” menu at the top of the screen and press the “ Draw ” button in the toolbar.
- Text Box ” tool

- Draw a rectangle with your mouse where you want to place your text box.
- Enter the text you want to display on your cover page, such as the document title, your name, the date, etc.
Step 3: Format the text box
After inserting your text box, you can format to make it more attractive and suitable for your cover page. You can change the size, font, color, alignment, borders, and background of your text box. To do this, you can:
- Select your text area by clicking on it.
- Use the handles that appear around the rectangle to resize your text area.
- Use the toolbar buttons to change the font, size, color, and alignment of the text.
- Click on the “ Format ” menu at the top of the screen and choose the “ Text ” option.
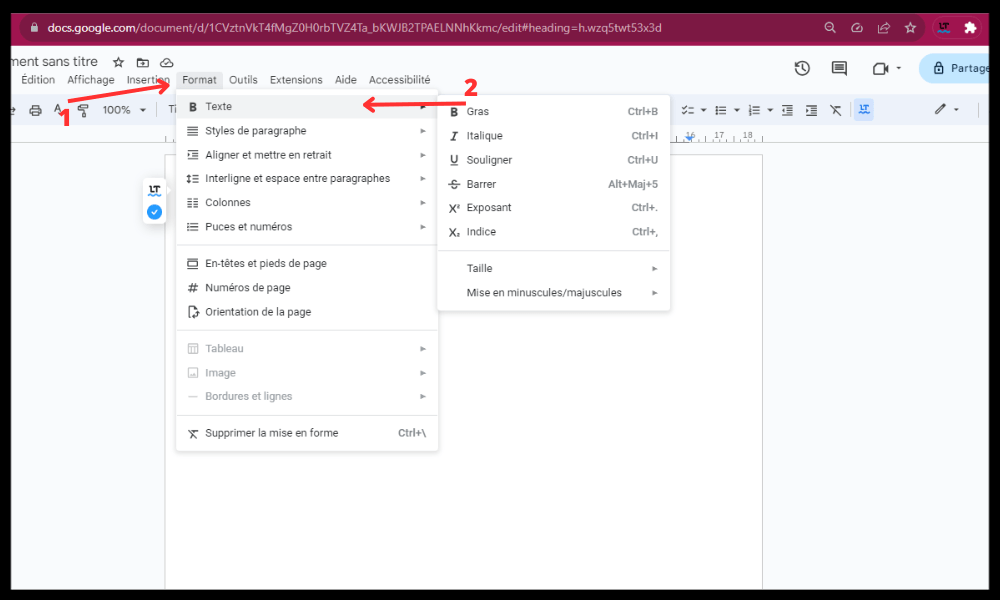
- Choose the options that suit you from the dropdown menu to change the borders and background of your text area.
Step 4: Add images or logos
If you wish, you can add images or logos to your Google Docs cover page to make it more visual and original. You can insert images from your computer, your Google Drive, or other sources. To do this, you can:
- Click on the “ Insert ” menu at the top of the screen and choose the “ Image ” option.
- Choose the source of your image from the drop-down menu.
- Select the image you want to insert and click the “ Open ” button.

- Move and resize your image with your mouse.
- Use the toolbar buttons to change the cropping, rotation, brightness, contrast, and other settings of your image.
Step 5: Save and share your document
Once you've finished creating your Google Docs cover page , you can save and share your document with others. Your document is automatically saved to your Google Drive , but you can also export it in other formats by choosing a different online storage service or print it. To do this, you can:
- Click on the “ File ” menu at the top of the screen and choose the “ Download ” option.
- Choose your document format from the drop-down menu, such as PDF , Word , HTML , etc.

- Click the “ Download ” button to save your document to your computer.
- Click on the “ File ” menu and choose the “ Print ” option to print your document.
- Click the “ Share ” button in the top right corner to share your document with others via email, link, or social networks.

There you have it! Now you know how to create a Google Docs cover page in a few simple steps . This allows you to give your documents a more professional and personalized look. Feel free to experiment with the different formatting and insertion options to create original cover pages tailored to your needs.
If you prefer to see things in action, here's a video that shows you how to do it:
FAQ
What is a Google Docs cover page?
A Google Docs cover page is the first page of a Google Docs document that displays its title, author, date, subject, and other relevant information. It helps to give the reader a good first impression and makes it easier to identify the document .
Why create a Google Docs cover page?
Creating a Google Docs cover page can have several advantages, such as:
- Make your document more professional and attractive
- Highlight the content and theme of your document
- Make your document easier to navigate and read
- Adhere to academic or professional standards
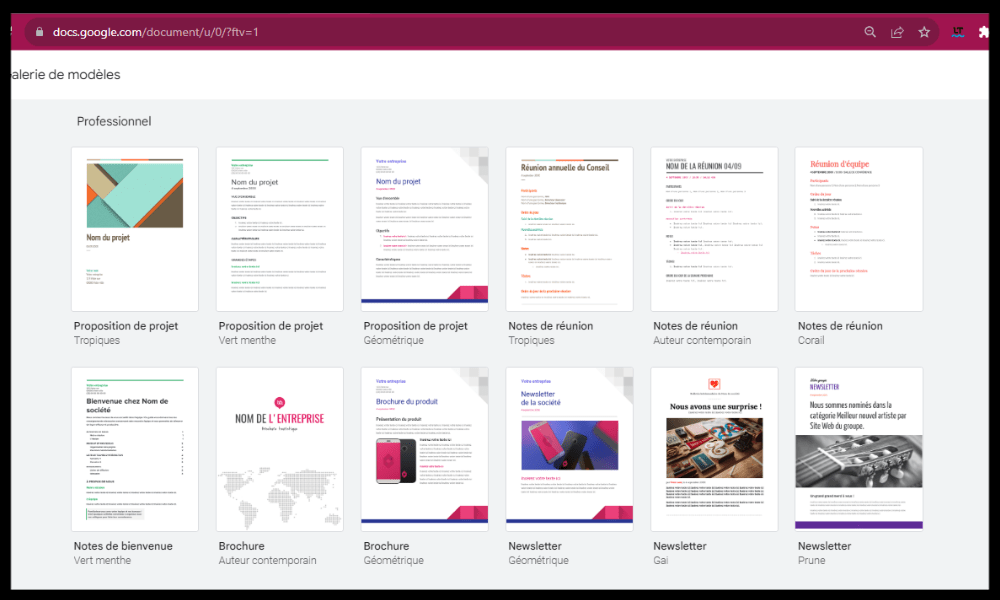
How to create a Google Docs cover page from a template?
If you don't want to create your Google Docs cover page from scratch , you can also use a pre-designed or custom template. To do this, you can:
- Access [ Google Docs] from your web browser and sign in with your Google account.
- “+” button in the top left corner to create a new blank document.
- Click on the “ File ” menu at the top of the screen and choose the “ New from template ” option.
- Choose the model that suits you from the gallery of available models.
- Modify the template according to your needs using the formatting and insertion options .
How to create a Google Docs cover page without skipping a page?
By default, when you create a Google Docs cover page, it occupies the entire first page of the document. If you want your cover page to follow directly into the document content without skipping a page, you can:
- Select your text area or image on your cover page.
- Click on the “ Format ” menu at the top of the screen and choose the “ Text box ” or “ Image ” option.
- Wrap option from the dropdown menu so that your text area or image is surrounded by the document text.
- Move your text box or image to the top of the document so that it takes up less space.
How do I delete a Google Docs cover page?
If you want to delete a page on Google Docs that you created or inserted from a template, you can:
- Select your text area or image on your cover page.
- Press the “ Delete ” or “ Backspace ” key on your keyboard to delete your text area or image.
- Or right-click on your text area or image and choose the “ Delete ” option.
How do I number the pages of a Google Docs document after the cover page?
If you want the page numbering in a Google Docs document to start after the cover page, you can:
- Click on the “ Insert ” menu at the top of the screen and choose the “ Page Number ” option.
- Choose the numbering format that suits you from the drop-down menu.

- Click on the “ Format ” menu at the top of the screen and choose the “ Page Numbers ” option.
- Check the “ Start at ” box and indicate the number you want to assign to the first page of the document after the cover page.
How to protect a Google Docs cover page from being modified?
If you want your Google Docs cover page to be protected from being edited by others, you can:
- Click on the “ File ” menu at the top of the screen and choose the “ Protect document ” option.
- Choose the option “ Protect certain parts of the document ”.
- Select your text area or image on your cover page.
- Click the “ Add ” button to add your text area or image to the list of protected areas.
- Choose who can edit your text area or image from the dropdown menu.
How do I create a Google Docs table of contents after the cover page?
If you want to create a Google Docs table of contents after the cover page, you can:
- Click on the “ Insert ” menu at the top of the screen and choose the “ Table of Contents ” option.

- Choose the table of contents format that suits you from the drop-down menu.
- Use H1, H2 and H3 tags to create titles and subtitles in your document.
- Update your table of contents by clicking the “ Refresh ” button in the top left corner of the table.

